※
Please do not use non-English name for the file
name
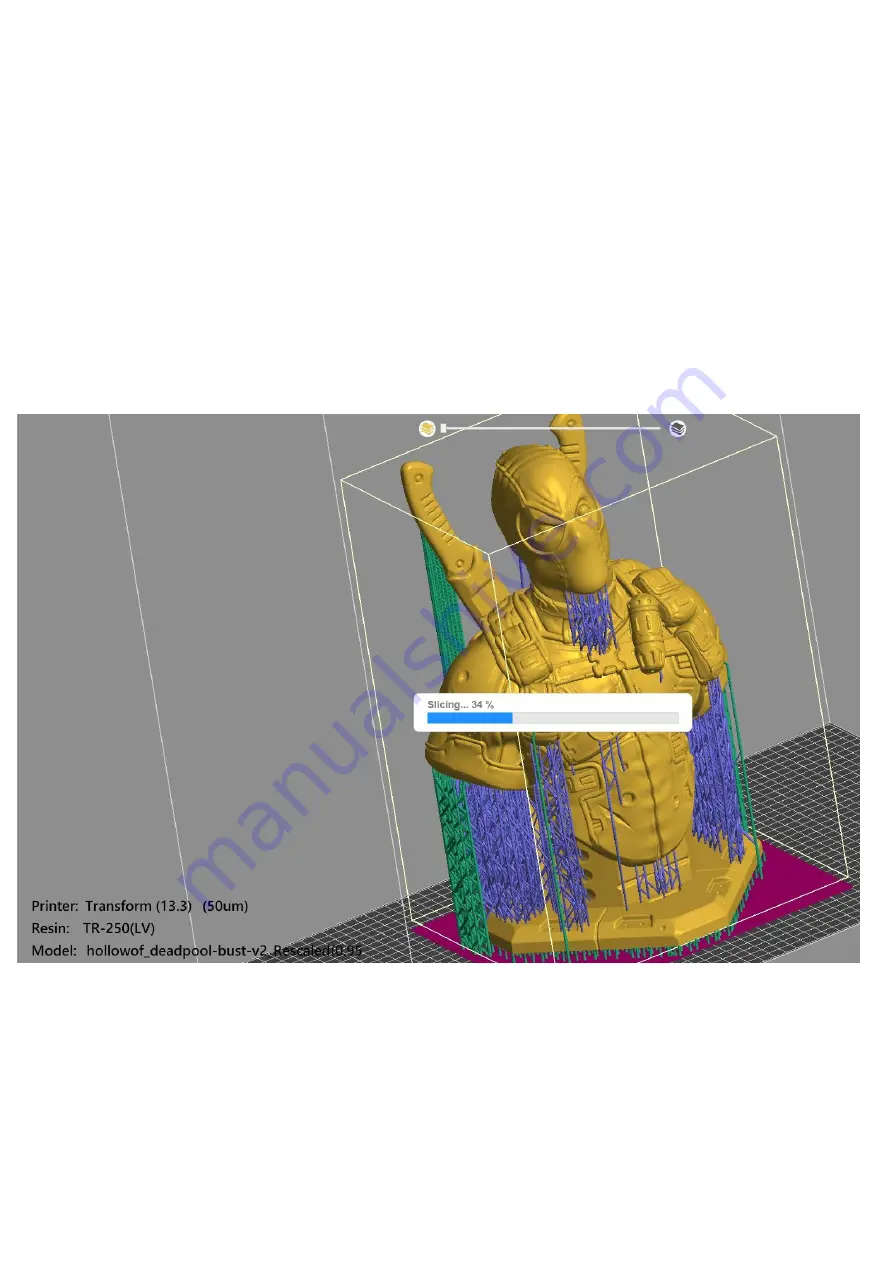
After selecting the output, the software will slice, and there is a progress bar at
the bottom right. If the file is too large, the progress bar will repeat the same %,
please be patient.
After the slicing is completed, the software stores it automatically and it will show
the time required for the slice. When the number of layers is more, the time
required will also multiply.
●
File storage
Summary of Contents for Transform
Page 6: ...5 Use the hex wrench to loosen the four fixing screws on the side of the printing ...
Page 7: ...stage and click Next ...
Page 9: ...7 Press DONE to complete the calibration procedure ...
Page 12: ...1 After clicking PLATES enter the import file screen 2 Click to read by USB ...
Page 21: ...1 Select the resin to be printed 2 Select the needed print layer thickness 3 Select Apply ...
Page 24: ... Set support ...
Page 25: ...Select support icon 1 Select advanced features 2 Adjust the height of the base to 1mm ...
Page 26: ...Adjust the support type to the bracket type ...
Page 27: ...Select automatic support software automatically adds support ...
Page 31: ... Exporting slices ...


