background image

1.  Read  these  instructions  before  operating  this 

apparatus.

2.  Keep these instructions for future reference.

3.  Heed all warnings to ensure safe operation.

4.  Follow all instructions provided in this document.

5.  Do not use this apparatus near water or in locations 

where condensation may occur.

6.  Clean only with dry cloth. Do not use aerosol or liquid 

cleaners. Unplug this apparatus before cleaning.

7.  Do not block any of the ventilation openings. Install 

in accordance with the manufacturer’s instructions.

8.  Do not install near any heat sources such as radiators, 

heat registers, stoves, or other apparatus (including 

.

9.  Do not defeat the safety purpose of the polarized or 

grounding-type plug. A polarized plug has two blades 

with one wider than the other. A grounding type plug 

has two blades and a third grounding prong. The wide 

blade or the third prong is provided for your safety. If 

the provided plug does not   into your outlet, consult 

an electrician for replacement of the obsolete outlet.

10.  Protect  the  power  cord  from  being  walked  on  or 

pinched particularly at plug, convenience receptacles, 

and the point where they exit from the apparatus.

11.  Only  use  attachments/accessories 

  by  the 

manufacturer.

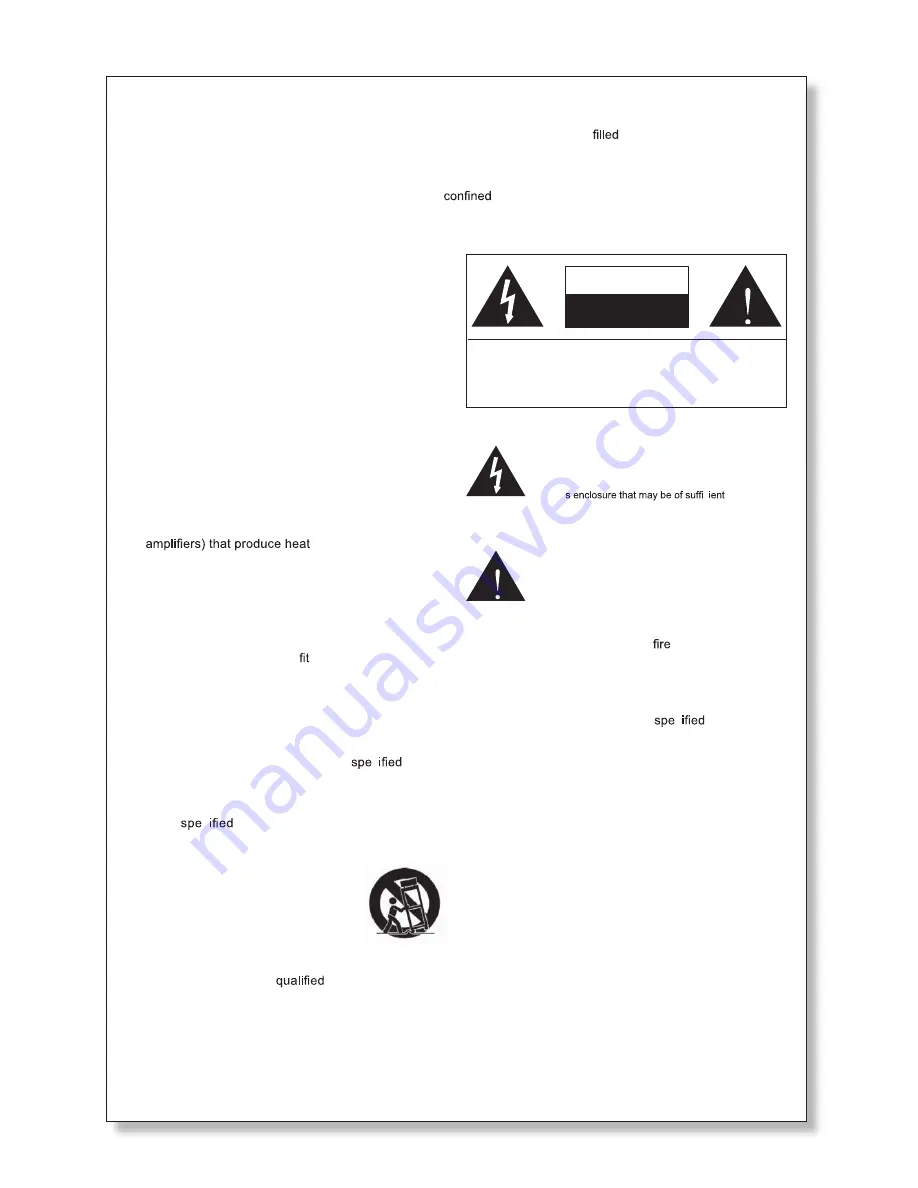
12.  Use  only  with  a  cart,  stand,  tripod,  bracket,  or 

table 

  by  the  manufacturer,  or  sold  with 

the  apparatus.  When  a  cart  is  used,  use  caution 

when  moving  the  cart/apparatus 

combination  to  avoid  injury  from  tip-

over.

13.  Unplug this apparatus during lighting 

storms  or  when  unused  for  long 

periods of time.

14.  Refer  all  servicing  to 

  service    personnel. 

Servicing is required when the apparatus has been 

damaged in any way, such as power-supply cord or 

plug  is  damaged,  liquid  has  been  spilled  or  objects 

have  fallen  into  the  apparatus,  the  apparatus  has 

been exposed to rain or moisture, does not operate 

normally, or has been dropped.

IMPORTANT SAFETY INSTRUCTIONS

CAUTION: TO REDUCE THE RISK OF ELECTRIC SHOCK,

DO NOT REMOVE COVER (OR BACK)

NO USER SERVICEABLE PARTS INSIDE

REFER SERVICING TO QUALIFIED PERSONNEL

The  lightning  flash  with  arrowhead  symbol,  within  an 

equilateral  triangle,  is  intended  to  alert  the  user  to  the 

presence  of  uninsulated  “dangerous  voltage”  within  the 

product’


magnitude to constitute a risk of electric shock to persons.

The  exclamation  point  within  an  equilateral  triangle  is  in-

tended to alert the user to the presence of important operat-

ing and maintenance (servicing) instructions in the literature 

accompanying the appliance.

WARNING: 

To reduce the risk of 

 or electric shock, do 

not expose this apparatus to rain or moisture.

CAUTION: 

Use of controls or adjustments or performance 

of  procedures  other  than  those 

  may  result  in 

hazardous radiation exposure.

The apparatus shall not be exposed to dripping or splashing and that no objects 

 with liquids, such as vases, 

shall be placed on the apparatus. The MAINS plug is used as the disconnect device, the disconnect device shall 

remain readily operable. 

Warning

: the user shall not place this apparatus in the 

 area during the operation so that the mains switch 

can be easily accessible. 

CAUTION

RISK OF ELECTRIC SHOCK

DO NOT OPEN

Summary of Contents for HELIX BOARD 12 Plus

Page 1: ...User s Manual Manual del Usuario HELIX BOARD 12 Plus USB enabled Mixing Console Consola de Mezcla con Interfase USB USB English Espa ol...

Page 2: ...4 Channel Assignment 16 Operating With Daw Software 16 Windows Operation 17 MAC Operation 19 SPECIFICATIONS 21 DIGITAL EFFECT TABLE 63 APPLICATIONS 64 DIMENSIONS 66 BLOCK DIAGRAM 67 INTRODUCCI N 24 CA...

Page 3: ...hting storms or when unused for long periods of time 14 Refer all servicing to service personnel Servicing is required when the apparatus has been damaged in any way such as power supply cord or plug...

Page 4: ...if you do read the manual in its entirety please store it in a place that is easy for you to find because chances are there s something you missed the first time around FEATURES 12 input small format...

Page 5: ...nter clockwise or down as far as they will go and the mute buttons should all be engaged 2 No input other than the one being set should have any device plugged in This will ensure the purest signal is...

Page 6: ...on the face of the mixer The Stereo AUX Return can also accept Mono signals where plugging the 1 4 phone jack of any device into the Left input will cause the signal to be duplicated to the Right inp...

Page 7: ...omputer can be either pre or post fader depending on the pre post setting on each input channel The main left and right signal AUX signal and ALT 3 4 all of which can also be sent through the USB inte...

Page 8: ...he corresponding signal to the AUX 1 output which can be used in conjunction with an amplifier and studio or stage monitors or simply as an auxiliary output for any means required The control is pre f...

Page 9: ...rned off When the tap delay effect is selected a small LED will flash within the digital effect display window at the selected intervals Master Section 34 AUX Stereo Return Controls These controls adj...

Page 10: ...oth the Control Room outputs for monitoring acting as side fill or other purposes and Phones outputs to be used in conjunction with headphones for monitoring purposes It also acts as the Submix contro...

Page 11: ...all on any computer it is important to install all the necessary drivers from the included DVD We advise that users read all instructions carefully before continuing on to each step of the installatio...

Page 12: ...Read and accept the terms of the License Agreement and click Next to continue Either select a new destination for the installation or else click Install to accept the default directory The installati...

Page 13: ...and push Finish to complete the installation If a message is displayed indicating that the software has not passed Windows Logo test click Continue Anyway After installation is complete an installati...

Page 14: ...matically start the installation process navigate to your DVD drive Phonic Helix Board USB then run PHONIC_HelixBoardUSB mpkg to begin the installation manually The Helix Board Control Panel software...

Page 15: ...15 HELIX BOARD 12 PLUS Click Close once the installation has completed...

Page 16: ...Setup On the left select VST Multitrack 3 From the ASIO Driver drop down list select the Helix Board ASIO Driver A pop up box will ask you if you want to switch to the ASIO driver Click Switch This c...

Page 17: ...Large 4 milliseconds and Maximum 8 milliseconds The selection of the Streaming Buffer size will determine the size of the ASIO and WDM buffer sizes as displayed in the table at the bottom of this page...

Page 18: ...s users to view and edit the name of the various input channels received from the USB input Please note that the channel names used in the picture below may differ from your unit s Output Channels By...

Page 19: ...on the input correspond naturally with inputs 1 through 8 on the Helix Board Input 9 and 10 will correspond with the stereo signal selected using the USB source select switch AUX 1 2 ALT 3 4 MAIN on...

Page 20: ...an be adjusted individually before being sent out their respective outputs on the Helix Board As with the Monitor Mixer each of the listed output channels is representative of one of the Helix Board s...

Page 21: ...Control Room Phones Level Control Yes Faders Main L R 60mm fader Metering Number of Channels 2 Segments 8 Phantom Power Supply 48VDC Switches Master Effect Processor 100 programs plus tap delay foot...

Page 22: ...ll other input 22 dBu Balanced output 28 dBu Impedance Mic preamp input 2 K ohms All other inputs except insert 10 K ohms RCA 2T output 1 1 K ohms Equalization 3 band 15 dB Low EQ 80 Hz Mid EQ 2 5 KHz...

Page 23: ...ELIX BOARD 12 PLUS measurements are shown in mm inches DIMENSIONS DIMENSIONES Todas las medidas est n mostradas en mm pulgadas mm inch 245 4 9 7 240 9 5 86 3 4 81 5 3 21 66 2 6 0 1 3 6 1 7 2 0 1 3 4 4...

Page 24: ...2 N I E N I L T U O 1 X U A 1 X U A O T N I A M O T N G I S S A L E V E L T 2 E R I W E R I F K A E P 5 0 1 0 2 5 2 2 0 V 5 7 7 0 u B d 0 T U O 4 T L A W O L 7 5 L L E N N A H C O E R E T S 2 1 X U A...

Page 25: ...support Ah podr encontrar respuestas a las preguntas m s frecuen tes consejos t cnicos descarga de drivers instruc ciones de devoluci n de equipos y m s informaci n de mucho inter s Nosotros haremos t...

Reviews: