background image

12

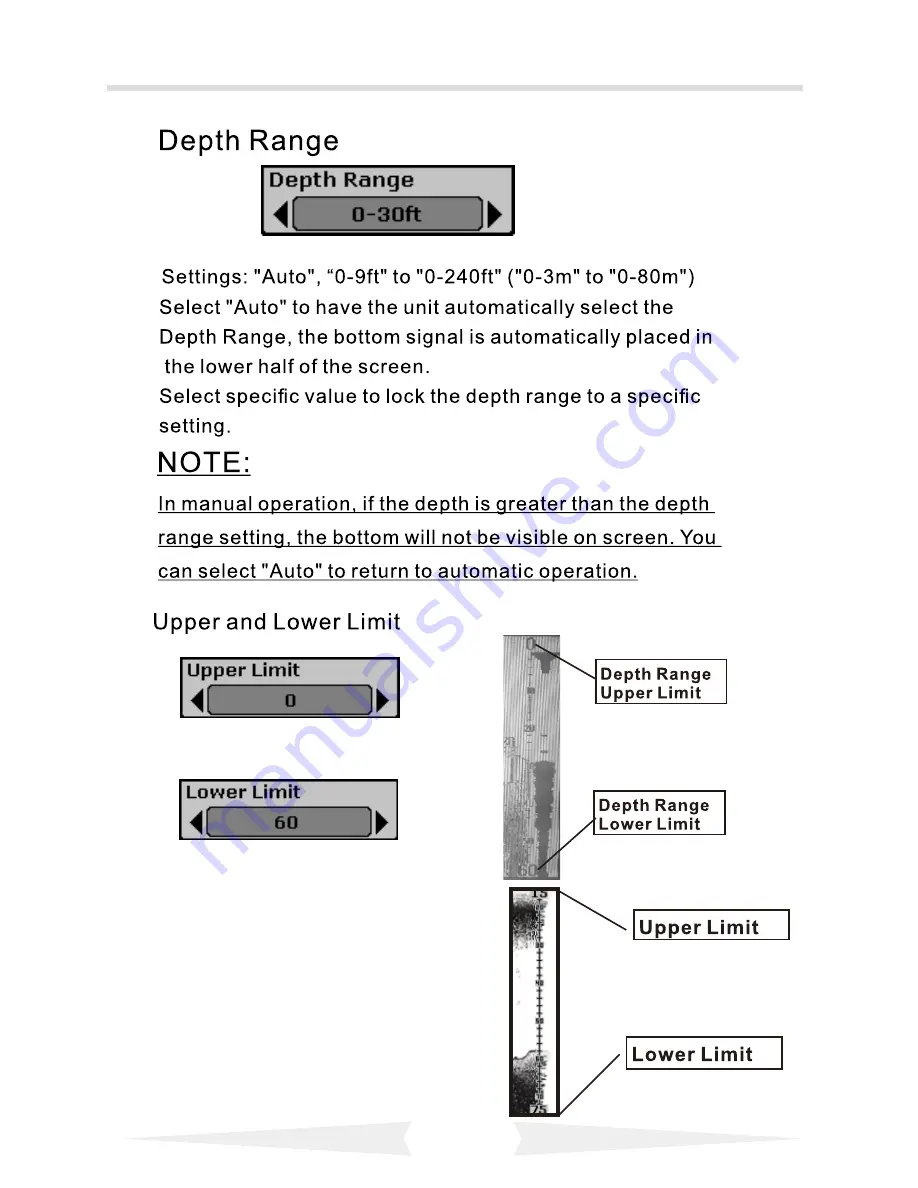
Settings: “0ft” to “231ft” 
( “0m” to “70m”)

Settings: “9ft” to “240ft” 
( “3m” to “80m”)

Changing the upper and lower
limits gives you far greater control
over the depth range.
This feature lets you “zoom in” the
display in almost unlimited 
combinations.

Summary of Contents for FF668W-BG

Page 1: ......

Page 2: ...8 Sonar Zoom View 9 Stop Chart Sonar View 10 Accessing Menu Features 11 Sensitivity 11 Depth Range 12 Fish Symbols Depth 13 Depth Cursor 14 Simulator 14 Setup 15 Volume Units Chart Speed 15 Fish Alar...

Page 3: ...2...

Page 4: ...creen Back Lighting White LED Power Input Receiver Power Input Launcher DC 12V Detect Angle 20 Sonar Frequency 83KHz 200KHz Radio Frequency 433 92MHz Radio Range Max 800m 2600ft Depth Range Min 0 6m 2...

Page 5: ...4 Product List 1 2 3 4 5 1 Sonar Transducer 2 Transmitter power line 3 Transmitter 4 Transmitter Antenna 5 Receiver...

Page 6: ...5 Transmitter List 1 2 3 4 1 Sonar Transducer 2 Transmitter 3 Transmitter power line 4 Transmitter Antenna...

Page 7: ...6 Receiver List 1 2 3 4 5 1 Receiver 2 Receiver Antenna 3 Receiver Battery box 4 Receiver Battery box cover 5 Receiver Power line...

Page 8: ...7 Key Function Zoom Key Menu Key Power Key View ESC Key...

Page 9: ...ter Depth 2 Water Temperature 3 Receiver Battery voltage 4 Transmitter Battery strength indicator 5 Bottom Contour 6 Fish Depth 7 Fish Icon 8 Sonar Frequency 9 Upper Limit 10 Signal intensity 11 Depth...

Page 10: ...9...

Page 11: ...10 Stop Chart Icon Sonar View When the unit starts working you can press the View Esc key to switch between different frequencies 200KHz 83KHz 83KHz 200KHz...

Page 12: ...11...

Page 13: ...t to 231ft 0m to 70m Settings 9ft to 240ft 3m to 80m Changing the upper and lower limits gives you far greater control over the depth range This feature lets you zoom in the display in almost unlimite...

Page 14: ...13...

Page 15: ...14...

Page 16: ...15 Backlight...

Page 17: ...16...

Page 18: ...17...

Page 19: ...18...

Page 20: ...19...

Page 21: ...g step 2 Transmitter then check the transmitter you will see a green button on the transmitter see the right picture keep pressing the green button then connect the power supply to the transmitter aft...

Page 22: ......

Reviews: