


— 16 —
Special Effect Playbacks
Are you familiar with tape playback? If
so, you are ready to enjoy the special
effect playback features described
below.
To skip playback for a certain
period
Press
SKIP SEARCH
(For VR588/55)
or S. SEARCH (For VR388/55) during
playback to search forward for 30
seconds by the time counter reading.
Each time you press the button, the
search time increases as follows:
30
=
60
=
90
=
120 sec.
The VCR automatically resumes normal
playback after searching for the
specified period.
To view a still picture
Press
STILL/SLOW
briefly (or
STILL/PAUSE
8
on the front panel)
during playback.
Playback is freezed and a still picture
appears.
To resume playback, press
PLAY
3
.
To view a slow motion picture
Press
STILL/SLOW
(or
STILL/
PAUSE
8
on the front panel) for more
than 2 seconds during playback.
To decrease the slow motion speed
(and reverse the slow motion play-
back), press
SLOW/BACK –
(for
VR588/55) or
STILL/SLOW –
(for
VR388/55).
To increase the slow motion speed
(and forward the slow motion
playback), and press
SLOW/
F
(for VR588/55) or
STILL/SLOW +
(for VR388/55).
To resume playback, press
PLAY
3
.
Notes:
• No sound comes out during special effect
playbacks.
• If you keep viewing slow motion and still
pictures for 5 minutes, the VCR
automatically stops to protect the tape and
video heads.
• During special effect playbacks, some
noise bars will appear on the TV screen.
Using On-Screen Display
You can display the VCR operating
status on the TV screen.
For the information about what you can
see on the TV screen, see page 8.
1
Select VCR Set Up Mode
1 Press
VCR
.
2 Press
MENU
.
3 Press
5
or
∞
to
select “VCR SET
UP” then press
3
/
OK
.
The VCR Set Up menu appears.
2
Select On-Screen Mode
1 Press
5
or
∞
to select “ON
SCREEN MODE.”
2 Press
3
/
OK
.
Each time you press the button, the
setting changes.
ON:
When you press a tape running
button (Stop, Play, etc.), the VCR
status appears for 5 seconds.
COUNTER:
When you press a tape running
button, the VCR operating status
appears for 5 seconds.
After 5 seconds, the VCR status
disappears except the time counter.
OFF:
The VCR operating status does not
appear even if you press a tape
running button.
3
Finish Setting
Press
EXIT/STATUS
.
To display the VCR status on the TV
screen manually, press
EXIT/
STATUS
. The VCR status appears for
about 5 seconds.
• If “ON SCREEN MODE” is set to
“OFF,” no VCR status appears though
you press
EXIT/STATUS
.
Picture Control
To get a better picture when viewing
tapes with noise such as rental tapes.
1
Select VCR Set Up Mode
1 Press
VCR
.
2 Press
MENU
.
3 Press
5
or
∞
to
select “VCR SET
UP” then press
3
/
OK
.
The VCR Set Up menu appears.
2
Select Picture Control Mode
1 Press
5
or
∞
to select “PICTURE.”
2 Press
3
/
OK
.
Each time you press the button, the
setting changes.
NORMAL:
Select this when you play back a
tape with no picture adjustments.
ENHANCER:
Select this when you want to make
a playback picture softer.
INCREDIBLE:
Select this when you want to make
a playback picture sharper.
3
Finish Setting
Press
EXIT/STATUS
.
A
DVANCED
O
PERATIONS
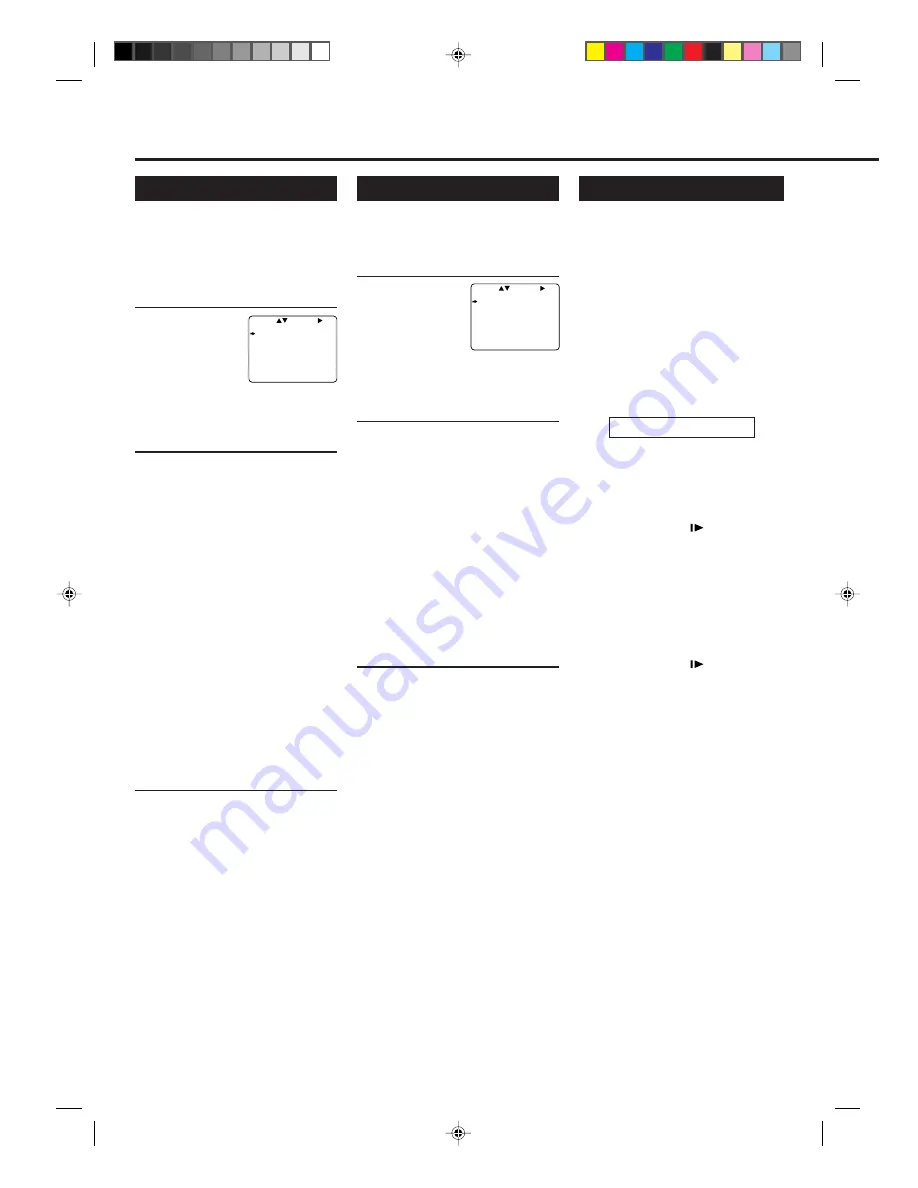
SELECT CHOOSE /OK
ON SCREEN MODE ON
TIMER REC SPEED MANUAL
PICTURE NORMAL
TO END PUSH EXIT
SELECT CHOOSE /OK
ON SCREEN MODE ON
TIMER REC SPEED MANUAL
PICTURE NORMAL
TO END PUSH EXIT
VR388/588-55 EN (N)
6/1/99, 9:03 AM
16


