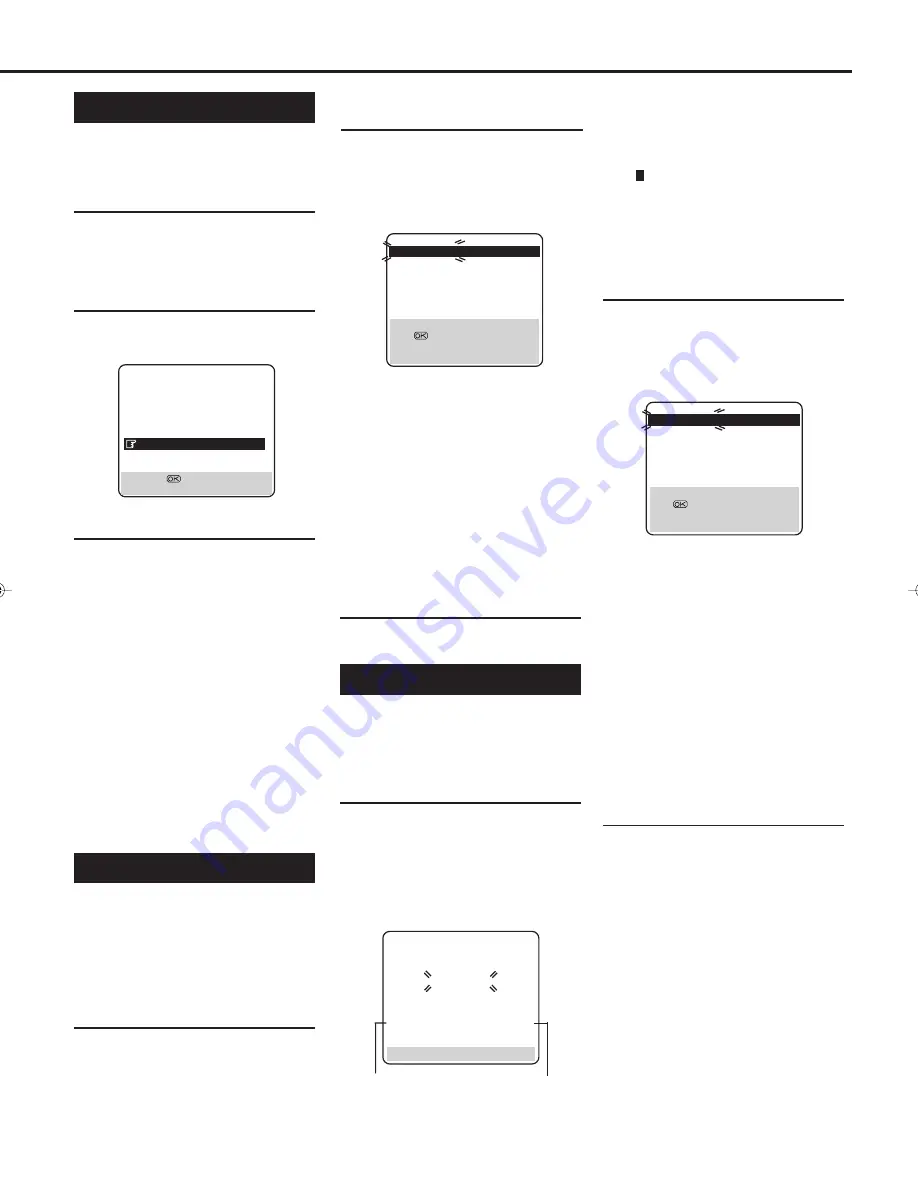
— 15 —
Power Save Mode
You can reduce the power consumption
while the VCR is turned off.
1
Select Mode Set Screen
1 Press
MENU
.
2 Press
5 or ∞ to select “MODE
SET” then press
OK
or
4
.
2
Set Power Save Mode
Press
5 or ∞ to select “POWER
SAVE” then press
OK
or
4
to set to
“ON”.
3
Finish Setting
Press
MENU
.
• During Power Save, the display window
will be turned off.
• The Just Clock function (
✈
P. 20) does not
work while the Power Save mode is
engaged.
• While the VCR is in the Power Save mode,
the picture may be distorted momentarily
when you turn on/off the VCR.
• Power Save does not work when ...
... the VCR is in the Timer mode.
... the VCR's power is turned off after
timer-recording (or One Touch
Recording).
... the Auto Satellite Prog Recording mode
is engaged (
✈
P. 28).
... “AV2 SELECT” is set to “DECODER”
or “SAT” (
✈
P. 27).
Preset Download
When you want to perform Preset
Download after setting channels,
perform the following procedure.
For the detail of Preset Download, see
page 11-13.
1
Perform Preset Download
1 Press
MENU
.
2 Press
5 or ∞ to select “AUTO CH
SET”, then press
OK
or
4
.
3 Press
5 or ∞ to select “FOLLOW
TV”, then press
OK
or
4
. The
Follow TV screen appears and then
Guide Prog. Set screen appears.
MODE SET
DSPC
ON
O. S. D.
ON
DIRECT RECORD
ON
AUTO SP
=
LP TIMER
OFF
DIGITAL 3R
ON
POWER SAVE
OFF
S-VHS
AUTO
NEXT PAGE
[
5∞
]
=
[MENU] : EXIT
PR: channel positions
CH: channel numbers
ID: station names (
✈
P.18)
• The blueback screen and the programme
currently being broadcasted by the blinking
station appear alternately for 8 seconds each.
• To view the next page, use the
5∞ 23 button
on the remote control.
The stations located in the selected country
appear at the top of the list.
• The Guide Programme numbers will also be set
automatically.
3
Finish Setting
Press MENU to exit the menu opera-
tions.
Auto Channel Setting
If you move to another place, you may
need to tune the VCR tuner again for
your new residential area.
1
Perform Auto Channel Set
1 Press
MENU
.
2 Press
5 or ∞ to select “AUTO CH
SET”, then press
OK
or
4
.
3 Press
5 or ∞ to select “AUTO SET”,
then press
OK
or
4
. The Auto Set
screen appears as below;
2
Confirm Programmed Channel
Information List
Once it is completed, “COMPLETED”
is displayed on the screen for about 5
seconds.
The following screen will appear after
5 seconds, or if you press MENU;
PR
CH
ID
PR
CH
ID
01
26
BBC1
08
– – – –
02
33
BBC2
09
– – – –
03
23
ITV
10
– – – –
04
30
CH4
11
– – – –
05
37
CH5
12
– – – –
06
– – – – 13
– – – –
07
– – – – 14
– – – –
[
5∞
]
=
: EDIT
=
[CLEAR] : DELETE
[MENU] : EXIT
5
5
5
The Auto Set screen appears, and
remains on screen while the VCR
searches for receivable stations.
As Auto Channel Set progresses,
the “ ” mark on the screen moves
from left to right.
Wait until the screen as shown in step 2
appears.
2
Confirm Programmed Channel
Information List
Once it is completed, “SCAN COM-
PLETED” is displayed on the screen
for about 5 seconds.
The following screen will appear after
5 seconds, or if you press MENU;
C: Cable
PR: channel positions
CH: channel numbers
ID: station names (
✈
P.18)
• The blueback screen and the programme
currently being broadcasted by the blinking
station
apppear alternately for 8 seconds each.
• To view the next page, use the
5∞ 23 button
on the remote control.
The stations located in the selected country
appear at the top of the list.
• The Guide Program numbers will also be set
automatically during Auto Channel Set.
3
Finish Setting
Press MENU to exit the menu opera-
tions.
Notes:
• If you perform Auto Channel Set when the
aerial cable is not connected properly,
“SCAN COMPLETED -NO SIGNAL-”
appears on the screen in step 2. When this
happens, make sure of the aerial
connection and press OK; Auto Channel
Set will take place again.
• Depending on reception conditions, the
stations may not be stored in order, and
the station names may not be stored
correctly.
AUTO SET
PLEASE WAIT
0 – – – – – + – – – –
■
– – – – + – – – – – +
[MENU] : EXIT
Beginning
End
PR
CH
ID
PR
CH
ID
01
26
BBC1
08
– – – –
02
33
BBC2
09
– – – –
03
23
ITV
10
– – – –
04
30
CH4
11
– – – –
05
37
CH5
12
– – – –
06
– – – – 13
– – – –
07
– – – – 14
– – – –
[
5∞
]
=
: EDIT
=
[CLEAR] : DELETE
[MENU] : EXIT
5
5
5
VR1000/07-New
99.7.8, 8:01 PM
15


