


11
Settings
.
Settings
Use this section to setup the PhotoFrame
slideshow squences, transition effects, frequency
of the change of image, collage effects,
background color, brightness levels, display
language, automatically turn on and off,
turning on and off the key help screen
when first starting the PhotoFrame
6.1
Slideshow Sequence
Slideshows can be played in one of two ways
randomly or sequentially.
1
• Press the
Mode
button to access the
Main Menu
.
• Press
Up /Down
to
Setup and press the
Right , Play/OK
button.
2
• Press
Up/Down
to access
Sequence
and
press
Right
.
• Press
Up
and
Down
to select either
Sequential
or
Random
.
• Press
Play/OK
to confirm.
Press the
Mode or Menu
button to leave this
menu and play the slideshow.
6.2
Transition Effects
The photos can appear on the screen using
special transitions.
1
• Press the
Mode
button to access the
Main Menu
.
• Press
Up/Down
to Setup and press the
Play/OK
button.
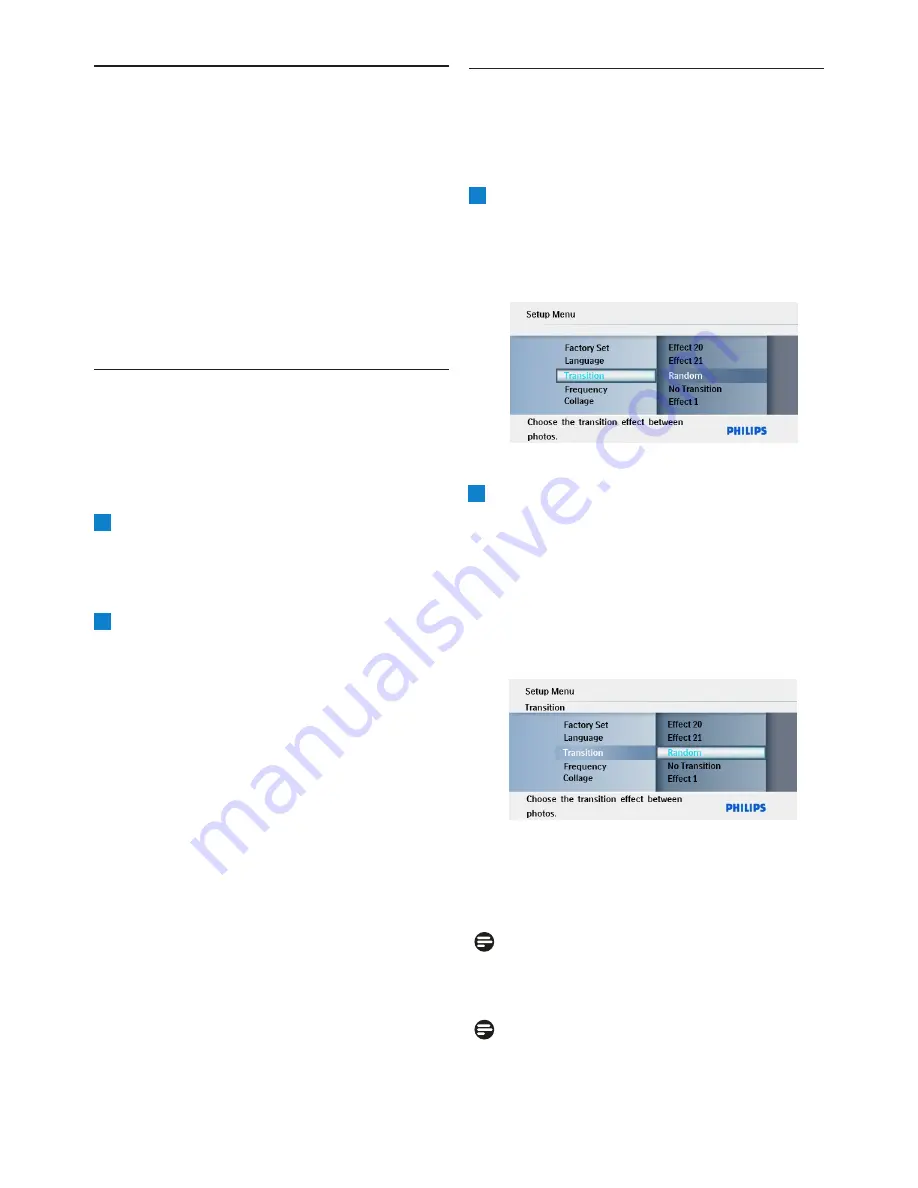
2
• Press
Down
to
Transition
and
press
Right
.
• Press
Up
and
Down
to select
from
the
list
as follows:
No Transition,
Random,
Effect 1, Effect 2,
Effect 3 , ...... , Effect 21.
• Press
Play/OK
to confirm.
Press
Mode or Menu
to leave this menu
and play the slideshow.
Note 1:
This function applies to all the slideshows stored
on all media.
Note 2:
Random plays different effects out of sequence
during the slideshow transition.
Right ,
Summary of Contents for SPF1007
Page 22: ......
Page 23: ...All rights reserved 2008 Koninklijke Philips Electronics N V ...


