How to assemble your pump with VIA
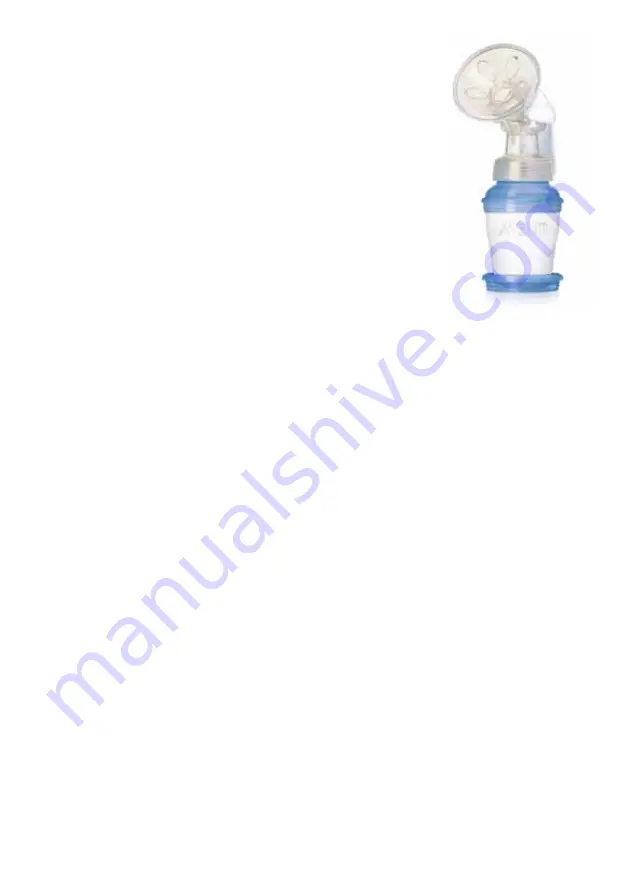
If you use the Twin Electronic Breast Pump with VIA,
simply replace the bottle with the VIA Adaptor and Cup.
Follow step 1 as before (see diagram D), then proceed to
step 2 and 3 (see diagram E):
2. Twist the VIA Cup (y) into the Adaptor (x),
then twist into the pump body (d).
3. To ensure the pump doesn’t topple, insert
VIA into the stand provided (z).
Then continue with steps 4-12 (see diagram D)
For double pumping – to assemble the twin pump
(see diagram F)
:
Follow steps 1-5 as before (see diagram D), then proceed to step 6 and 7
(see diagram F):
6. Push the double pumping connector (l) onto the 2nd pump body (d) so that
it sits firmly on top of the silicone diaphragm (b).
7. If not already attached, push the 2nd transparent tube (j) securely onto the
double pumping connector (l).
How to use your pump
Wash your hands thoroughly and make sure your breasts are clean. Relax in a
comfortable chair, leaning slightly forward (use cushions to support your back).
Make sure you have a glass of water nearby as expressing can be thirsty work.
A photograph of your baby will help too.
To begin pumping
(see diagram G)
1. Switch on your pump and the light on the top of the pump motor
will flash
ORANGE
rapidly. The light will then change to a continuous
GREEN
to indicate that the pump is ready to use. If at any time this light is
flashing
RED
, stop and consult the ‘Troubleshooting guide’ on pages 18-19.
Press the assembled control pump firmly against your breast to create a seal.
Using the control handle you can find your exact comfort level. As you press
down on the handle you will feel greater suction against your breast. You don’t
need to squeeze the handle fully, only as far as feels comfortable for you.
12
Summary of Contents for SCF304/60
Page 7: ...H I 6 7 v 8 1 2 u w 6 ...
Page 21: ...20 ...
Page 22: ...21 ...
Page 23: ...22 ...
Page 24: ...23 ...
Page 25: ...24 ...
Page 26: ...25 ...
Page 27: ...26 ...
Page 28: ...27 ...
Page 29: ...28 ...
Page 30: ...29 30 l k a m d g s h ...
Page 31: ...30 ...
Page 32: ...31 a b c d e f g h i j k l m n o ...
Page 33: ...32 ...


