background image

User Guide

6

Installation

Settings

As the RF Extender ‘communicates’ with the Pronto Remote Control, you have to
set the same 

Extender ID

(identity) on both appliances. The settings depend on

whether you have a single RF Extender or multiple RF Extenders.

Single RF Extender

When you use only one RF Extender, you can accept the default setting for the
Extender ID (ID=0). Make sure your Pronto Remote Control is set to the same
default setting (see the Pronto User Guide for more details).

Multiple RF Extenders

If you want to operate several of your devices independently, e.g. grouped on
different locations, you will need multiple RF Extenders. When using several 
RF Extenders, it is important to assign a unique Extender ID to each RF Extender.
16 Extender IDs (from 0 to 9 and from A to F) can be assigned.

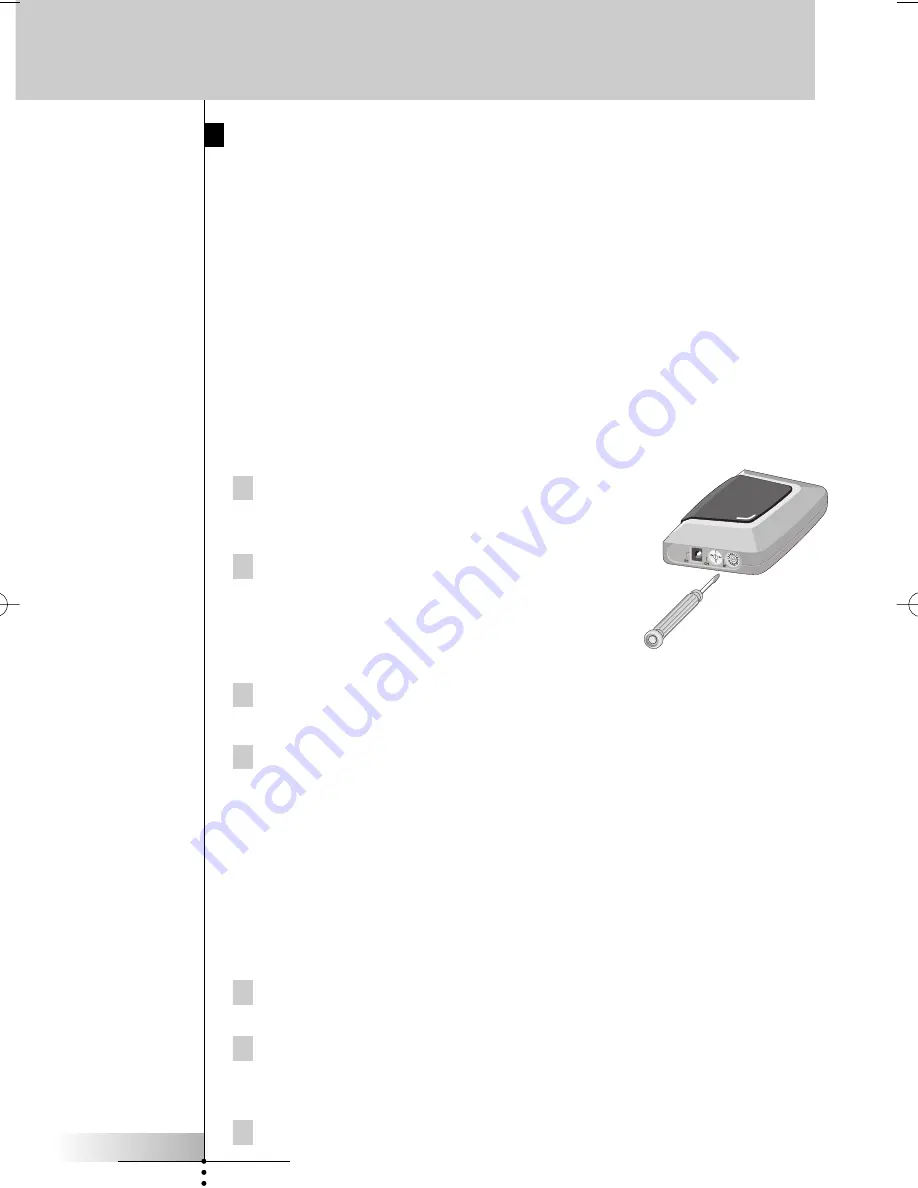
1 Choose an Extender ID for the RF Extender by turning 

the ID dial with a small screwdriver.

2 On the Pronto Remote Control, choose the 

same Extender ID for each device controlled 
by the RF Extender.

Refer to the Pronto User Guide for more 
information.

3 Try to operate your devices with the Pronto Remote Control.

The red LED will blink when the RF Extender receives a correct command.

4 Repeat this procedure for every RF Extender.

RF Interference

If your devices are not responding to commands or if the red LED on the IR blaster
is blinking without sending commands, it might be possible that there is RF
interference. This can be the case when other RF appliances are operated nearby,
for instance at your neighbours.

When you notice RF interference, you have to choose another channel on your 
RF Extender. 4 channels (CH from 0 to 3) can be assigned.

1 Choose a channel for the RF Extender by turning the CH dial with a

small screwdriver.

2 On the Pronto Remote Control, choose the same channel for the

devices controlled by the RF Extender.

Refer to the Pronto guide for more information.

3 Try to operate your devices with the Remote Control.

RFX6000 new  24-07-2002  14:04  Pagina 6

Summary of Contents for RFX600099

Page 1: ...lace your devices inside a closed cabinet a closet or even in another room The RFX6000 provides the solution to overcome obstacles like furniture or walls Your devices no longer have to be placed in line of sight but can be operated from virtually any location The RFX6000 is a RF Extender that is used in combination with the Pronto Remote Control The RF Extender receives radio frequency RF signals...

Page 2: ... situation B The RF Extender is placed inside a closet a rack or another piece of furniture together with your devices situation C The set ups in situation A B and C can be combined If you want to control devices in different locations you have to place a RF Extender in each location You can control all RF Extenders with the same Pronto Remote Control See Multiple RF Extenders on p 6 to apply the ...

Page 3: ...ark plastic window on top of the RF Extender is aimed at your devices To get optimal results it is recommended to place the RF Extender horizontally with the IR blaster facing up or down Figure 1 represents the RF Extender mounted up side down inside a closet Always maintain a minimum distance of 4 inches 10 cm between the RF Extender and your devices Figure 2 represents the RF Extender with the I...

Page 4: ...he RF Extender back on Note Depending on the surface it may be possible to attach the RF Extender to the furniture using a piece of 2 sided tape Look for the right position and make sure there is sufficient space 3 Slide the RF Extender on the mounting plate Using the Dual IR Emitters Like the IR blaster of the RF Extender the dual IR emitters send out IR signals You can use the dual IR emitters a...

Page 5: ...Attach the emitters directly to the receiving eyes of your devices 2 Plug the dual IR emitters into the RF Extender Note To avoid interference the wires of the emitters should be kept away from the RF Extender as far as possible Connecting the Power Adapter When connecting the power adapter it is recommended that you plug the adapter into the RF Extender before you plug it into the socket When con...

Page 6: ...th a small screwdriver 2 On the Pronto Remote Control choose the same Extender ID for each device controlled by the RF Extender Refer to the Pronto User Guide for more information 3 Try to operate your devices with the Pronto Remote Control The red LED will blink when the RF Extender receives a correct command 4 Repeat this procedure for every RF Extender RF Interference If your devices are not re...

Page 7: ...iving eyes of your devices are not disturbed by any objects Check if metal objects for instance a metal closet wires or cables surrounding the RF Extender do not disturb the RF signals If you are using the dual IR emitters make sure they are connected properly and that they are placed within range of the receiving eyes see p 5 It might be possible that some commands cannot be sent out as RF signal...

Page 8: ...kHz 550kHz Radio Operating distance up to 100 feet 30 meters frequency RF depending on the surrounding conditions Frequency 418 MHz US Dual IR emitters Number of IR emitters up to 8 4x2 emitters wired in series 3 5mm mono mini plug Cable length 10 feet 2 5 meters Max range 3 feet 75 cm Accessories 120V AC Power adapter 400mA 12V DC adapter UL approved Mounting kit Plate and 4 screws Approvals The ...

Reviews: