


12
Philips · PPX2495
4 Connect to the Playback Device
Only use the supplied cable or cables that are available
as accessories to connect the projector.
Supplied Cables
Video-(CVBS) cable
USB Adaptercable to connect an USB storage device
Cables Available as Accessories
VGA-Audio Cable .................... (PPA 1250 / 253447070)
iPod / iPhone /iPad Cable
................................................. (PPA 1280 / 253447091)
Connecting to Devices with
HDMI output
Use the HDMI to mini HDMI cable (not included) to
connect the projector to a computer or laptop.
1 Switch to HDMI in Menu > Source
2 Connect the HDMI cable to the projector's mini-
HDMI input.
3 Connect the cable to the HDMI input of the playback
device.
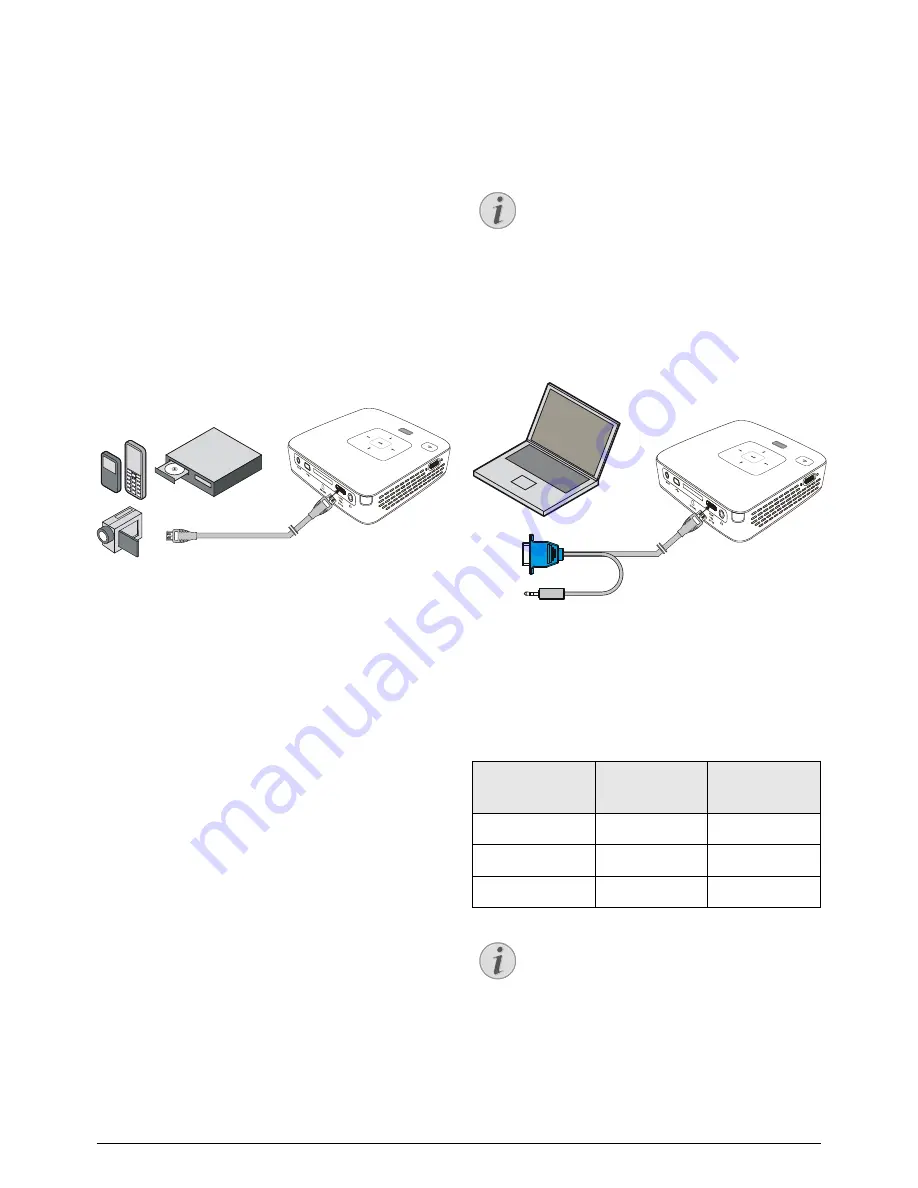
Connecting to a Computer
(VGA)
Use the VGA-Audio cable to connect the projector to
a computer, laptop, or some PDAs. The projector sup-
ports the following resolutions: VGA/SVGA/XGA. For
best results, set the computer's resolution to SVGA
(800x600).
1 Connect the VGA-Audio cable to the projector's
mini-HDMI input.
2 Connect the VGA plug to the computer's VGA out-
put and the audio plug to the computer's audio out-
put.
3 Adjust the computer's resolution to the correct set-
ting and switch the VGA signal to an external moni-
tor. The following resolutions are supported:
4 Select Menu > Source and switch to VGA.
Note
Many laptops do not activate the external
video output automatically when you connect
a second display such as a projector. Check
your laptop's manual to find out how to acti-
vate the external video output.
Resolution
Image
refresh rate
VGA
640 x 480
60 Hz
SVGA
800 x 600
60 Hz
XGA
1024 x 768
60 Hz
Note
Screen Resolution
You can obtain the best results with the
800¦×¦600 (60Hz) resolution.