


20
[DIVX (R) VOD]
Display the DivX® registration code.
Tip
Enter this DivX registration code when you
•
rent or purchase video from http://vod.divx.
com/. The DivX videos rented or purchased
through the DivX® VOD (Video On
Demand) service can be played only on the
device to which it is registered.
Audio setup
On
[Audio Setup Page]
, you can set the
following options:
[SPDIF Setup]
>
[SPDIF Setup Page]
>
[SPDIF Output]
Select audio formats supported by the
connected device.
•
[Off]
– Turn off the digital output.
•
[SPDIF/RAW]
– If the connected device
supports multi-channel audio formats,
select this option.
•
[SPDIF/PCM]
– If the connected device
cannot decode multichannel audio, select
this option.
[Dolby Digital Setup]
>
[Dual Mono]
Select audio signals output to speakers.
•
[Stereo]
– Output multichannel sound
signals to both speakers.
•
[L-Mono]
– Output left mono sound
signals to both speakers.
•
[R-Mono]
– Output right mono sound
signals to both speakers.
[3D Processing]
>
[3D Processing Page]
>
[Reverb Mode]
Select a virtual surround sound mode.
[HDCD]
>
[HDCD Setup Page]
>
[Filter]
When you play a HDCD (High Defi nition
Compatible Digital) disc, select the audio
output cutoff frequency.
[Night Mode]
Make loud sound level softer and soft sound
level louder so that you can watch the DVD
6 Adjust
settings
1
Press
SYSTEM MENU
.
2
Select a setup page.
3
Select an option and then press .
4
Select a setting and then press
OK
.
To return to the previous menu,
•
press .
To exit the menu, press
•
SYSTEM
MENU
.
General setup
On
[General Setup Page]
, you can set the
following options:
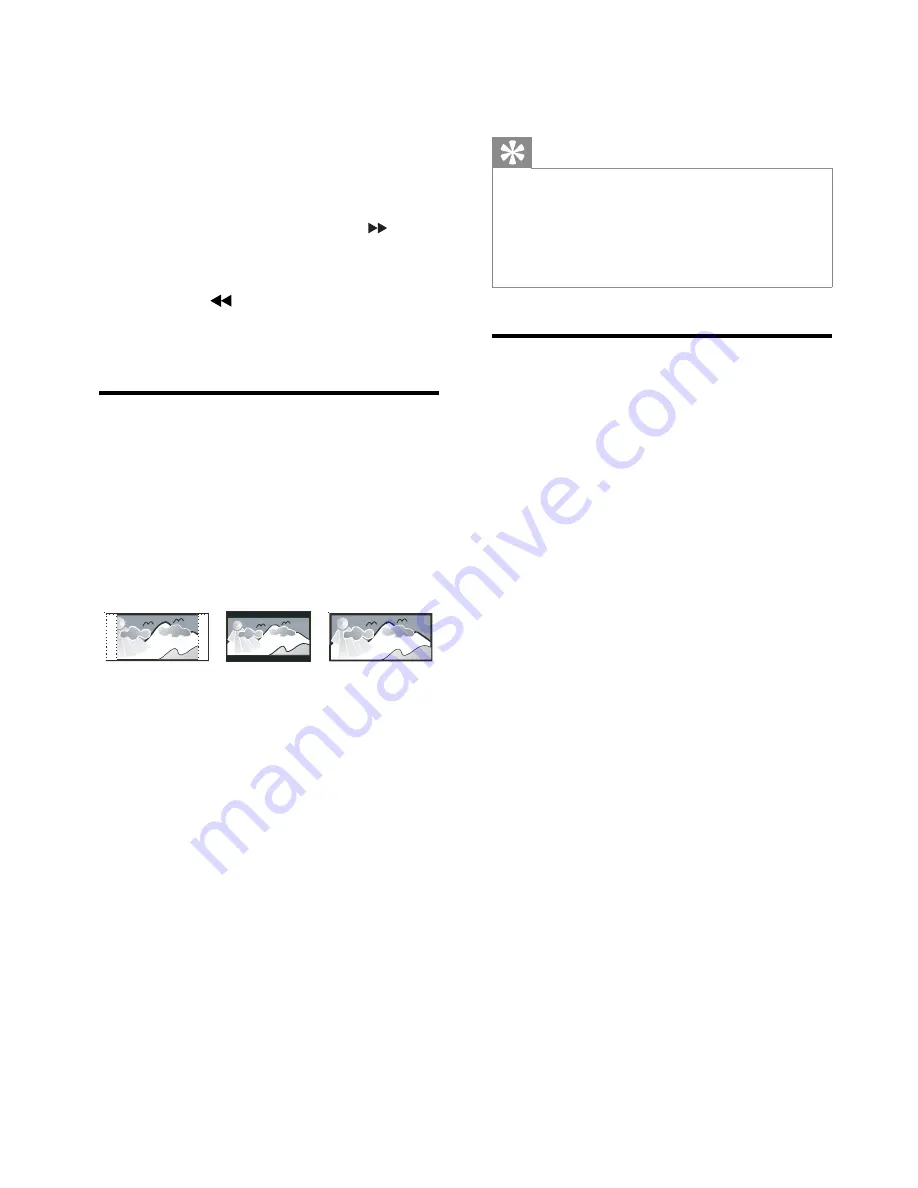
[TV Display]
The TV format determines the aspect ratio of
display according to the type of TV you have
connected.
•
[Normal/PS]
– For 4:3 screen TV: full-
height display with the trimmed sides.
•
[Normal/LB]
– For 4:3 screen TV: wide-
screen display with black bars on the top
and bottom of the screen.
•
[Wide]
– For wide-screen TV: display
ratio 16:9.
[OSD Language]
Select the preferred language for on-screen
display.
[Screen Saver]
The screen saver protects the TV screen
damage due to prolonged exposure to a static
image.
•
[On]
– Enable the screen saver.
•
[Off]
– Disable the screen saver.
4:3 Letter Box (LB)
4:3 Pan Scan (PS)
16:9 (Wide Screen)
EN


