5
• Ensure that the LED headlight is in good condition, is not broken or otherwise
damaged, and that there are no scratches on the LED chip surface.
• When installing the LED4 headlight, it is recommended to ask a professional
technician to install the LED4 headlight in a professional workshop or car garage.
• The LED4 headlight may not be compatible with all vehicle types. Before install-
ing the headlight, please check with a salesperson to confirm compatability with
your vehicle.
• After installing the LED4 headlight on your vehicle, please adjust the light axis to
the correct position as needed.
• If after installing the LED4 headlight, and the product does not operate as ex-
pected, please reinstall the original bulb.
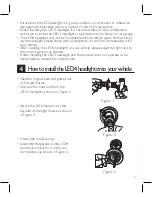
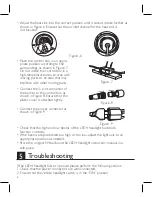
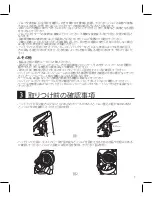
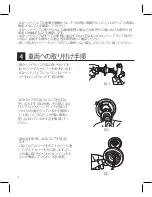
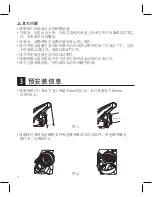
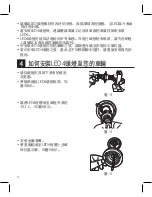
Figure -3
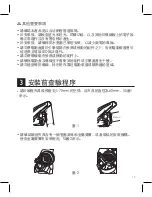
• Take the original bulb and gasket out
of the light fixture.
• Unscrew the heat sink from the
LED4 headlight as shown in Figure 3.
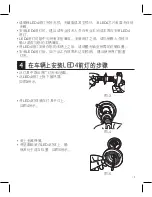
How to install the LED4 headlight onto your vehicle
• Attach the LED4 burner into the
bayonet of the light fixture as shown
in Figure 4.
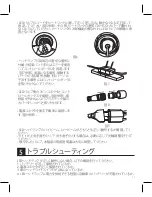
Figure -4
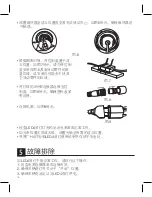
• Attach the metal spring.
• Assemble the gasket on the LED4
burner and ensure it is in the cor-
rect position as shown in Figure 5.
Figure -5
Summary of Contents for LED4
Page 2: ......
Page 23: ......
Page 24: ... 2015 Koninklijke Philips N V All rights reserved Document order number 3211 008 03081 ...

