29
Note
You may require longer time to display the disc
•
content on the TV due to the large number of songs/
photos compiled onto one disc.
If the JPEG photo is not recorded with an ‘exif’ type
•
fi
le, the actual thumbnail picture is not shown on the
display. It is replaced by a ‘blue mountain’ thumbnail
picture.
This Home Theater System can only display digital
•
camera pictures according to the JPEG-EXIF format,
typically used by almost all digital cameras. It cannot
display Motion JPEG and pictures in formats other
than JPEG, or sound clips associated with pictures.
Folders/
fi
les that exceed the supported limit of this
•
Home Theater System are not displayed or played.
Control photo play
1
Play photo slideshow.
2
Use the remote control to control the
photo.
Button
Action
Skips to the previous photo.
Skips to the next photo.
Rotates the photo clockwise.
Rotates the photo anti-
clockwise.
ZOOM
Zooms in or out of the
picture.
Play pause in zoom mode.
Stops play.
Play photo
Play photo as slideshow
This Home Theater System can play JPEG
photos (
fi
les with .jpeg or .jpg extensions).
1
Insert a disc or USB that contains the
JPEG photos.
2
Press
DISC
or
USB
.
Slideshow begins (for Kodak disc) or
»
a contents menu (for JPEG disc) is
displayed.
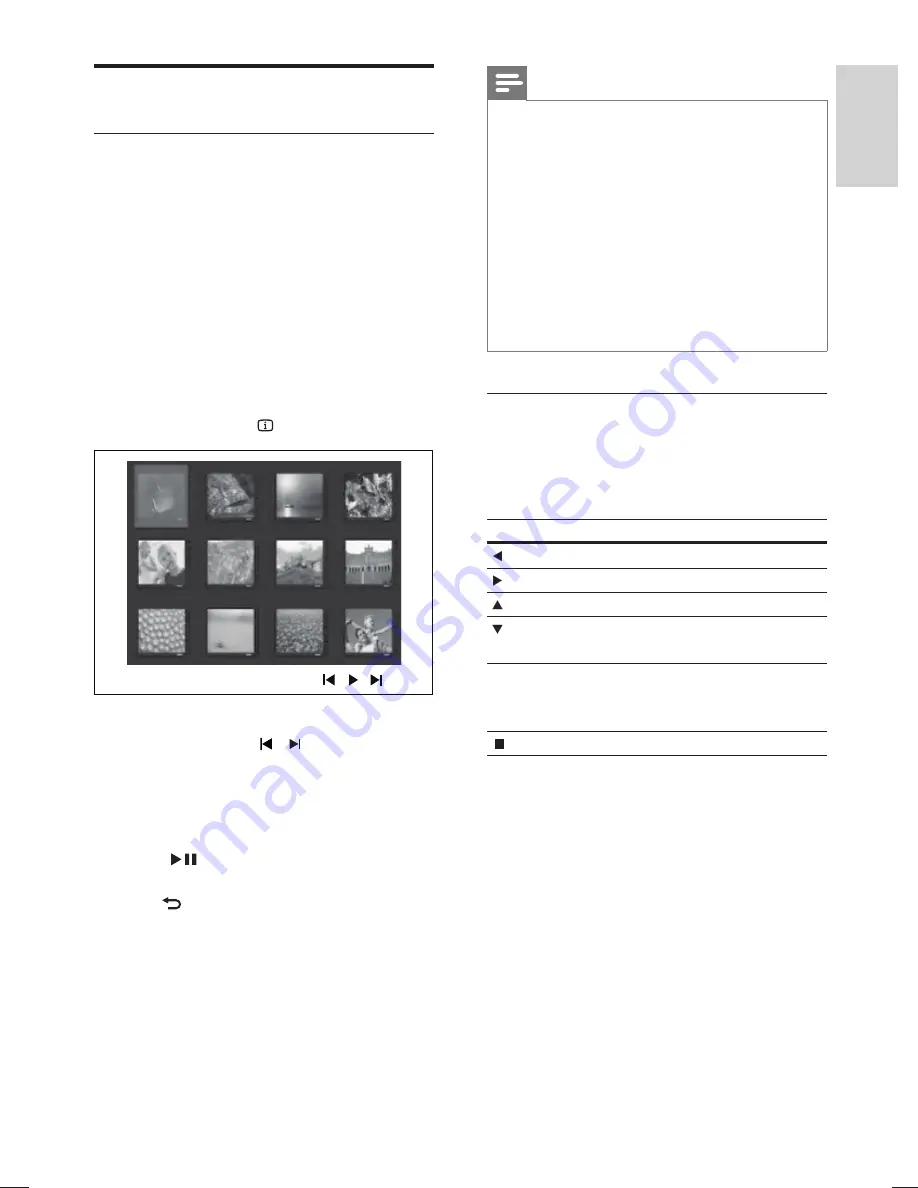
3
Select the folder/album you want to play.
To preview the photos in the folder/
•
album, press
INFO
.
To go to previous or next screen
•
display, press / .
To select a photo, press the
•
Navigation buttons
.
To display the selected photo only,
•
press
OK
.
4
Press
to start slideshow play.
To return to the menu, press
•
BACK
.
English
EN
Pla
y
hts3276-3371-3378_98_en.indd 29
hts3276-3371-3378_98_en.indd 29
1/14/2009 6:03:51 PM
1/14/2009 6:03:51 PM
Summary of Contents for HTS3276
Page 2: ......
Page 51: ...52 ...
Page 55: ... 2009 Koninklijke Philips Electronics N V All rights reserved sgpjy_0903 98_4 ...