TCL TS7010, User Manual
The TCL TS7010 user manual provides detailed instructions on how to utilize all features of this sleek and modern product. Easily download the free manual from manualshive.com to ensure you are getting the most out of your TCL TS7010 experience.
Share
Download


Reviews:
No comments
Related manuals for TS7010

808
Brand: B&W electronics Pages: 7

DSR112
Brand: Yamaha Pages: 17

boomSTREAM BTSPK2
Brand: Scosche Pages: 8
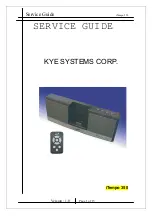
Genius iTempo 350
Brand: KYE Systems Corp. Pages: 15

MOTIF X
Brand: MartinLogan Pages: 24

AM2177-B
Brand: Polk Audio Pages: 8

L60T
Brand: JBL Pages: 2

SPK-F228
Brand: Laser Pages: 6

Solar rocker
Brand: ION Pages: 8

VORTEX 4
Brand: Karma Pages: 8

SPCW8
Brand: System Sensor Pages: 4

AL-SND05X-001/MUSEO
Brand: Altec Pages: 61

PowerSport PLUTV471AR
Brand: Pyle Pages: 6

Gravity G-4
Brand: XETEC Pages: 11

VS2620
Brand: Altec Lansing Pages: 1

Eris Series E5
Brand: PRESONUS Pages: 4

BassPULSE 2MX
Brand: Go groove Pages: 5

C51-A05153 series
Brand: I-Tech Pages: 20


