background image

29

English

3139 115 20823

Clock/Timer

3

Press

à

 or 

á

 on the system to set the hour

for the timer to start.

4

Press

í

 or 

ë

 on the system to set the minute

for the timer to start.

5

Press 

CLOCK

TIMER

 to store the start time.

The timer is now set.

The 

TIMER


remains on the display.

At the preset time, the timer will be activated.

The selected source will be played.

Notes:
– During timer setting, if no button is pressed
within 90 seconds, the system will exit timer setting
mode automatically.
– If the source selected is TUNER, the last tuned
frequency will be switched on.
– If the source selected is VCD, playback will begin
with the first track of the last selected disc or other
trays if disc is empty. If all the disc trays are empty,
the TUNER will be selected instead.
– The timer will not activate if a recording is in
progress.

To switch off the TIMER

1

Press and hold 

CLOCK

TIMER

 for more than

two seconds

.

2

Press 

Ç

 on the system to cancel the timer.

The timer is now switched off.

The display will show "

OFF

" and the 

TIMER

disappears.

To start the TIMER again 

(for the same

preset time and source)

1

Press and hold 

CLOCK

TIMER

 for more than

two seconds

.

2

Press 

CLOCK

TIMER

 again to store the start

time.

The timer is now on.

The 

TIMER

 appears on the display.

Cleaning the Cabinet

Use a soft cloth slightly moistened with a mild
detergent solution. Do not use a solution
containing alcohol, spirits, ammonia or abrasives.

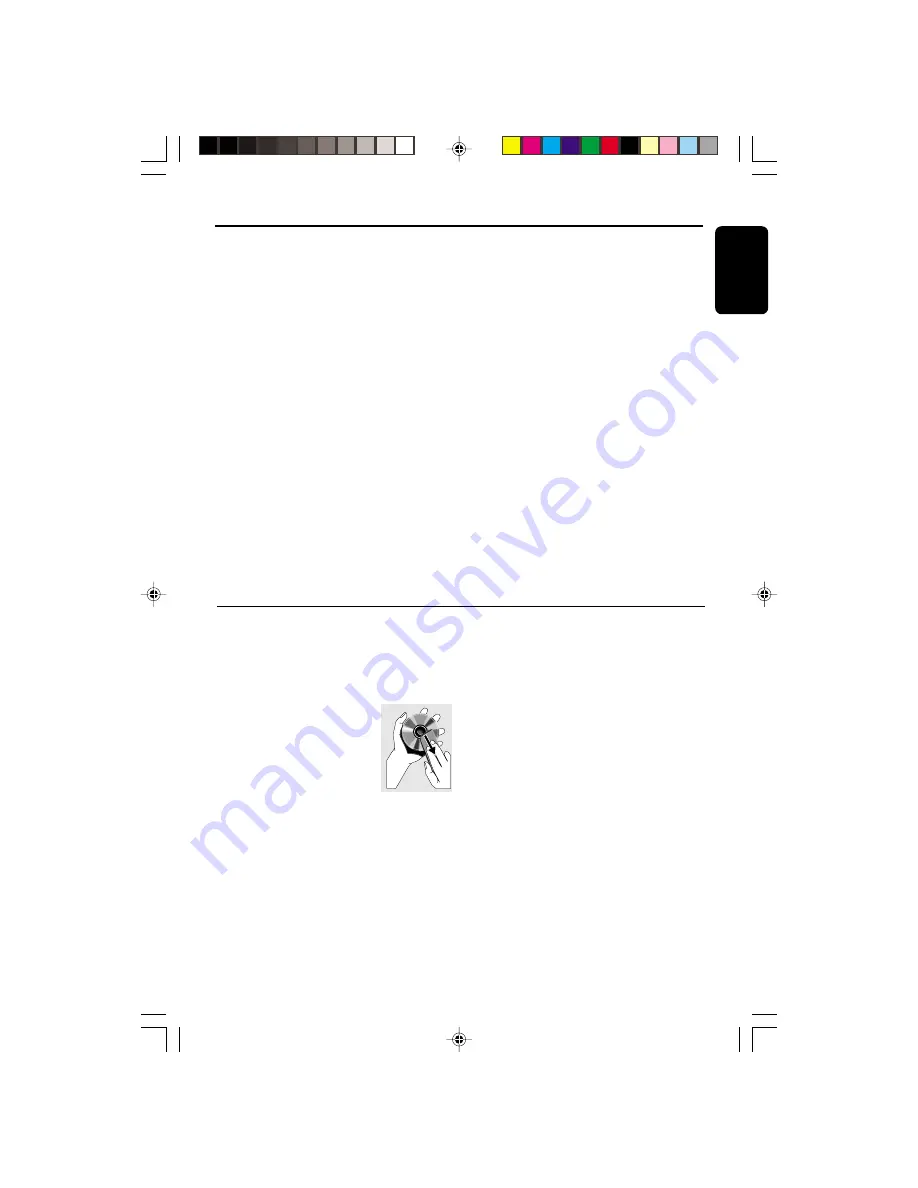
Cleaning Discs

When a disc becomes dirty,
clean it with a cleaning cloth.
Wipe the disc from the centre
out.

Do not use solvents such as
benzine, thinner, commercially
available cleaners, or antistatic
spray intended for analogue records.

Cleaning the DISC lens

After prolonged use, dirt or dust may
accumulate at the disc lens. To ensure good
playback quality, clean the disc lens with Philips
CD Lens Cleaner or any commercially available
cleaner. Follow the instructions supplied with
cleaner.

Cleaning the Heads and the Tape Paths

To ensure good recording and playback quality,
clean the heads, the capstan(s), and pressure
roller(s) after every 50 hours of tape operation.

Use a cotton swab slightly moistened with
cleaning fluid or alcohol.

You can also clean the heads by playing a
cleaning tape once.

Demagnetizing the heads

Use a demagnetizing tape available at your
dealer.

Maintenance

pg 01-032/V220/21-Eng

28/05/2001, 09:03 AM

29

Summary of Contents for FW-V220

Page 1: ...1 3139 115 20823 FW V220 FW V220 VCD MP3 CD Mini Hi Fi System Video CD ver 2 0 pg 01 032 V220 21 Eng 28 05 2001 09 03 AM 1 ...

Page 2: ... Audio Modelo FW V220 21 Alimentación 110 127 220 240V 50 60 Hz Consumo 44 W Importador Philips Mexicana S A de C V Domicilio Norte 45 669 Col Industrial Vallejo Localidad y Tel C P 02300 México D F Tel 5728 4200 Exportador Philips Electronics HK Ltd País de Origen China Nº de Serie ______________________________ LEA CUIDADOSAMENTE ESTE INSTRUCTIVO ANTES DE USAR SU APARATO CAUTION Use of controls ...

Page 3: ...PEN CLOSE D B B VIDEO O P T IM AL JA Z Z R O CK TEC H N O DSC DISC 2 DISC 1 RECORD DUBBING A REPLAY VOLUME CLOCK TIMER RETURN PBC DEMO STOP OPEN TAPE 2 TAPE 1 OPEN VCD 3C H A N G E R CD SYNCHRO RECORDING CD CD R CD RW COMPATIBLE MP3 CD PLAYBACK PAL NTSC SEARCH TUNING PREV NEXT PRESET MP3 CD ALBUM TITLE MICROPHONE LEVEL 1 2 3 4 5 6 7 8 9 0 3 pg 01 032 V220 21 Eng 28 05 2001 09 03 AM 3 ...

Page 4: ...ayability This is an important parameter for CD players other than CD Audio and especially for theVideo CD applications because any loss of data from the disc will at best cause disturbances in the reproduced picture and at worst can cause the player to lose track so that disc playing fails Presenting Super Error Correction To ensure consistently good results when playing Video CD discs of all qua...

Page 5: ...5 3139 115 20823 E n g l i s h Bahasa Indonesia Bahasa Melayu Index English 6 33 Bahasa Melayu 58 Bahasa Indonesia 85 pg 01 032 V220 21 Eng 28 05 2001 09 03 AM 5 ...

Page 6: ...e programme 17 Playing the programme 17 18 Erasing the programme 18 Repeat 18 Video CD Adjusting the TV System 18 OSD On Screen Display 18 19 Playing aVideo CD with PBC 19 Pause 19 Slow 19 Resume 19 Zoom 20 A B repeat 20 Return 20 Digest 20 Vocal 21 Echo 21 Key Control 21 MP3 Disc Album 21 Title 21 Tuner Tuning to radio stations 22 Storing Preset Stations 22 23 Tuning to Preset Radio Stations 23 C...

Page 7: ...layer When the player is switched on do not move it around Place the player on a solid base e g a cabinet Place the player in a location with adequate ventilation to prevent internal heat build up in your player Allow at least 10 cm 4 inches clearance from the rear and the top of the unit and 5 cm 2 inches from the each side Do not expose the player to excessive moisture rain sand or heat sources ...

Page 8: ...A 75 Ω terminal using a 75 Ω coaxial wire FM ANTENNA 75Ω FM AERIAL 75Ω OR C Speakers Connection Connect the right speaker to Front terminal R with the coloured wire to and the black wire to Connect the left speaker to Front terminal L with the coloured wire to and the black wire to Clip the stripped portion of the speaker wire as shown unlock lock 12 mm CAUTION For optimal sound performance it is ...

Page 9: ...trol 1 STANDBY ON y switches the system to standby on 2 DBB DYNAMIC BASS BOOST to switch on bass boost to enhance bass response or to switch off bass boost 3 DIGITAL SOUND CONTROL PANEL to view the desired DSC display 4 DSC DIGITAL SOUND CONTROL to select the desired sound effect OPTIMAL JAZZ ROCK orTECHNO 5 PROGRAM forVCD CD MP3 CD to programme disc tracks forTUNER to programme preset radio stati...

Page 10: ...LAY to initiate and start plug play from standby demo mode on the system only PREV í NEXT ë PRESET 4 3 TITLE for MP3 CD only to select previous nextTitle forVCD only to move the zoomed picture down or up forVCD with PBC on to select next or previous MENU orVCD track during playback forVCD CD to skip to the previous or next track forTUNER to select a preset station in memory for CLOCK to set the mi...

Page 11: ...lection for VCD operation only fl REPEAT to repeat a disc track or the current disc DIGIT 0 9 numbers consisting more than two figures must be keyed in within 2 seconds forVCD with PBC on to select an entry level forVCD CD MP3 CD to key in a disc track to start playback or to select another track during playback or to select a track for programming B to switch the system to standby mode DBB DSC RES...

Page 12: ...d then followed by radio stations on MW band All available radio stations with sufficient signal strength will be stored Up to 40 presets may be stored The last preset radio station will appear on the display when PLUG and PLAY is completed To reinstall the PLUG PLAY 1 In Standby or Demostration mode press and hold PLAY for five seconds on the system only AUTO INSTALL PRESS PLAY will be displayed ...

Page 13: ...d to the wall socket the demonstration will remain off until it is switched on again Switching the system ON Press VCD TUNER TAPE or AUX Press STANDBY ON in demo You can also switch on the system by pressing any one of theVCD DIRECT PLAY buttons Switching the system to standby mode Press STANDBY ON or B on the remote control The system will switch to standby mode Selecting the Source Press the res...

Page 14: ...alizer settings providing the best music reproduction Press DSC to select OPTIMAL JAZZ ROCK or TECHNO The Digital Sound Control display panel will light up respectively OPTIMAL JAZZ ROCK or TECHNO and the respective flag will be displayed Note When OPTIMAL sound is selected DBB will be switched on automatically DYNAMIC BASS BOOST DBB The DBB mode enhances the bass response Press DBB to switch on b...

Page 15: ...D Rewritable and MP3 CD format discs Support following MP3 CD formats Max Track number per Album is 255 The max ALB number is 32 The max programme track number is 99 Supported sampling frequencies for MP3 disc are 32 kHz 44 1 kHz 48 kHz Supported Bit rates of MP3 disc are 32 64 96 128 192 256 kbps Following formats can t be supported The files like WMA AAC DLF M3U PLS Chinese filename The non sess...

Page 16: ...ponding PAL or NTSC system of your TV set except multi systemTV 1 Press PLAYÉ Åto start playback All the available discs will play once then stop The disc tray track number and elapsed playing time of the current track appear on the display To interrupt playback press PAUSEÉÅ The playing time flashes To resume playback press PLAYÉÅ again 2 To stop playback press Ç Note During Disc Reading mode if ...

Page 17: ...not be used forVCDs when PBC is switched on Switch off PBC before storing tracks from such aVCD 1 Load the desired discs in the disc trays 2 Press the VCD CD 1 2 3 button to select the disc tray Programming can only be done on the selected disc 3 Press PROGRAM to start programming The PROG flag starts flashing 4 Pressí or ë or digit 0 9 on the remote control to select the desired track For MP3 CD ...

Page 18: ...s REPEAT DISC mode is not available during programme play mode VIDEO CD DBB DSC RESUME VOCAL Å É 1 3 2 4 6 5 7 9 8 VOLUME á à IS ë í Ç 0 2 TAPE 1 2 OSD VCD CD 1 2 3 AUX TUNER REPEAT PROG A B ZOOM KEY CONTROL SLOW PBC RETURN DIGEST ECHO Ö TITLE TITLE ALBUM ALBUM Adjusting theTV System Before viewing theVideo CD ensure that the set is switched to corresponding PAL or NTSC system of yourTV set except...

Page 19: ...op mode press PBC OnTV screen PBC OFF will be displayed Notes Programme mode is not available whenever PBC mode is switched on The menu structure depends on the programme stored on theVCD Please refer to the information supplied with the disc Pause 1 Press PAUSEÉ Åto have a still picture on the TV screen OnTV screen PAUSE will be displayed 2 Press PLAYÉ Åagain to continue playback Note Audio is mu...

Page 20: ...y repeat a maximum of one track Once it cross from one track to the next the A B marking is reset Return Press RETURN to return to the previousVCD disc MENU level It is functional only forVideo CD when PBC is switched on Digest This feature allows you to scan through aVCD for a quick review PBC mode must be switched off There are four digest mode for selection 1 Press DIGEST DIGEST appears on the ...

Page 21: ...you are not using the feature Echo mode is switched off when echo is at the minimum level Key Control I È i This feature allows you to change the key of your vocal range Press I I I I I to decrease vocal key level KEY X appears on the display Press i i i i i to increase vocal key level KEY X appears on the display Press È È È È È to restore vocal key to original setting KEY FLAT appears on the dis...

Page 22: ...e second The PROG flag starts flashing and AUTO will be displayed The system will search for every available station in the FM waveband first then search the MW waveband All available stations will be stored automatically The frequency and preset number will be displayed briefly The system will stop searching when all the available radio stations are stored or when the memory for 40 preset radio s...

Page 23: ...onds the system will exit programme mode automatically Tuning to Preset Radio Stations Press 4 or 3 to select the desired preset number The preset number radio frequency and waveband appear on the display Changing the MW tuning grid for specific version only The frequency step can be changed if necessary In North and South America the frequency step between adjacent channels in the MW band is 10 k...

Page 24: ... automatically at the end of playback for the selected side Then it will start playing again It will replay up to a maximum of 20 times until you press Ç When ONCE is selected the tape will play the selected side once and then stop STANDBY ON PROGRAM DIM FULL AUTO STOP PLAYBACK PLAY REC VCD MP3 CD MINI HIFI SYSTEM CD1 2 3 BAND TAPE 1 2 VCD TUNER AUX STOP CLEAR PLAY PAUSE D B B VIDEO O P T IM AL JA...

Page 25: ... release à or á the tape continues playing Notes During rewinding or fast forwarding of a tape it is also possible to select another source e g CD TUNER or AUX Before playing a tape check and tighten slack tape with a pencil Slack tape may get jammed or may burst in the mechanism C 120 tape is extremely thin and is easily deformed or damaged It is not recommended for use in this system Store the t...

Page 26: ...six to seven seconds The recording level is set automatically regardless of the position ofVOLUME Incredible Surround or DSC To prevent accidental recording break out the tab on the left shoulder of the tape side that you want to protect If CHECK TAPE is displayed the protection tab has been broken Put a piece of clear adhesive tape over the opening Recording the mixed sound OneTouch Recording Dur...

Page 27: ...ecording it is not possible to listen to another source VCD CD Synchro Start Recording 1 Load a blank tape into tape deck 2 and a disc into a disc tray 2 Press VCD to selectVCD CD mode You can programme the tracks in the order you want them to be recorded see Programming Tracks If not select the disc by pressing VCD CD 1 2 3 and the tracks are recorded according to the order on the selected disc 3...

Page 28: ...lected 00 00 starts flashing 3 Set the hour with à or á on the system 4 Set the minute with í or ëon the system 5 Press CLOCK TIMER again to store the setting The clock starts To exit without storing the setting press Çon the system Notes During clock setting if no button is pressed within 90 seconds the system will exit clock setting mode automatically When a power interruption occurs the clock s...

Page 29: ...reset time and source 1 Press and hold CLOCK TIMER for more than two seconds 2 Press CLOCK TIMER again to store the start time The timer is now on The TIMER appears on the display Cleaning the Cabinet Use a soft cloth slightly moistened with a mild detergent solution Do not use a solution containing alcohol spirits ammonia or abrasives Cleaning Discs When a disc becomes dirty clean it with a clean...

Page 30: ...cies 48 kHz 44 1 kHz 32 kHz TUNER FM wave range 87 5 108 MHz MW wave range 9 kHz 531 1602 kHz MW wave range 10 kHz 530 1700 kHz Tuning grid 9 10 kHz Number of presets 40 Antenna FM 75 Ω wire AM Loop antenna TAPE DECK Frequency response Normal tape type I 80 12 500 Hz 8 dB Signal to noise ratio Normal tape type I 48 dBA Wow and flutter 0 4 DIN SPEAKERS System 2 way double port bass reflex Impedance...

Page 31: ...d There is no disc in the disc tray No picture onTV screen Connect the cable betwen the system andTV No colour onTV Change the system to the respective PAL or NTSC setting Cannot adjust theTV system to Remove the MP 3 CD from disc tray 1 or press PAL or NTSC DISC CHANGE to select a non MP3 disc tray before adjusting theTV system RADIO RECEPTION Poor radio reception The signal is too weak adjust th...

Page 32: ...the speaker connection for proper imprecise physical location of musical phasing coloured black wires to coloured instruments black terminals Remote control has no effect on the Select the source VCD TUNER etc system before pressing the function button É í ë etc Reduce the distance to the system Insert the batteries with their polarities signs as indicated Replace the batteries Timer is not workin...

Reviews: