ENGLISH
w w w . p r o l i g h t . c o . u k
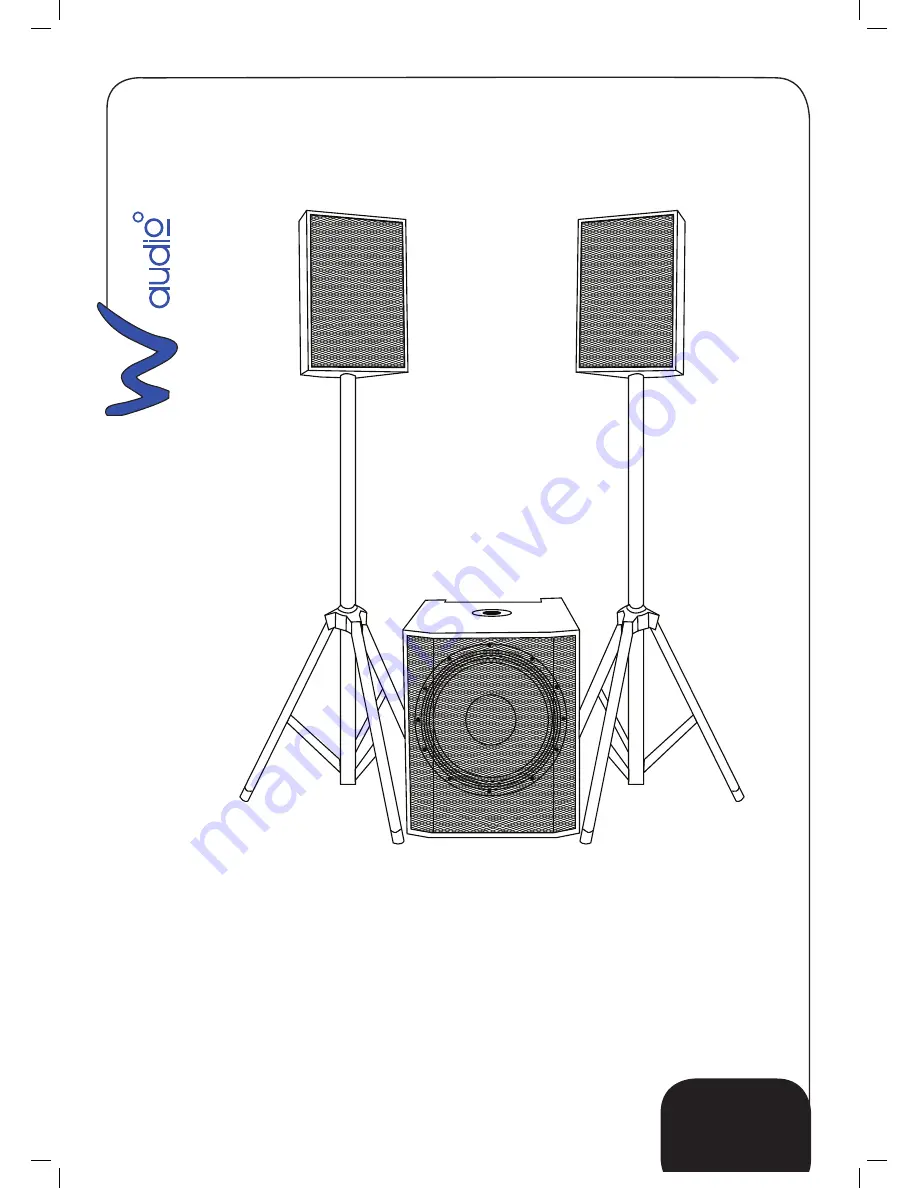
USER MANUAL
G
I
R
2
P
O
F
E
S
N
A
L
U
D
C
M
T
Order Code: SPEA40
Page 1: ...ENGLISH w w w p r o l i g h t c o u k USER MANUAL G I G R I G 2P R O F E S S I O N A L S O U N D R E I N F O R C E M E N T Order Code SPEA40...
Page 2: ...ned to the supplier it is important that the equipment is returned in the original carton and packaging CAUTION Keep this equipment away from rain moisture and liquids SAFETY INSTRUCTIONS Every person...
Page 3: ...ally If the equipment is dropped or damaged disconnect the mains power supply immediately Have a qualified engineer inspect the equipment before operating again If the equipment has been exposed to dr...
Page 4: ...aker systems can move due to bass beats and vibrations Furthermore unintended pushing on the speakers present a further risk The speaker system must always be secured against moving or the respective...
Page 5: ...ing this speaker system in public or industrial areas a series of safety in structions have to be followed that this manual can only give in part The operator must therefore inform himself on the curr...
Page 6: ...y crossover Powerful bass via housing with bass reflex system Balanced frequency range with high sound pressure levels Very high durability Speaker connection via lockable speaker plugs Scratch resist...
Page 7: ...L R L 80Hz LOW CUT SUBWOOFER VOL dB 0 8 MIC 2 VOLUME dB 0 8 MIC 1 VOLUME dB 0 8 MIC 1 MIC 2 OFF ON LIMIT HIGH CUT Hz 80 100 180 90 120 150 135 170 160 PROTECT CLIP ACTIVE PROTECT CLIP SIGNAL PROTECT C...
Page 8: ...speakers Master Control With the master volume control you can adjust the output volume of the speakers Subwoofer Vol With the subwoofer vol control you can set the volume of the subwoofer Treble With...
Page 9: ...obtain the highest sound quality only use high quality cables for connecting the units The Gig Rig 2 can be connected via balanced jack plugs or XLR plugs Always connect the left and right channels fo...
Page 10: ...ket Installing the speaker cables Connect the satellite speakers to the left and right satellite sockets The signal will be transmitted to the individual speakers Always treat the cables carefully and...
Page 11: ...imensioned in relation to the top speaker in order to prevent tilting over The subwoofer and the top speaker must only be connected via an appropriate extension pole and stand adaptor The carrying cap...
Page 12: ...the telescopic tubes you must always block a safety area around the stand or satellite system This safety area must have a diameter of 1 5 times the maximum height Lifted telescopic tubes always have...
Page 13: ...r years in the course of an acceptance test The operator has to make sure that the safety installation data is approved by a skilled person once a year Procedure The speaker system should be installed...
Page 14: ...he threaded holes on the speaker system The eye bolts must be tightened until the stop position hand tight with out any tools Insert the quick links of the safety ropes in the eye bolts of the speaker...
Page 15: ...ask a specialist for the correct plug screw combination indicating the maximum load and building material Suspended Installation DANGER TO LIFE The subwoofer must never be suspended Danger to life due...
Page 16: ...ht without any tools Step 3 Install the screw on chain link in the first and last links and tighten the fixation screw Step 4 Install the chain with the screw on chain link at the installation eyelet...
Page 17: ...Hz 20 kHz Axial sensitivity 1W 1M 95dB Maximum SPL 1M 120dB Nominal impedance 8 ohms Mid range woofer 1 x 8 Tweeter Driver 1 Directivity 90 x 60 Connections 1x Speakon NL 4 Height 16 5in 420mm Width 1...
Page 18: ......
Page 19: ......
Page 20: ...w w w p r o l i g h t c o u k...