64
For the Macintosh
®
Users:
q
Select the New catalogue from the File menu.
Note: To import an image into a catalogue that already exists, select File and Open the Catalogue
to select the catalogue into which you want to import the image.
w
Enter the new catalogue name in the dialog box, then click the Save button.
The new catalogue window is displayed.
e
Set the REC(ord)/PLAY switch to PLAY.
r
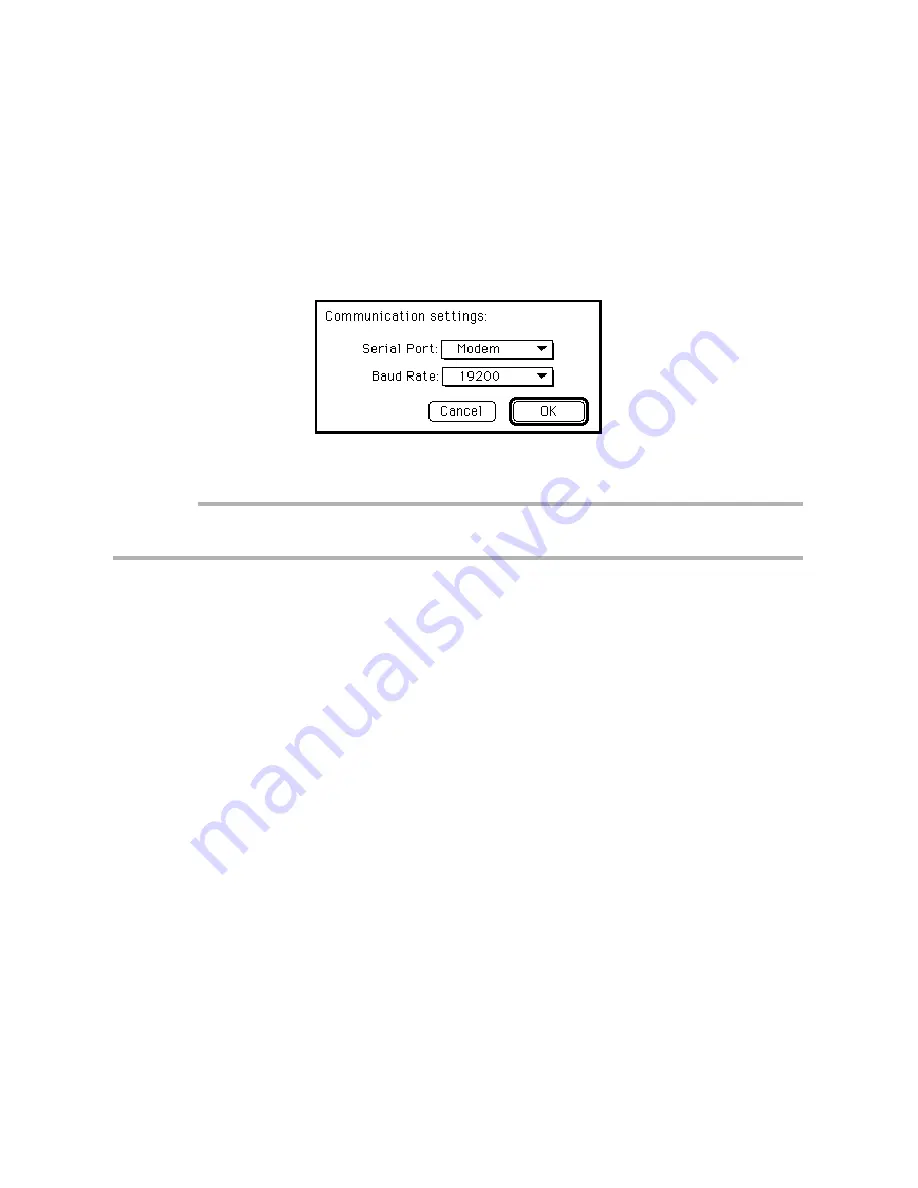
Select [Load from Philips Camera] in the File menu.
The dialog box is displayed.
t
Set the serial port and the communication speed (Baud Rate) then click the
OK button.
Important:
• When connecting to the camera through the printer port, set the Apple Talk item to Not used in the
Selector of the Apple menu.
When the computer and the camera are connected correctly, the following dialog box is
displayed.
y
Select the image to be imported.
• To specify one image at a time
Press the < button or the > button to select the image, then click the Select
check button. Repeat the operation and specify the images to be imported
in image sequence.
• To specify all images
Click the Select All button. All images that are recorded in the camera are
selected.
Note: To cancelthe image selection, remove the check in the Select check box or click the No select
button. The image that is currently selected is canceled.
u
After selecting the image, click the OK button.
The specified image is imported.
Note: • Use the AC adaptor when you transfer images to the computer.
• Refer to the on-line HELP menu in the software for further details. The Acrobat Reader
should be installed to view the HELP menu.


