E
n
g
lis
h
72
73
see page 73
see page 73
see page 74
see page 74
System Menu Options
Recorder Preferences
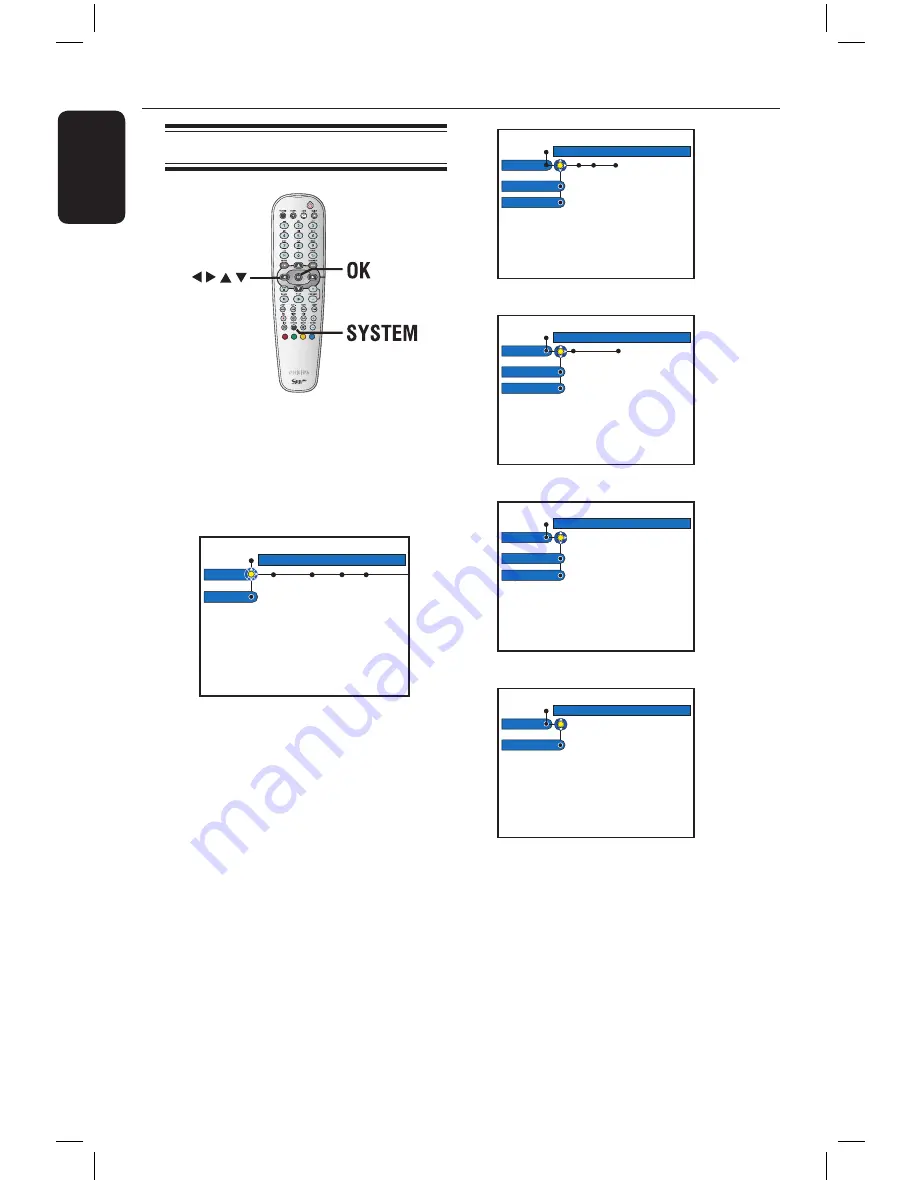
A
Press
SYSTEM
on the remote control.
The system setup menu appears.
B
Press
to select {
Preferences
} and
press
repeatedly to view the available
setup options, then press
to access.
Recording Sound Disc Access
Preferences
Setup
C
Select the setting you wish to change and
press
. Once you have changed the
setting, press
OK
to confirm and back to
the previous selected item.
Instructions and explanation of the
options are provided in the following
pages.
If the selection in the menu is greyed
out, that means the feature is not
available or not possible to change at the
current state.
D
To exit, press
SYSTEM
.
Note:
For { Recording }, see page 35.
Sound
Preferences
Sound mode
Night mode
Disc
Preferences
Adapt menu
Delete all
Access
Preferences
Child lock
Change pin
Features
Preferences
Auto resume
Sound mode
This setting is only required if you used the recorder’s AUDIO OUT L/R
sockets to connect other audio/video device.
{
Stereo
}
– Select this to hear the sound from the left and right
audio channels. Use this setting when this recorder
is connected to a TV or Stereo system.
{
Surround
}
– Select this if the connected audio/video device is
compatible with Dolby Surround. Dolby Digital and
MPEG-2 multi-channel are mixed to a Dolby
Surround compatible two-channel output signal.
Night mode
This mode optimises playback of sound at low volume. High volume
outputs will be softened and low volume outputs are brought upward to
an audible level.
{
On
}
– Turns on night mode.
{
Off
}
– Turns off night mode feature. Selects this to enjoy
the surround sound with its full dynamic range.
Adapt menu
If a DVD±RW has been recorded in a computer drive or in another
recorder, the Picture Index screen may not be displayed correctly. This
feature allows you to change the format of the disc to ‘Philips’ type.
Once you press
OK
, a message to confirm your action will appear on the
TV.
Delete all
Select this to delete all the recordings from the current recordable DVD.
Once you press
OK
, a message to confirm your action will appear on the
TV.
dvdr5350H_EU_Eng537.indd 72
2005-09-16 2:27:41 PM


