9
ENGLISH
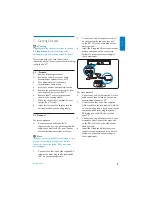
3 Getting Started
B
Warning
Carefully read the safety precautions in section
1.1 Important,
before connecting your
universal remote and docking cradle for iPod™.
This section helps you with the first time
installation of your universal remote and docking
cradle for iPod™.
3.1
Prepare
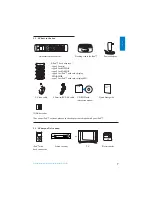
1.
Remove all package contents
2.
Position your dock near your home
entertainment system, stereo or TV.
3.
Turn off power on all your home
entertainment components.
,OCATETHENEARESTELECTRICALWALLOUTLET
5.
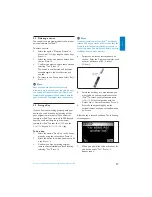
Remove the protective screen cover from
your universal remote for iPod™.
6.
Remove iPod™ connector protective
cover on the docking cradle.
7.
Select the correct dock adapter for your
specific iPod™ model.
8.
Insert the correct dock adapter into the
universal well on your docking cradle.
3.2 Connect
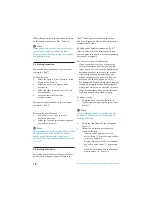
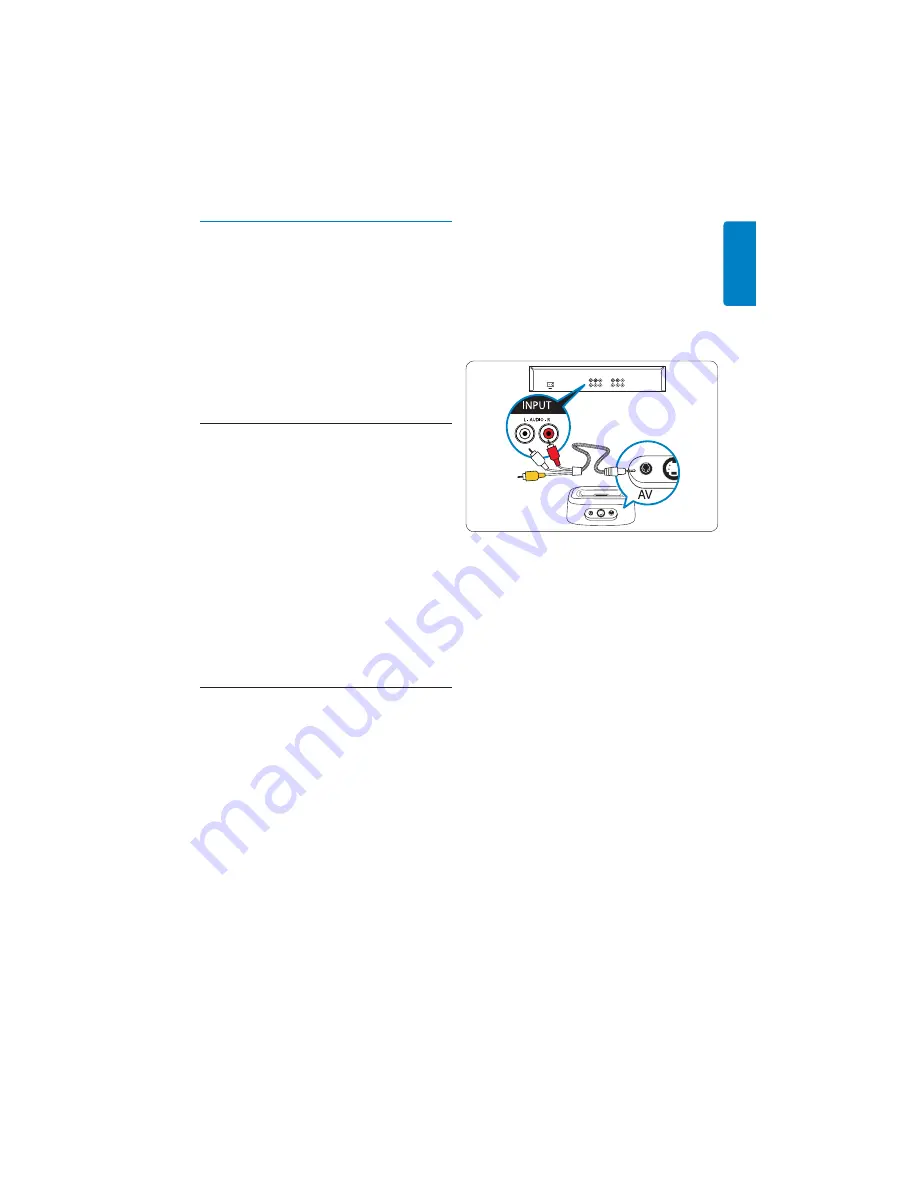
For stereo playback:
1.
Connect the red and white RCA
connectors on one end of the supplied AV
cable to the Audio In RCA jacks on your
home entertainment system or stereo.
D
Note
If you are not using the device with video, or you
plan on connecting to video via the S-Video
connection, leave the yellow RCA connector
end unplugged.
2.
Connect the other end of the supplied AV
cable with 3.5mm plug to the jack labeled
“AV” on your docking cradle.
3.
Connect one end of the power cord to
an electrical outlet and the other end
to the DC 12V jack on the back of your
docking cradle.
4.
Install the 3 supplied AA batteries into the
battery compartment on the remote.
Follow the proper polarity markings in
the compartment.
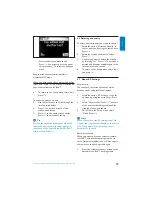
For video playback:
1.
Connect one end of the supplied S -Video
cable to the Video In jack on your home
entertainment system or TV.
2.
Connect the other end of the supplied
S-Video cable to the jack labeled “S-Video”
on your docking cradle. If you are using the
composite video jacks, plug the yellow
RCA plug into the RCA video jack on
your TV.
3.
Connect one end of the power cord to an
electrical outlet. Connect the other end
to the DC 12V jack on the back of your
docking cradle.
4.
Install the 3 supplied AA batteries into
the battery compartment on the remote.
Follow the proper polarity markings in
the compartment.
'ETTING3TARTED
Summary of Contents for DSS1005/01
Page 2: ......


