background image

Base station

38

http://www.philips.com/faqs/dect

Press to enter the carousel menu

To change a service code
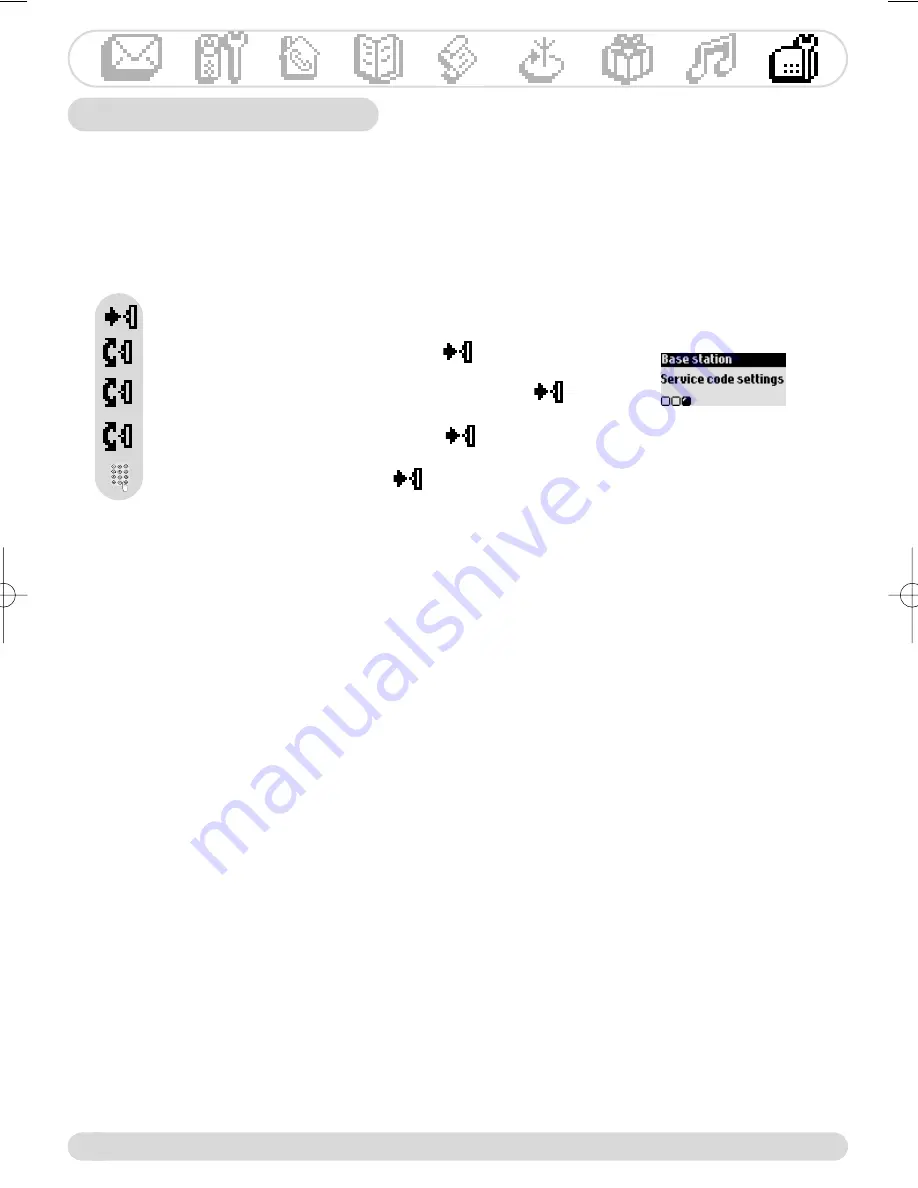
Scroll to 

Base station 

and select 

Browse the list of services and select 

Enter the new code and press 

OK

Scroll to 

Service code settings 

and select 

When you subscribe to extra services with your operator you may need to set some codes in your
phone.
The default codes are codes used by the main national operator.
If you subscribed to another operator you may need to change the codes.
Contact your network operator for more information on the services.

Service codes settings

DECT 311 GB_IE.qxp  28/06/2004  14:03  Page 38

Summary of Contents for DECT311

Page 1: ......

Page 2: ... a call Intercom If at least 2 handsets Predial number or dial number up and browse and down and browse and Predial number and select scroll to Store and select enter the name and press Ok During a handsfree call up to increase down to deacrease Scroll up to increase down to deacrease the volume During call press Options press Mute Press End mute Press to enter the carousel Scroll to Handset and s...

Page 3: ... press to insert R in between digit pause when predialling Alarm clock Short press to dial 0 Long press to activate deactivate the alarm clock Do Not Disturb case mode Short press to insert when dialling Short press to switch case mode when editing Long press to activate deactivate the Do Not Disturb mode Long press to insert a pause P when dialling Loudspeaker Press to take the line or activate t...

Page 4: ... status Full 2 3 1 3 and empty The ringer is deactivated A message on your operator voice mailbox An external call is in progress When blinking this symbol indicates that there is an incoming call or that the line is already busy with an extra handset An internal call is in progress When blinking this symbol shows that there is an internal call with an extra handset The handset loudspeaker is acti...

Page 5: ... SMS Send new SMS 12 Read SMS 13 SMS settings 15 Handset Babysit mode 17 Registering unregistering an additional handset 17 Renaming the handset 18 Setting the date and time 18 Setting the display contrast 19 Setting screen saver 19 Intercom Internal calls 20 Call transfer 20 Using conference call 21 Babysit mode 22 Phonebook Add a name 23 Viewing the phonebook 23 Call log Viewing the call log 26 ...

Page 6: ...w Delete all Call log settings Operator services Call duration Alarm clock Do not disturb mode Handset ring tones Handset ring tone volume Settings Group ring tones Enable registration Line settings Service codes settings Babysit mode Registration Rename handset Date time Display contrast Screen saver View Add new SMS mode SMS center Dial mode Recall type Operator type First ring Read SMS View num...

Page 7: ...lectrical outlet Ensure the electrical outlet is located close to the apparatus and is always easily accessible Telephone connection The voltage on the network is classified as TNV 3 Telecommunication Network Voltages as defined in the standard EN 60 950 Safety precautions Do not allow the handset to come into contact with water Do not open the handset or the base station You could be exposed to h...

Page 8: ...ything in this opening Batteries should not be disposed of with general household waste Insert the batteries as indicated and slide the battery cover back into place Allow the handset to charge for 24 hours to reach full charge Optimal battery life is reached after 3 cycles of complete charge discharge In case you need to change the batteries only use the approved type 2HR AAA NiMH 600 mAh Note Th...

Page 9: ... sub menu option use the pilot key and press to enter it A shows the selected sub menu option The shows the sub menu option your are browsing Certain menus are directly accessible via a dedicated key Example SMS or Intercom Understanding the menu system Do Not Disturb mode and the alarm clock if activated Missed calls new SMS or operator voice mailbox message if any In idle mode the DECT 311 displ...

Page 10: ... the name and press OK Press to enter the options Pre dialling Dial the number Direct dialling Answer a call When ringing Dial the number Make the call Dial the number Press the key Take the line Or Scroll up to directly reach Call log Choose an entry in the list Make the call or select Call in the options Scroll to Send SMS and select Enter destination box optional and press OK Edit the text and ...

Page 11: ...a second incoming call The name or number of the second caller may be displayed if you also subscribe to Caller Display CLI service To answer that second call use according to your network the code may be different Please contact your network provider for more details To switch the handset loudspeaker ON OFF Caller Display Caller Line Identification CLI and Call waiting To increase decrease the ha...

Page 12: ...ntence is in upper case Use to change the case mode all characters in upper case AB all letters in lower case ab First letter in upper case and the rest of the text in lower case Ab Punctuation and mathematical marks are available through and while other special characters are available on Scroll to move the cursor left or right Press to delete a character a long press deletes the whole text Press...

Page 13: ...ther service provider you must set the corresponding numbers See p 15 and the SMS leaflet Send new SMS The sent SMS can be up to 160 characters long the special characters and count for 2 It is possible to store a variable number of SMS depending on the length of each SMS To send an SMS to the receiver s own SMS box you must know his destination box SMS menu is accessible via the carousel or Impor...

Page 14: ...wse the SMS list and select Browse the SMS list and select or scroll to View number and select A stored SMS is marked in the SMS list A received SMS is marked Scroll to Read SMS and select Press to directly reach Send new SMS Note If you store an SMS you can later retrieve it from Read SMS You can store an SMS before sending it After entering the number Enter the destination box if any and press O...

Page 15: ...elect Browse the SMS list and select Press to directly reach Send new SMS Press to directly reach Send new SMS Press to confirm OK To forward Scroll to Forward and select Press to select Send now Enter the Destination box if any and press OK Enter the number and press OK Scroll to Read SMS and select Browse the SMS list and select Press to directly reach Send new SMS You can modify the text if nec...

Page 16: ...MS and select Browse the SMS list and select To copy a number to the phonebook Press to directly reach Send new SMS Press to directly reach Send new SMS SMS settings To set the SMS mode If there are 2 SMS enabled phones on your telephone line you will have to deactivate the SMS feature on 1 of the devices Scroll to SMS Settings and select Press to select Mode Press to select ON or scroll to OFF Pr...

Page 17: ...utgoing number and select Enter the number and press OK Enter the number and press OK Choose an SMS centre and select Scroll to SMS Settings and select Scroll to SMS centre and select Press to directly reach Send new SMS Press to select Choose by default Choose an SMS centre and select Scroll to SMS Settings and select Scroll to SMS centre and select Press to directly reach Send new SMS ...

Page 18: ...till answer make a call with the handset To activate deactivate the babysit mode Up to 4 handsets can be registered to a base station 1 handset can be associated to 4 base stations Warning if you wish to associate non Philips handset make sure that this handset is GAP compliant otherwise it will not operate properly Press to select ON or scroll to OFF and select Press to enter the carousel menu Sc...

Page 19: ...rrent date press OK Scroll to Handset and select Scroll to Date time and select Select Set date Note Should you have your handset serviced alone please make sure it is un registered from the base before taking it back to the repair centre To un register a handset To un register a handset Choose the handset in the list and press OK Enter the RC code 4 digit code and press OK Press to enter the caro...

Page 20: ...d select Press to select ON or scroll to OFF and select Screen saver After 2 minutes of inactivity the screen saver is displayed See p 8 You can deactivate it To set the time Press to enter the carousel menu Warning If your phone is connected to an ISDN line through an adapter the date time settings may change after each call Please check the date time settings in your ISDN system Please contact y...

Page 21: ... a specific handset when on line During a call you can transfer the call to a specific handset Press to call the other handset s Press to call the other handset Hang up Hang up Hang up To call a particular handset press handset number for example Press handset number for example to call the selected handset Note If the handset does not belong to the Philips DECT 311 range this function may not be ...

Page 22: ...t Press to enter the options with handset 1 If there is only one additional handset it rings automatically Otherwise If there is only one additional handset it rings automatically Otherwise The conference call via the in call options Conference call allows one external call to be shared with two handsets in intercom The 3 people can share the conversation No operator subscription is needed Select ...

Page 23: ...he handset in the baby s room and you will hear the noise on your additional handset Select from the handsets list the handset you want to call and select The called handset rings Take the line on the called handset The room monitoring can start Scroll to Intercom and select Press to enter the carousel menu If there is only one additional handset it rings automatically Otherwise ...

Page 24: ... callers especially the group settings The names numbers are shared with all the handsets registered to your base The names are stored in alphabetical order Once the number is dialled select Store in the options Enter the name and press OK Add new To add a name and number To store a name and number from predial Enter the number and press OK Enter the name and press OK Press to enter the carousel m...

Page 25: ...to erase the current number Browse through the list of names and select a name Enter the new number and press OK Note You can simply change any digit by moving the cursor to reach the digit and press once Note You can simply change any letter by moving the cursor to reach the letter and press once Scroll down to directly reach the list of names To call Make the call Or press to reach the options A...

Page 26: ...own to directly reach the list of names Scroll down to directly reach the list of names Note Once in the list of names a press on enables you to directly edit your SMS text To define a group for a name and a number See p 23 Scroll to Select group and select Browse through the list of names and select a name Browse through the groups A B or C and select Scroll down to directly reach the list of nam...

Page 27: ...e display shows Unknown caller as well as the date time of the call View To view the call log To call redial Note To be able to call back a correspondant in the case of an incoming call you need to subscribe to the Caller Display service Browse through the list and read the information Call log View Delete all Call log settings Scroll up to directly reach the calls list Browse through the list Pre...

Page 28: ...e Browse through the list Scroll to Delete and select Press to confirm OK Press to select an entry To view the number Browse through the list Scroll to View number and select Press to select an entry Scroll up to directly reach the calls list Scroll up to directly reach the calls list The name and number are stored in the phonebook Scroll up to directly reach the calls list ...

Page 29: ...ons and select Scroll to Call log settings and select Enter destination box if any and press OK Edit the text and press Press to select Send Now To send an SMS To delete all the call log To set the call log Browse through the list Scroll to Send SMS and select Press to select an entry Press to access the carousel Press to access the carousel Scroll up to directly reach the calls list Note Once in ...

Page 30: ... Call forward To activate call forward To deactivate call forward Press to enter the carousel menu The number is automatically chained to the call forward prefix and the system dials Hang up Press to select View Press to select Cancel Hang up From now on the calls will be redirected to the assigned phone number Enter the number to which the calls are to be forwarded and press OK Press to select Ca...

Page 31: ... Call duration Scroll to Set time enter the time and press OK Scroll to Set day and select a day The alarm clock Press to enter the carousel menu A long press on activates deactivates the alarm clock with your own settings To set the alarm clock Scroll to Extra and select Scroll to Alarm clock and select When the alarm rings press any key to stop it The snooze is then activated will ring every 5 m...

Page 32: ...oll to Extra and select Scroll to Alarm clock and select Scroll to Settings and select Press to select Ring tones Press to enter the carousel menu The current volume is heard Browse through the levels and select To set the alarm ringer volume Scroll to Extra and select Scroll to Alarm clock and select Scroll to Settings and select Scroll to Ring tone Volume and select ...

Page 33: ...ect Scroll to Do not disturb and select Scroll to Set day enter the day or period of time Scroll to Start time enter the time and press OK This feature allows you to screen calls after a certain time in the evening when you do not want to be disturbed Enter the time and select the group s allowed to call you If the caller does not belong to an allowed group the handset will remain silent while he ...

Page 34: ... hear the ring tones Press to select your ring tone Sounds Handset ring tones Group ring tones Handset ring tone volume Settings Press to enter the carousel To set the handset ring tone You can set the ring tone heard on the handset when receiving an internal call You can set the ring tone heard on the handset when receiving a call Scroll to Sounds and select Scroll to Internal ring tone and selec...

Page 35: ...he ring tone volume Press to enter the carousel Scroll to Sounds and select Scroll to Handset ring tone vol and select The current level is heard Browse through the levels to hear them Press to select the appropriate volume To set the group ring tone There are 3 groups of callers See p 23 You can associate a ring tone to a group Press to enter the carousel Scroll to Sounds and select Scroll to Gro...

Page 36: ...elect Scroll to Music on hold and select Press to select ON or scroll to OFF and select Press to enter the carousel To set the notification beep Scroll to Sounds and select Scroll to Settings and select Scroll to Notification beep and select Press to select ON or scroll to OFF and select Press to enter the carousel To set the key feedback tone Scroll to Sounds and select Scroll to Settings and sel...

Page 37: ...o register it to the base Press to enter the carousel menu To register a DECT peripheral Scroll to Base station and select Press to select Enable registration Enter the peripheral code and press OK Follow the instructions in the peripheral manual Press to enter the carousel menu Note This setting allows you to select pulse dialling also called Loop disconnect and used in countries without DTMF ton...

Page 38: ...to Line settings and select Press to enter the carousel menu To change the operator type Scroll to Base station and select Scroll to Operator type and select Browse through the options and select the appropriate type Scroll to Line settings and select Note Useful if the Caller Display CLI service does not work whereas you subscribed to that service Press to enter the carousel menu To activate deac...

Page 39: ...new code and press OK Scroll to Service code settings and select When you subscribe to extra services with your operator you may need to set some codes in your phone The default codes are codes used by the main national operator If you subscribed to another operator you may need to change the codes Contact your network operator for more information on the services Service codes settings ...

Page 40: ...ds for Caller Line Identification and it is a special service that you may subscribe to from your network operator Once you have subscribed to the service a CLI enabled phone will display the callers number unless withheld as the phone rings so that you may decide whether or not to take the call The CLI service does not work The service has been subscribed from an alternative net work to the main ...

Page 41: ...Display CLI service from your network operator as well as an SMS service subscription from the appropriate provider Is it possible to write read send or receive an SMS when the other handset is in communication DECT 3112 only No it is not possible What happens if I send an SMS to a fixed line with no SMS phone The correspondent could receive a vocal message SMS provider dependent Is it possible to...

Page 42: ...ames The procedure to add a handset has failed try again Maximum number of handsets has been reached Base station is already busy with another handset ie phonebook The DECT 311 base station or mains power pack are too close to electrical appliances The service is not activated Wrong operator type Move the handset slightly Clean the contact with a cloth moistened with alcohol No need to charge SOLU...

Page 43: ...one DSL filter plugged directly on each line socket used in the house Check the modem and the phone are plugged in the correct filter slot one specific for each The filter s can be defective Replace it them and make another test Delete an entry to free memory Contact your operator to get the correct SMSC s numbers Check the information stored page 16 Activate SMS mode page 15 Contact your provider...

Page 44: ... Article 3 1 a protection of the health the safety of the user EN 60950 1 10 2001 Article 3 1 b protection requirements with respect to electromagnetic compatibility ETSI EN 301 489 6 V1 2 1 08 2002 ETSI EN 301 489 1 V1 4 1 08 2002 Article 3 2 effective use of the radio spectrum EN 301 406 2003 The presumption of conformity with essential requirements regarding Council Directive 1999 5 EC is ensur...

Page 45: ...I Idle mode 8 Intercom 10 20 21 K Key and feedback tones 34 Keypad lock unlock 2 L Line settings 36 Loudspeaker handset 10 M Make calls 9 14 24 26 Menu structure 5 Music on hold 35 Mute 10 N Navigation in menus 8 Notification beep 35 O Operator services 29 Operator type 38 Q Quick start guide 1 R Range Read SMS 13 Recall type 37 Redial 9 Register handset 17 Rename handset 18 Reply 13 Ring tones 33...

Page 46: ......

Page 47: ......

Page 48: ......

Page 49: ......

Page 50: ......

Reviews: