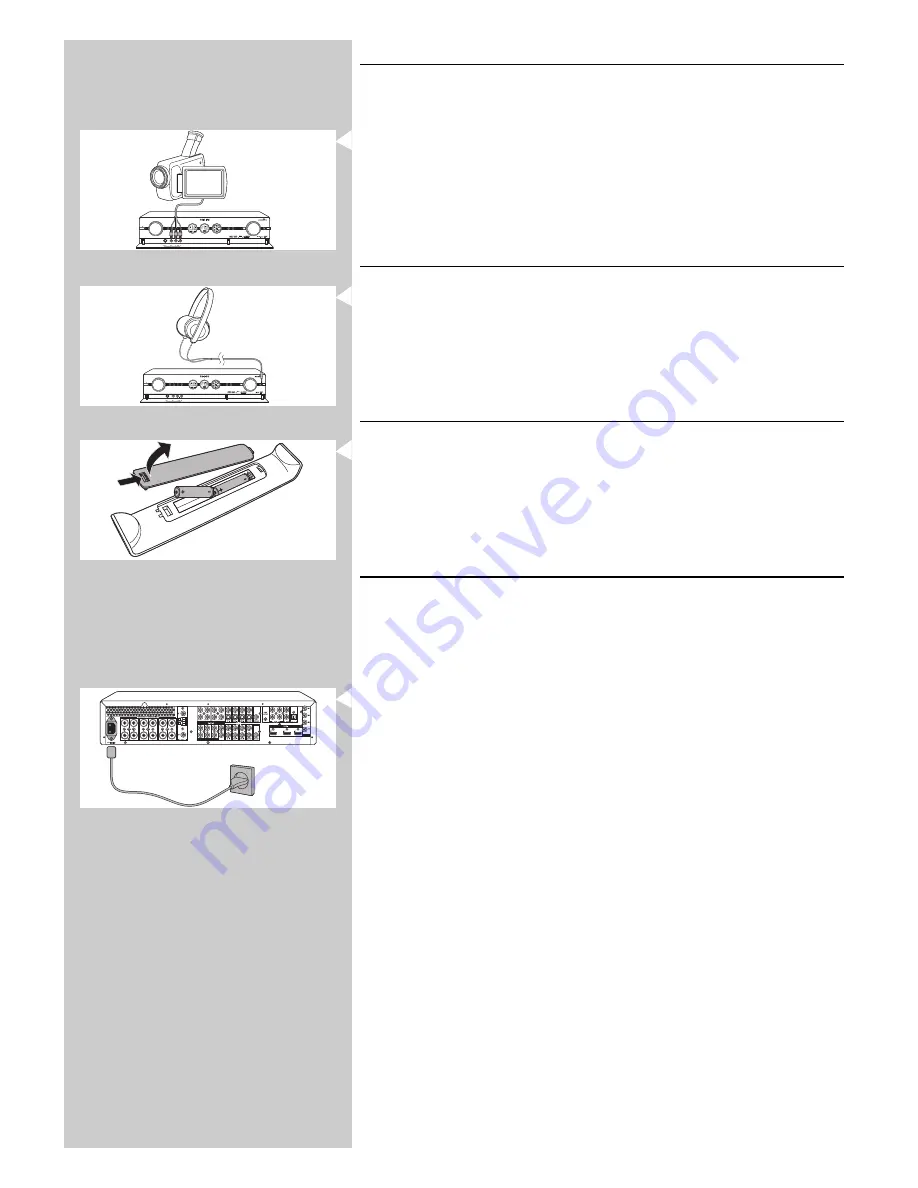
4.11 Connecting a video camera
(or other portable external sources)
1
Make sure the receiver is switched off and unplugged from the wall outlet before making
any connections.
2
Open the flap (14) on the receiver front.
3
Connect the Video and Audio ‘L’ and ‘R’ output sockets of the video camera (or other
portable external source) to the Video and Audio ‘L’ and ‘R’ input sockets (15) of your
DFR9000.
Or:
3
Connect the S-Video output socket of the video camera (or other portable external
source) to the S-Video input socket (15) of your DFR9000.
4.12 Connecting headphones
•
Connect headphones with a 3.5 mm jack to the PHONES socket (13).
> The speakers are now automatically muted and the sound will be in stereo.
4.13 Inserting the batteries in the remote control
1
Remove battery compartment cover and insert two AA (R6, 1.5 V) batteries, noting the
+ and – configuration in the battery compartment.
2
Replace the cover.
4.14 Connecting to the mains
After you have connected the speakers (and optional equipment) as described, you can connect
the unit to the wall socket.
1
Check whether the AC voltage, as shown on the type plate (on the bottom of the unit)
corresponds to your local AC voltage.
If it does not, consult your dealer or service organisation.
2
Make sure all connections have been made before connecting your DFR9000 to
the mains supply.
3
Connect the mains lead to the wall socket.
> When the unit is connected to the wall socket, the Standby/On indicator (1) lights up
red.
> The AC power supply is now switched on.
•
When the set is switched to standby, it is still consuming some power.
To disconnect the set from the mains supply completely, withdraw the mains lead
from the wall socket.
Note For users in the U.K.: please follow the instructions on page 2.
ENGLISH
23
CD IN
CD-R IN
AUX IN
STANDBY-ON
SOURCE
OK
SYSTEM MENU
+
+
SURROUND
BASS/TREBLE
IR
PHONES
VOLUME
+
+
DFR 9000 DIGITAL SURROUND RECEIVER
STANDBY-ON
SOURCE
OK
SYSTEM MENU
+
+
SURROUND
BASS/TREBLE
IR
PHONES
VOLUME
+
+
DFR 9000 DIGITAL SURROUND RECEIVER


