


14
Install and use the camcorder
software
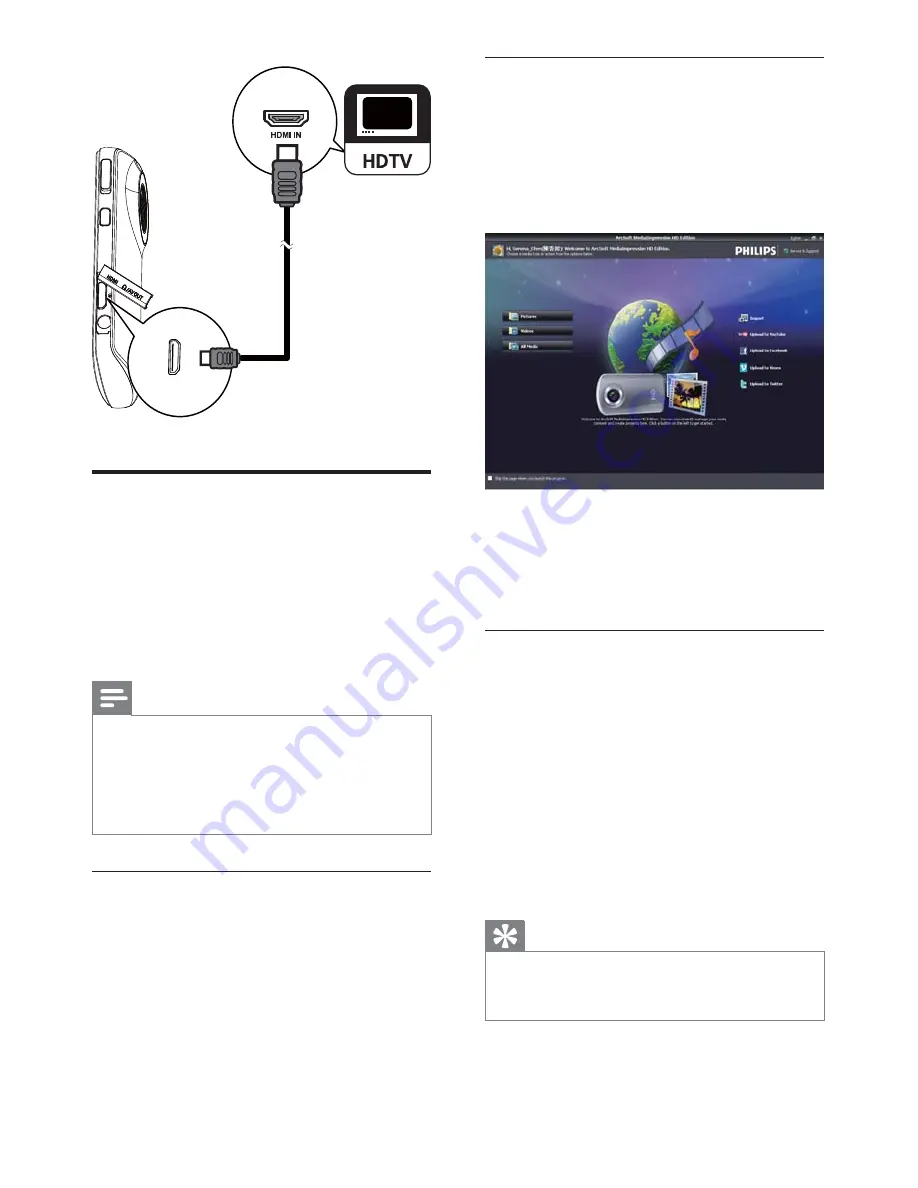
1
On your PC, click
Start\(All) Programs\
ArcSoft MediaImpression HD Edition
.
The main screen of the software
»
appears.
2
Click an option to select the
corresponding operation.
3
Follow the on-screen instructions to
complete the operation.
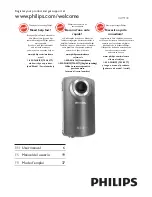
Transfer video/pictures to a PC/Mac
1
Connect the camcorder to a PC/Mac
(see ‘Get started’ > ‘Charge the built-in
battery’).
It may take some time for the PC/Mac
»
to recognize the camcorder.
2
Find your video/pictures at
My
Computer\Removable Disc\
DCIM\100MEDIA
.
3
Copy any video/pictures you want to your
designated folder in the PC/Mac.
Tip
You can also import the video/picture files
•
with the camcorder software (for PC) or
iMovie (for Mac).
Install and use the camcorder
software
With the software (ArcSoft MediaImpression
HD Edition) available in the internal memory
of the camcorder, you can import, edit, archive
or upload your pictures/videos to the Internet
easily.
Note
The software supplied only works on PCs that
•
operate Microsoft® Windows® XP, Vista and
Windows 7.
When you connect the camcorder to a Mac,
•
use the iMovie software to import and edit
your pictures/videos directly.
Install the camcorder software
1
Connect the camcorder to a PC (see ‘Get
started’ > ‘Charge the built-in battery’).
2
If the software does not install
automatically, find and click the
Setup
icon at
My Computer\Removable Disk
.
3
Follow the on-screen instructions to finish
installation of the software.
EN
Summary of Contents for CAM100
Page 5: ...5 EN ...