


Use more of your TV
5.2.2
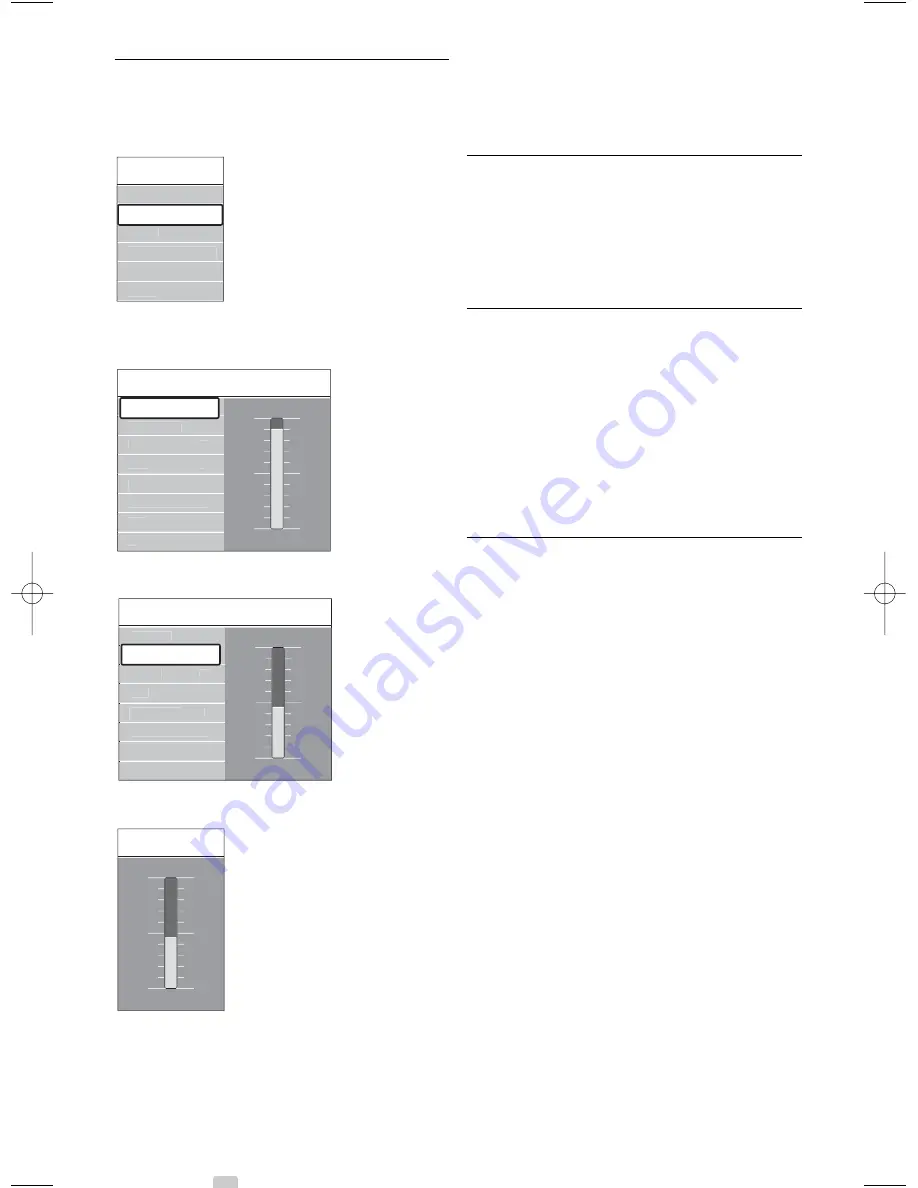
Use of the menu
Learn to use the menus with this example.
‡
Press
Menu
Ï
.
The TV menu appears on the screen.
®
Press
o
or
œ
to select
Picture
.
Ò
Press
π
to enter the picture settings.
†
Press
œ
to select
Brightness.
º
Press
π
to enter the brightness setting.
◊
Press
o
or
œ
to adjust the setting.
‹
Press
p
to return to the Picture settings or
press
Menu
Ï
to quit the TV menu.
r
Note
:
More choices come available when digital channels
are installed and broadcasted.
5.3
Picture and Sound settings
The first time you switched on the TV you have
selected your preferred settings for picture and
sound. The following sections describe how to
modify or read just those settings.
5.3.1
Smart settings
Sets the TV to one of the predefined settings. Each
setting combines picture and sound.
‡
Press
Menu
Ï
and select
Smart settings
.
®
Press
π
to enter the list.
Ò
Press
o
or
œ
to select a setting.
†
Press
OK
.
º
Press
Menu
Ï
to quit the TV menu.
Smart settings: Personal, Vivid, Standard, Movie,
Energy saving, Game.
5.3.2
Settings assistant
Use the Settings assistant to guide you through
basic picture and sound settings in an easy way.
‡
Press
Menu
.
®
Select
Settings assistant
and press
π
to enter.
Ò
Press the green key to start the assistant.
†
Press
p
or
π
to select the left or right side to
make your choice.
º
Press the green key to go to the next setting.
Go through several settings.
◊
When finished, press the green key to store all
your settings.
Brightness
Picture
Brightness
Contrast
Colour
Hue
Tint
...
Sharpness
Brightness
98
52
0
4
Noise reduction
47
Picture
Contrast
Colour
Hue
Tint
...
Sharpness
Brightness
90
52
0
4
Noise reduction
47
Contrast
TV menu
Sound
Settings assistant
Features
Setup
Smart settings
Picture
12
2730.3 en 05-03-2009 15:14 Pagina 12


