1
English
Unpacking and wall mounting instructions
For the unpacking instructions follow the illustrated steps printed on the
packaging (outside and inside).
For the wall mounting instructions follow the illustrated steps
‘
to
§
printed on the first pages of this instruction booklet.
Make sure that the wall mount is being fixed securely enough so that it meets
safety standards.The weight of the monitor (excl. packaging) is about 43 kg.
Connect your computer
&
Connect one end of the VGA cable
1
supplied to the video card of the
computer and the other end to the
VGA IN
connector at the rear side of the
monitor. Fix the connectors firmly with the screws on the plug.
é
In case of a Multimedia computer, connect the audio cable
2
to the audio
outputs of your Multimedia computer and to the
AUDIO IN R
(right) and
L
(left) inputs of the monitor.
Daisy chaining
The Active Loop Through facility makes it possible to make a daisy chain with
a second VGA monitor.
“
Connect one end of another VGA cable
3
to the
VGA OUT
connector at
the rear side of the monitor and the other end to the
VGA IN
connector of a
second VGA monitor.
‘
In case of a Multimedia computer, also connect the audio cables
4
to the
AUDIO L
and
R
outputs of the monitor and to the
AUDIO IN L
and
R
inputs
of the second VGA monitor.
Note: only use the VGA cables supplied or use cables that are specially delivered
with the monitor.
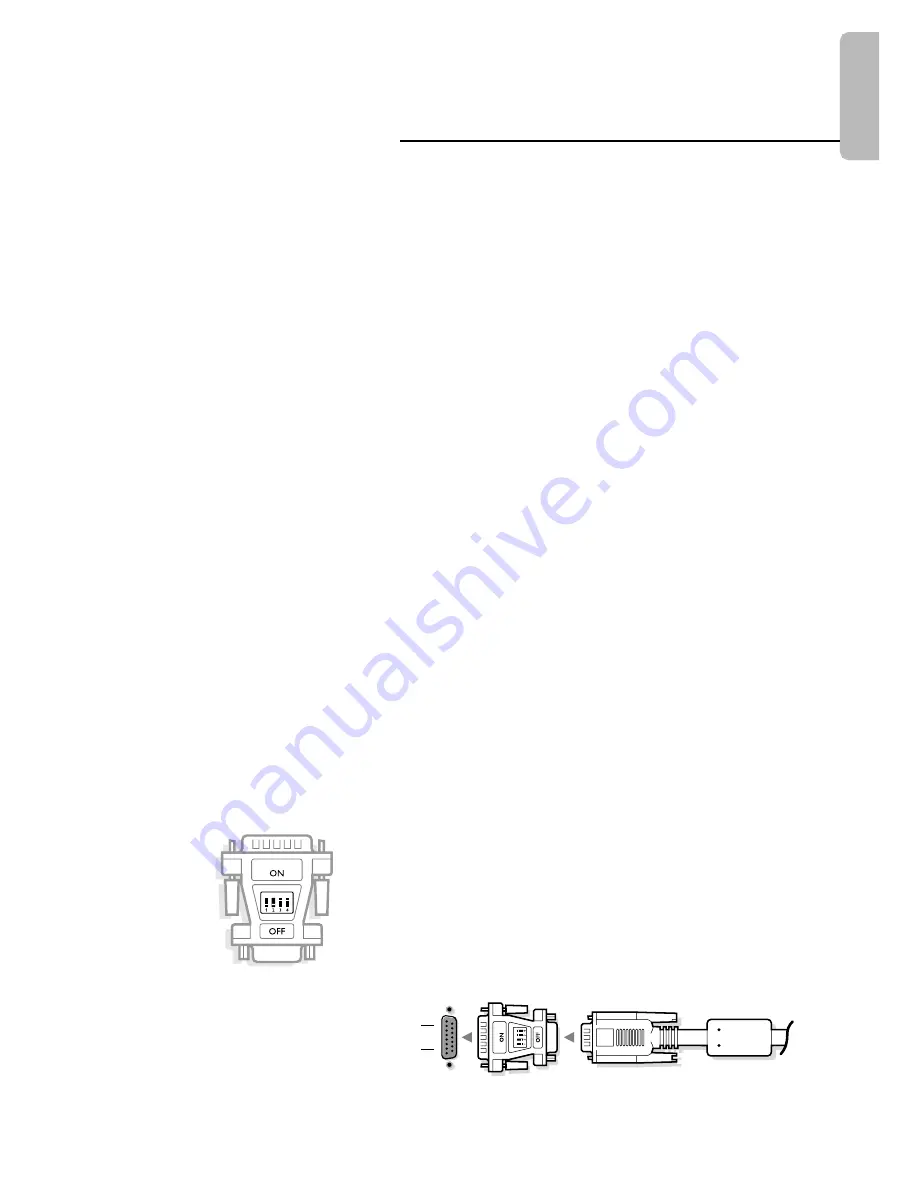
Connect your Apple Macintosh* computer
Attention: Macintosh computers with separate H and V synchronisation signals
can be used together with a switchable adaptor. Macintosh computers with
Composite Sync and Sync on Green signals may need another special adaptor or
cable. Contact your dealer.
Connect the switchable adaptor for Apple video connectors to one end of a
VGA cable.
Put the DIP switches on the adaptor in the following positions :
1
2
3
4
off
off
on
on
Connect the end of the VGA cable with the adaptor to the video card of the
computer and the other end to the
VGA IN
connector on the back of the
monitor.
Screw the connectors down firmly.
* Apple Macintosh is a registered trademark of Apple Computer, Inc.
15-pin D sub
(2-row)
15-pin mini D sub
(3-row)
a
Summary of Contents for 42FD9932 - annexe 2
Page 1: ...4 4 x 2 a b ...
Page 2: ...406mm 16 73mm 2 87 5 5 10 x 4 x 4 ...
Page 3: ...a b 6 x 6 ...


