11
3. Image Optimization
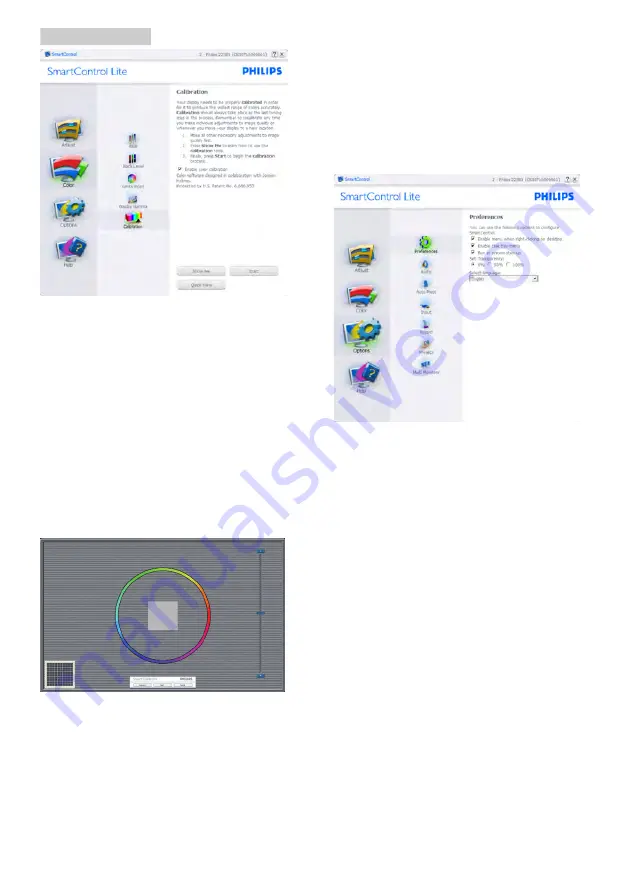
1. "Show Me" starts color calibration tutorial.
2. Start - starts the 6-step color calibration
sequence.
3. Quick View loads the before/after images.
4. To return to Color home pane, click the
Cancel
button.
5. Enable color calibration - by default is on.
If unchecked, does not allow for color
calibration to happen, dimes out start and
quick view buttons.
6. Must have patent info in calibration screen.
First color Calibration Screen:
• Previous button is disabled until the second
color screen.
• Next goes to the succeeding target
(6-targets).
• Final next goes File>Presets pane.
• Cancel closes the UI and returns to the
plug in page.
Options>Preferences
- Will only be active
when selecting Preferences from the drop-
down Options menu. On a non-supported
display capable of DDC/CI, only the Help and
Options tabs are available.
• Displays current preference settings.
• A checked box enables the feature. The
check box is a toggle.
• Enable Context Menu on desktop is
checked (On) by default. Enable Context
menu displays SmartControl Lite selections
for Select Preset and Tune Display in the
desktop right-click context menu. Disabled
removes SmartControl Lite from the right
click context menu.
• Enable Task Tray icon is checked (On) by
default. Enable context menu shows the
task tray menu for SmartControl Lite. A
right click on the task tray icon displays the
menu options for Help, Technical Support,
Check for Upgrade, About, and Exit. When
Enable task tray menu is disabled, the task
tray icon will only display EXIT.
• Run at Startup is checked (On) by default.
When disabled, SmartControl Lite will not
launch at start or be in the task tray. The
only way to launch SmartControl Lite is
either from the desktop short cut or from


