


3
Press
to set the hour and press to
con
fi
rm.
4
Press
to set the minutes and press
to con
fi
rm.
5
Press
MENU
to exit.
Set timer options
1
Press
MENU
.
2
Select
[FEATURES]
>
[TIMER]
.
3
Press
to select from the following
options and adjust:
[ON TIME]
Sets the time for the TV
to turn on from standby.
[ON CHANNEL]
Sets the channel
when the TV is turned on from
standby.
[OFF TIME]
Sets a time for the TV
to switch off.
[SLEEP TIME]
Sets a delay in
minutes after which the TV is
switched to standby.
[CH SWITCH]
Sets a time for the
TV to switch to another channel.
[SWITCH TO]
Sets a channel
to switch to when the TV is
programmed to switch to another
channel.
4
Press
MENU
to exit.
•
•
•
•
•
•
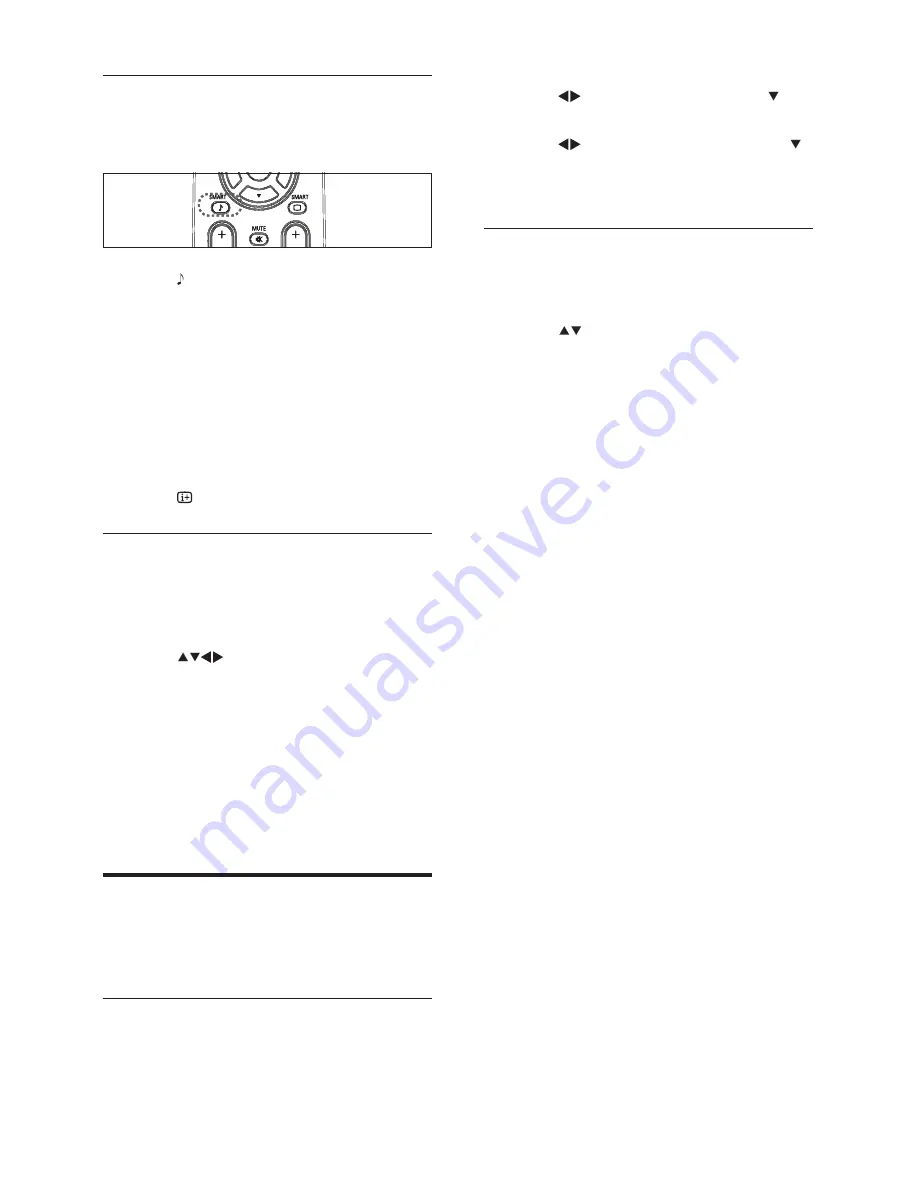
Use smart sound
Use smart sound to apply pre-de
fi
ned sound
settings.
1
Press
SMART
repeatedly to cycle
through the four settings.
[PERSONAL]
Settings are set to
your preference.
[VOICE]
Emphasises high tones
(treble boosted).
[THEATRE]
Emphasises sensation to
action (bass and treble boosted).
[MUSIC]
Emphasises low tones (bass
boosted).
2
Press
to exit.
Adjust sound settings
1
Press
MENU
2
Press the navigation buttons to enter the
[SOUND]
menu.
3
Press
to select from the following
settings and adjust:
[TREBLE]
Adjusts the treble level.
[BASS]
Adjusts the bass level.
[BALANCE]
Adjusts the balance of
the right and left speakers to best
suit your listening position.
[SURROUND]
Enables spatial
sound.
Use timers
You can set timers to switch the TV on or
switch to standby at a speci
fi
ed time.
Set the time
1
Press
MENU
.
2
Select
[FEATURES]
>
[TIMER]
>
[CLOCK]
.
•
•
•
•
•
•
•
•


