- 5 -
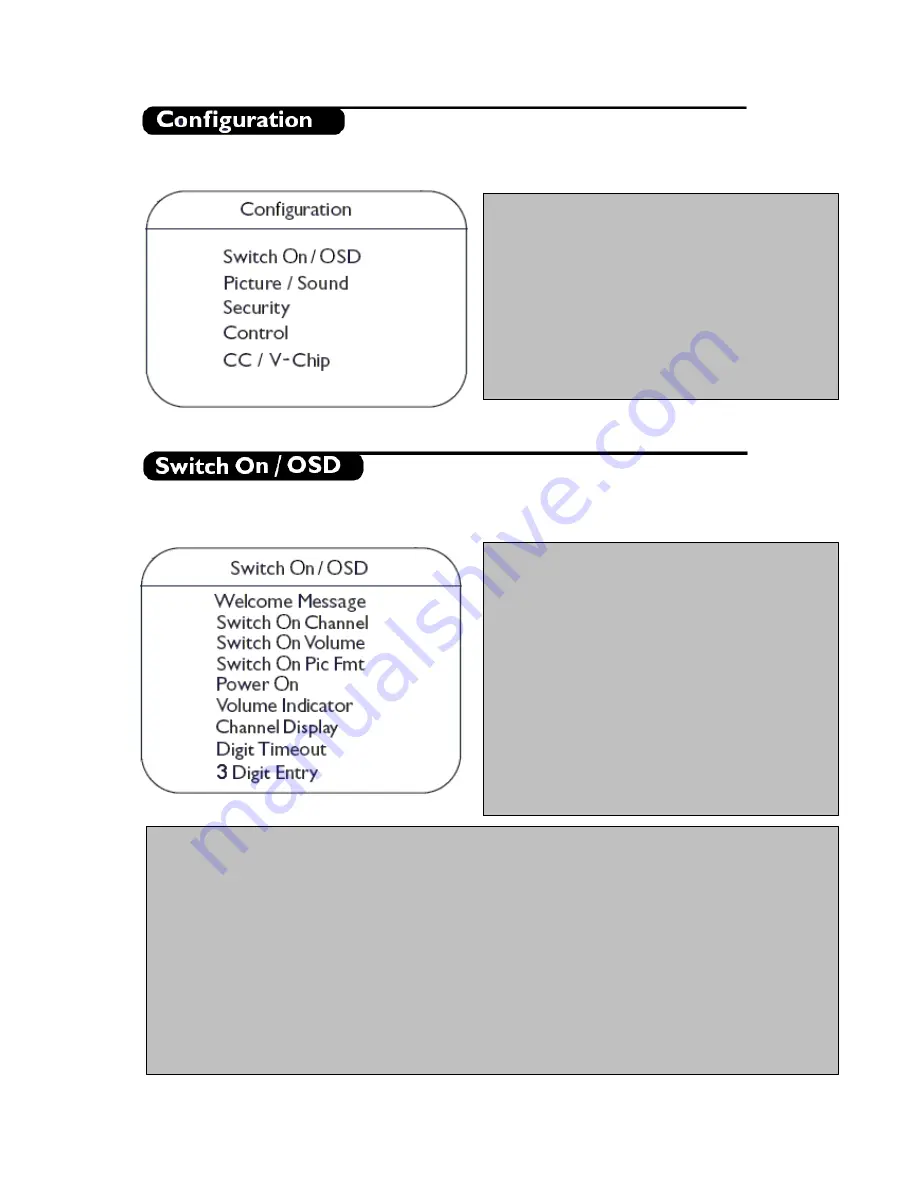
In the Configuration menu, various settings and features of the TV can be adjusted.
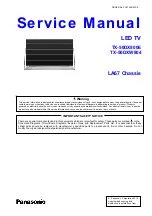
In this sub menu the behavior of the TV after switching on and the behavior of the On Screen Display can be
selected.
•
Switch On/OSD
: In this sub -menu the behavior
of the TV after switching on and the behavior of
the On Screen Display can be selected.
•
Picture/Sound
: In this sub-menu, the Picture and
Sound settings of the TV can be selected.
•
Security:
In this sub-menu, the Security settings of
the TV can be configured.
•
Control:
In this sub -menu, the Control settings of
the TV can be configured.
•
CC/V
-
Chip:
In this sub-menu, the Close Caption
and V-Chip settings of the TV can be configured.
•
Welcome Message
: Press Cursor Left/Right to
display the Welcome message entry menu:
o
Welcome Message
o
Line 1
o
Line 2
o
Clear
With the Cursor Up/Down buttons you can set the
message characters.
•
Switch On Channel:
This item sets the television’s
channel at switch on.
•
Switch On Volume:
This item sets the television’s
volume at switch on. Use the Right/Left Cursor
buttons on the Remote Control to adjust.
•
Switch On Pic Fmt:
This item sets the television’s
Picture Format at switch on. Use the Right/Left
Cursor buttons on the Remote Control to adjust.
•
Power On:
The Power On menu function defines the behavior of the television whenever AC Power is applied.
The valid states are "FORCED ON", "LAST STATUS" and “STANDBY”.
o
When “FORCED ON”, the television can only be switched OFF by means of the main switch or a set-
up remote control or by ESP function (Energy Saving Programmability controls the maximum
continuous viewing time allowed by the control system).
o
When “LAST STATUS”, the television switches on the previous status, ON or Stand-by.
o
When “STANDBY”, the television always switches on in Stand-by.
•
Volume Indicator:
To display volume indicator when adjusting volume, select "YES". Select “NO” to hide the
volume indicator.
•
Channel Display:
Program Display values can be:
Number, Label, All, None
.
•
Digit Timeout:
This is the time-out to enter the second digit of channel number (example: for channel number
10 and above).
•
3 Digit Entry
: To allow for 3 -digit entry of channel numbers via the Remote Control, select “YES”. Select
“NO” to allow only 2-digit entry of channel numbers via Remote Control.


