10BDL4551T
11
(5). Clone Media Files into internal
Back Page: Network Settings
Next Page: Setup Complete
Skip Page: Setup Complete
(6). Setup Complete
Finish: go to boot on source.
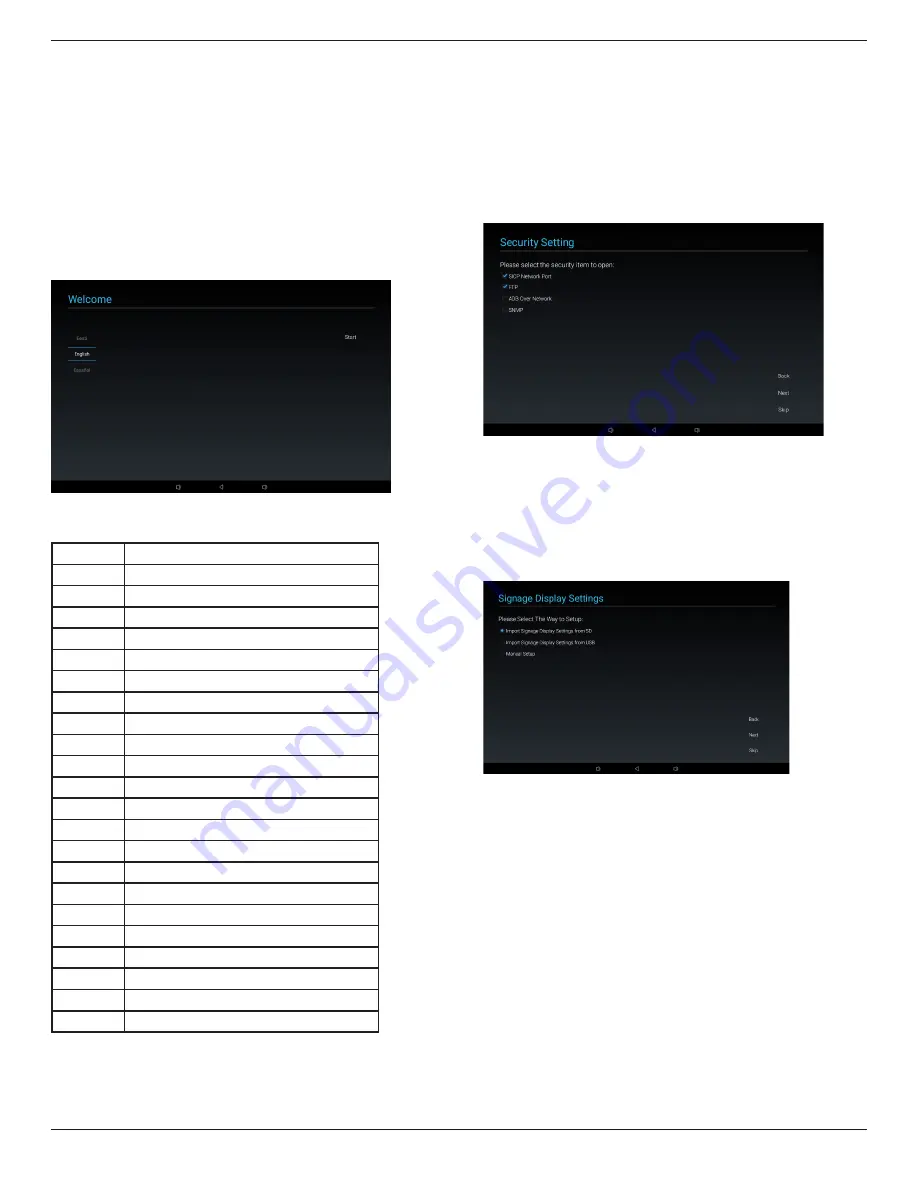
5.1.2. Welcome
Select the language and click “Start” to start settings.
The default of the Navigation bar is “enable”. So you can
see it in the bottom.
(1). Support Language
We support 22 OSD languages.
No
Support Language
1
ENGLISH
2
SPANISH
3
FRENCH
4
ITALIAN
5
LATVIAN
6
LITHUANIAN
7
DUTCH
8
NORWEGIAN
9
POLSKI
10
PORTUGUESE
11
FINNISH
12
SWEDISH
13
TURKISH
14
RUSSIAN
15
ARABIC
16
SIMPLIFIED CHINESE
17
TRADITIONAL CHINESE
18
JAPANESE
19
CZECH
20
DANISH
21
GERMAN
22
ESTONIAN
5.1.3. Security Setting
You can select which security item to open:
*SICP Network Port
*FTP
*ADB Over Network
*SNMP
You can click “Skip” if you do not want to open security
items.
5.1.4. Signage Display Settings
The user can choose to import Database or setup manually.
You can click “Skip” if you do not want to run this page.
PS: (1) Database needs to put in the “Philips” folder in SD or
USB drive.
(2) Data base file name should be “settings.db”
(1) Import Signage Display Settings from SD
Import Database from SD card, it will jump to the page: 5
Clone Media Files into internal .
PS: If the Database is imported successfully, you need to re-
boot the display.
(2) Import Signage Display Settings from USB
Import Database from USB drive, it will jump to the page: 5
Clone Media Files into internal .
PS: If the Database is imported successfully, you need to re-
boot the display.
(3) Manual Setup
If you choose manual setup, you need to setup some items:
* General Information
When you finish setup, it will jump to the page: Network
Settings.
PS:
Ne need to re-boot after setup.
Signage Display Name


