IOLAN SDG2 W Quick Start Guide ‐ P/N 5500415‐10 (Rev C)
2
Button/Switch Functions
Reset Button
To reboot the IOLAN SDG2 W insert a paper clip into the inset hole labelled as
Reset and gently press inwards and release. The Power/Ready LEDs on the IOLAN
SDG2 W will go On and then momentarily Off when released to show that the unit
has been rebooted. If you hold the reset button between 3 and 10 seconds, the
IOLAN SDG2 W will reset the configuration to factory default (either the Perle or
custom default configuration). If you hold the reset button greater than 10
seconds, then the IOLAN SDG2 W will reset the configuration to the Perle factory
default configuration.
WPS Button
Insert a paper clip into the inset hole labelled as WPS and gently press inwards.
Pressing this button for less than 3 seconds will put the IOLAN SDG2 W in WPS
mode, greater than 4 seconds will put the unit in Soft‐AP mode.
Console Switch
The dip switch on the IOLAN SDG2 W is set in the factory to serial (down position).
Unless you plan to attach a console to serial port 1 of the IOLAN SDG2 W, leave
the dip switch in the serial position
Serial Port
Please refer to the pin‐out table in the IOLAN SDG2 W Hardware Installation
Guide for your device and ensure you have the appropriate cable for connecting
your serial device to the serial ports on the IOLAN SDG2 W.
Connecting the Hardware
Power
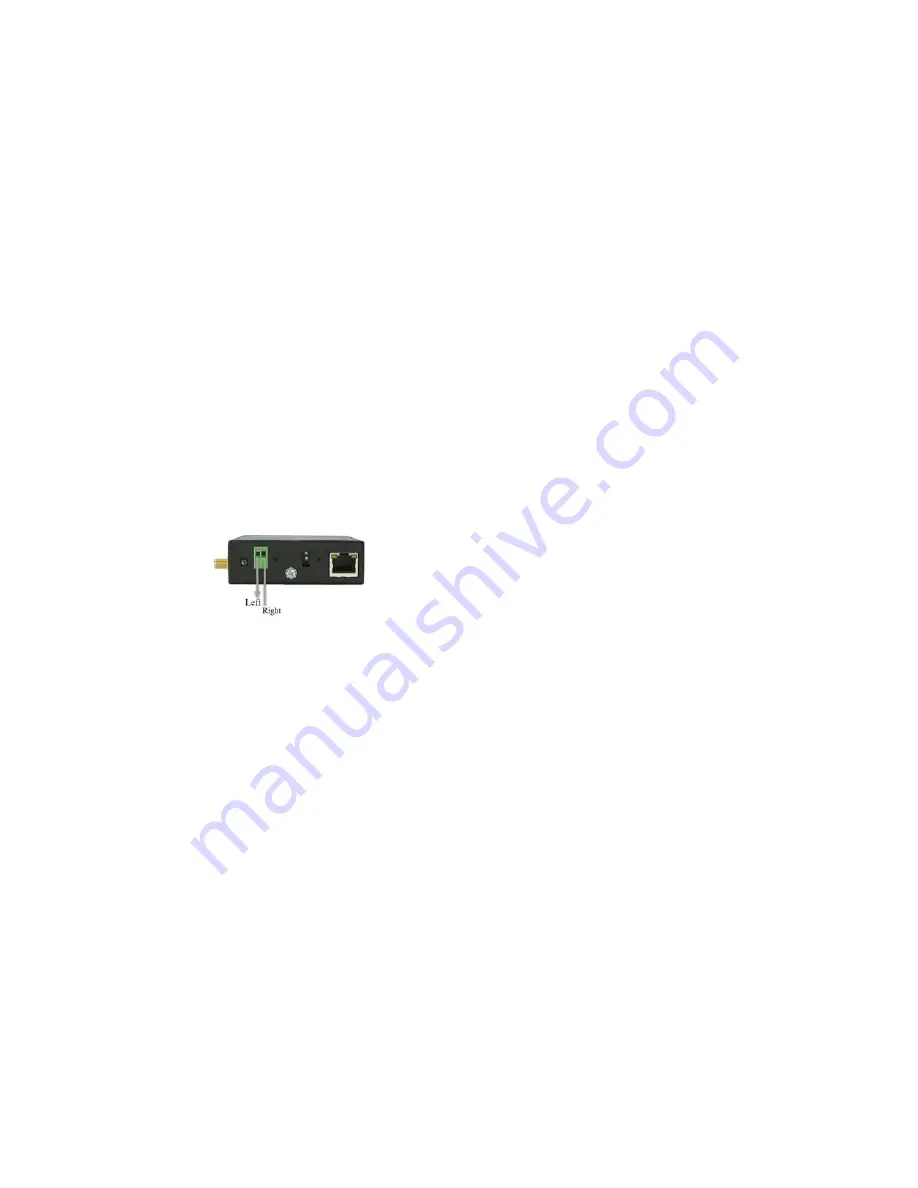
Either the barrel or TB(Terminal Block) can be used to power the IOLAN SDG2 W.
Connecting the barrel connector
Plug the power adapter into a power socket and connect the barrel connector end
into the IOLAN SDG2 W. The Power/Ready LED should show a solid green.
Connecting the terminal block connector
1.
Ensure power is NOT applied to the wires prior to connection.
2.
On each end wire (12‐20 AWG), remove the insulation from the copper wire 5
mm (3/16 of an inch).
3.
Loosen the left screw on the top of the terminal connector block, then insert
your positive (+) wire into the left terminal and screw it down tight (.51Nm
torque). Loosen the right screw on the top of the terminal connector block,


