


IDS-509PP Hardware Installation Guide
15
Connecting Data Ports
Ethernet Connections
By default all of the 10/100/1000 ports will automatically set themselves up to match the
speeds of all attached devices. If auto negotiation is not supported by one or more attached
devices, the ports can be configured to operate at fixed speeds and duplex settings.
Warnin
g:
In hazardous location installations, failure to remove the power from the source
prior when completing the wiring connections to the Ethernet ports could cause an electri-
cal arc resulting in a possible explosion.
To connect to 10Base-T, 100Base-TX or 1000Base-T follow these steps:
1. When connecting to devices, workstations, servers or routers connect a straight
through Ethernet cable to a 10/100/1000 RJ45 connector on the front of the IDS
switch. Gigabit Ethernet requires CAT5 or better.
2. Once the device is connected and link is established the link LEDs will turn on. These
LEDs will indicate whether you have a 10,100 or 1000 Mb/s link to the switch. See.
(LED Indicators) for more details.
Note:
It may take a few seconds for the device to become active. By default the IDS
switch will have Rapid Spanning Tree (RSTP) protocol enabled. This protocol will first
check the network for any cabling loops prior to bringing the port up, in order to prevent
network disruptions.
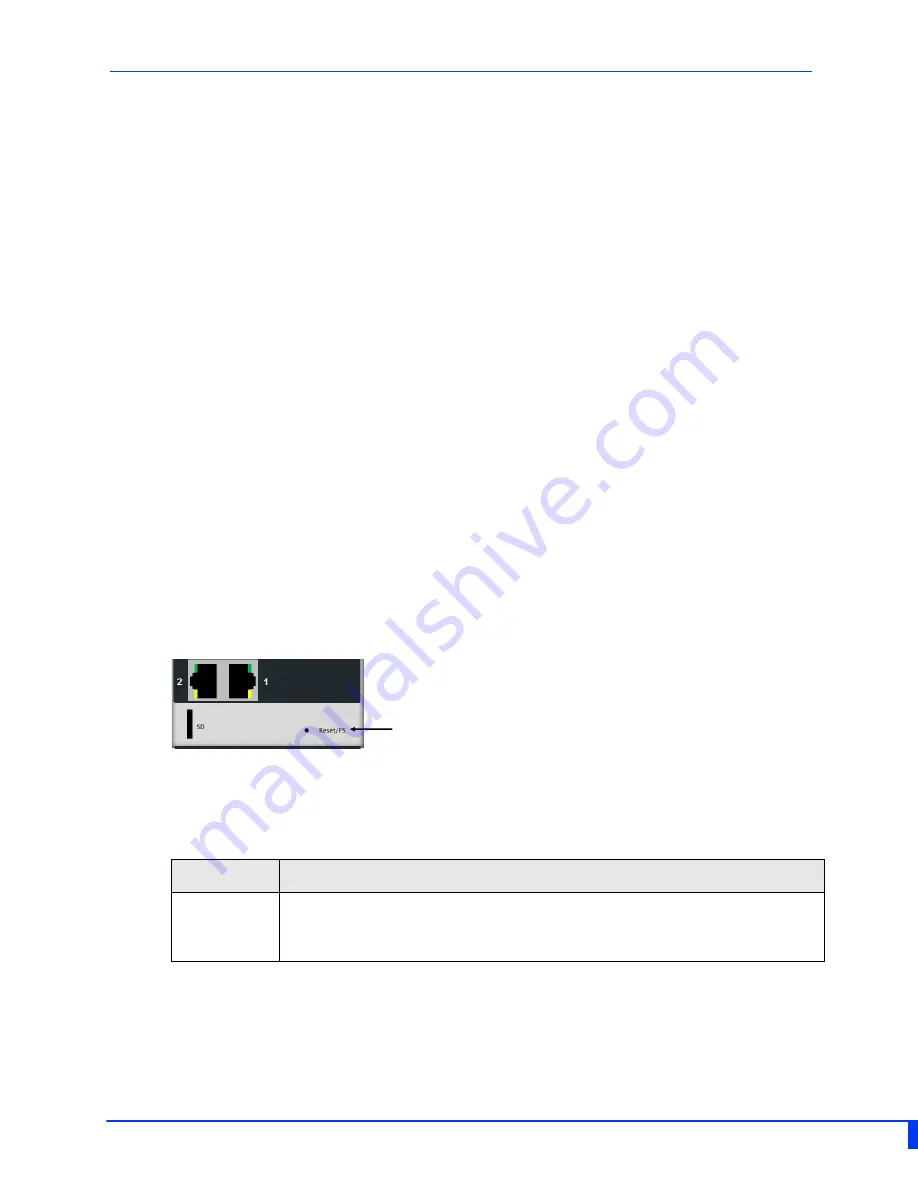
Resetting the Switch
The Reset/Fast Setup button is located near the bottom of the switch. A small tool such as
a paper clip is needed to access the recessed button.
Soft Reset
To reset/restart the switch you can perform a soft reset. Press and immediately release the
reset button to perform a soft reset.
LED
Behavior
PWR
The PWR LED will remain solid yellow during the boot process. Once
the system software has been loaded the PWR LED will reflect the status
of the power inputs.


