A8
-W5
AssemblyInstructions
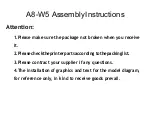
Attention:
1.Please
make
sure
the
package
not
broken
when
you
receive
it.
2.Pleasechecktheprinterpartsaccording
tothepackinglist.
3.Please
contract
your
supplier
if
any
questions.
4.The
installation
of
graphics
and
text
for
the
model
diagram,
for
reference
only,
in
kind
to
receive
goods
prevail.
Summary of Contents for A8-W5
Page 1: ...A8 W53DPrinterInstallationGuide Perfect Office ...
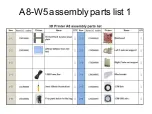
Page 3: ...A8 W5 assembly parts list 1 ...
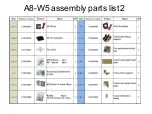
Page 4: ...A8 W5 assembly parts list 2 ...
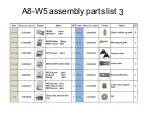
Page 5: ...A8 W5 assembly parts list 3 ...
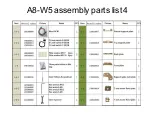
Page 6: ...A8 W5 assembly parts list 4 ...
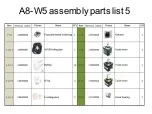
Page 7: ...A8 W5 assembly parts list 5 ...
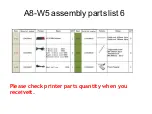
Page 8: ...A8 W5 assembly parts list 6 Please check printer parts quantity when you receiveit ...
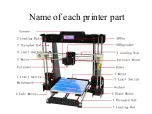
Page 9: ...Name of each printer part ...
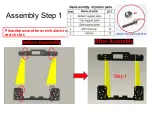
Page 10: ...Step1 Assembly Step1 Pleasebeawarethescrewholesisin red circles ...
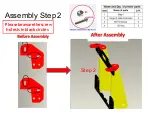
Page 11: ...Assembly Step2 Pleasebeawarethescrew holesisinblackcircles Step 2 ...
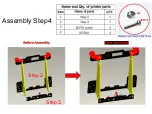
Page 13: ...Assembly Step4 Step 2 Step 3 ...
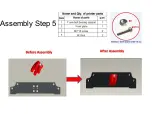
Page 14: ...Assembly Step5 ...
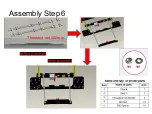
Page 15: ...Assembly Step6 Threaded rod 400mm ...
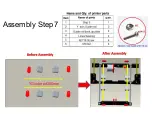
Page 16: ...YGuiderod380mm Assembly Step7 ...
Page 21: ...Assembly Step 12 Attention This hole is for Z axis guide rod po sitioning ...
Page 22: ......
Page 23: ...Assembly Step14 ...
Page 27: ...Assembly Step18 M3 45screwholes Replace M3 20 screwswithM3 45 screws ...
Page 28: ...Assembly Step 19 ...
Page 30: ...Assembly Step 21 ...
Page 31: ...AssemblyStep22 M3 20 ...
Page 33: ...Assembly Step24 M3 Nut ...
Page 34: ...Assembly Step25 ...
Page 36: ...Assembly Step27 Redcirclesstandfor thepower screw holes PowerSupply ...
Page 37: ...Assembly Step28 Mainboard ...
Page 40: ......
Page 41: ...AssemblyStep 32 InstallationPicture1 ...


