


39
XIII. Supplemental Wind Vane Calibration Adjustment
Your anemometer/wind vane has been factory-calibrated to
correctly indicate wind direction when installed per the instructions
on p. 17, and should not require recalibration. However, if you
wish to adjust wind direction readings after installation (to correct
a difference between display readings and actual wind direction)
without physically realigning the sensor, you may use the following
procedure.
1.
Perform when you have a fairly steady breeze from
a known direction.
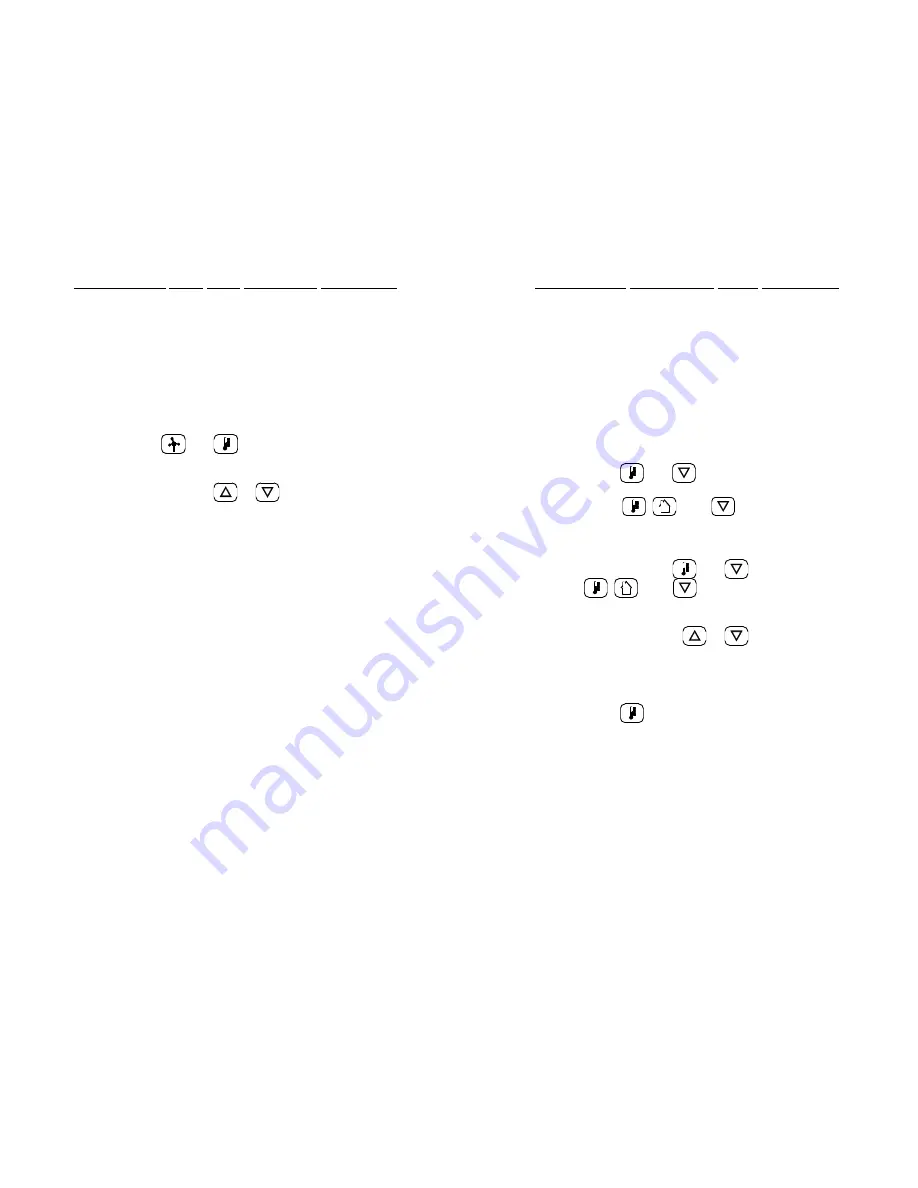
2. Press and
simultaneously to display the
wind vane correction constant (the keyboard
initially has a correction constant of zero).
3.
Press and hold
or
to adjust the wind vane
correction constant. After approximately 3 seconds
the wind vane correction constant will start
changing. Increase the number if you want the
direction diamond on the display to move counter-
clockwise to match actual wind direction. Decrease
the number if you want the direction-indicating
diamond to move clockwise to match actual wind
direction.
4.
Repeat Step 3 as necessary until the wind direction
is correctly displayed. Record the Wind Vane
Correction Constant below.
5.
Press any function key to leave this operation and
retain the correction constant that is displayed.
NOTE:
The correction constant is a number between 0 and 255.
Each digit represents approximately 1.4 angular degrees of
correction (360 ÷ 256) that is added to the uncorrected wind
direction.
Record your Wind Vane Correction Constant here_________
40
XIV. Supplemental Temperature Offset Adjustment
Your outdoor and indoor temperature sensors encorporate
precision aged thermistors, which have been factory-calibrated to
correctly indicate temperature when installed per the instructions
on p. 18, and cannot be recalibrated. However, if you wish to
adjust temperature readings after installation (to correct a
difference between display readings and actual temperature, due
to various mounting location factors) without physically relocating
the sensor, you may use the following procedure.
1.
Perform when you have a desired outdoor or indoor
temperature value from a reliable standard in close
proximity.
2. Press
and
simultaneously to display the
previously-entered outdoor temperature offset (or
press
,
, and
simultaneously to
display the previously-entered indoor temperature
offset). The keyboard initially has temperature
offsets of zero.
3.
Press and hold
and
(or press and hold
,
, and
for indoor temp) to adjust the
temperature offset value. After approximately 3
seconds, the temperature offset value will start
changing. Press
or
repeatedly to adjust
the offset to equal the amount you wish to add or
subtract from the base temperature reading.
4.
Record the Outdoor and Indoor Temperature Offset
values below, for future reference or re-input.
5. Press
to return to displaying the outdoor
temperature and retain the offset value. Allow
about 15 seconds for the displayed reading to
reflect the offset.
NOTE:
The temperature offset is number from -50°F through
50°F (-27°C and 28°C). The default on keyboard power-up is
zero. The offset must be re-input after power-down has occurred.
Record your Outdoor Temperature Offset here_________
Record your Indoor Temperature Offset here_________


