4
OnSite 2701A/I Quick Start Guide
you must change the address to be on the same subnet as your PC, as described in the
procedures below. If you are not sure which IP address to use for your installation,
contact your network administrator.
2.1 Connecting a PC and logging in
1.
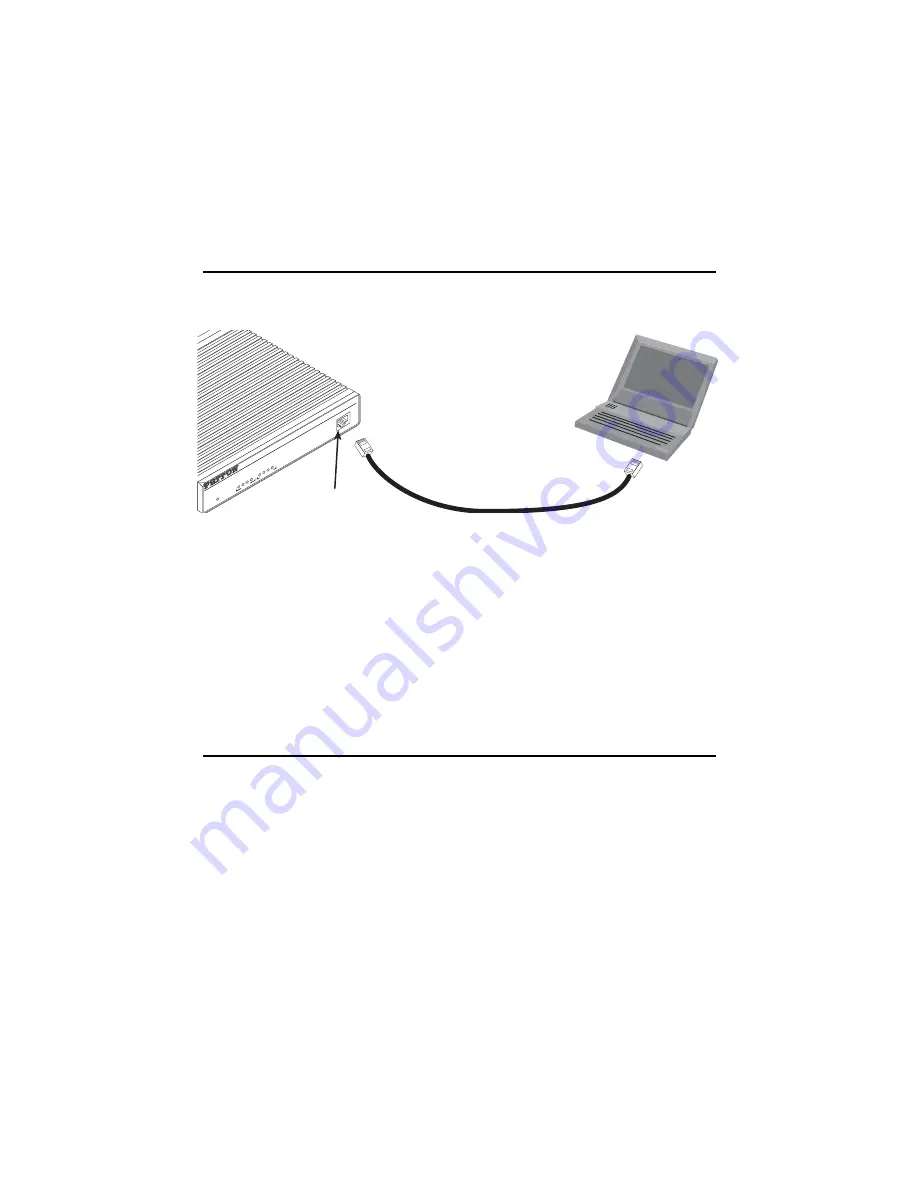
Using the included combination RS232/Ethernet cable and DB9-RJ45 adapter,
connect a PC’s serial port to the OnSite device’s
Console
port (see
).
Figure 2.
Connecting OnSite device to the PC’s serial port
2.
Start a HyperTerminal session on the PC using the settings: 9600 bps, 8 data bits,
1 stop bit, no parity, no flow control
3.
Log in to the OnSite device using the factory-default login and password:
Login:
superuser
Password: superuser
Login successful
Note
A power supply can be installed on the remote unit even if the unit is
receiving power across the line.
2.2 Modifying the IP address
1.
Display current IP interface settings for the OnSite device’s
Ethernet
LAN port.
→
ip list interfaces <enter>
IP Interfaces:
ID | Name | IP Address | DHCP | Transport
---|------|----------------|----------|--------------
1 | ip1 | 192.168.200.10 | disabled | <eth1>
----------------------------------------------
------
2.
Modify the IP address for the LAN port according to your network requirements.
→
ip set interface ip1 ipaddress 10.10.10.5 255.255.255.0
L
ink F
r
a
m
e
T
D R
D
L
in
k
1
0
0
M
T
x R
x
W
AN
Eth
er
ne
t
P
o
we
r
Co
ns
ole
Co
nn
ect to Co
ns
ole po
r
t
S
e
r
ial po
r
t
PC with
te
r
mi
n
al em
u
lato
r
On
Site
™
NTU
E1/T1 to Ethe
rnet


