


EN
87
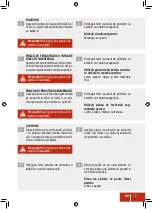
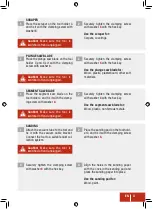
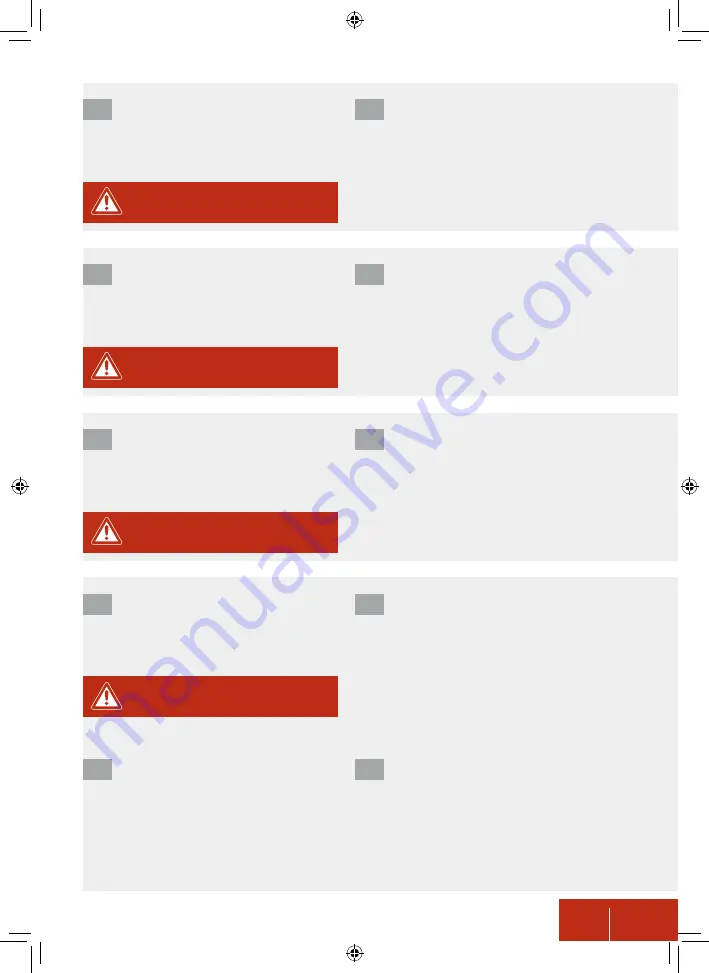
SCRAPER
Place the scraper on the tool holder
3
and fix it with the clamping screw with
washer
6
.
1
Securely tighten the clamping screw
with washer
6
with the hex key.
Use the scraper for:
Carpets, coverings.
2
PLUNGE SAW BLADE
Place the plunge saw blade on the tool
holder
3
and fix it with the clamping
screw with washer
6
.
1
SEGMENT SAW BLADE
Place the segment saw blade on the
tool holder
3
and fix it with the clamp-
ing screw with washer
6
.
1
Securely tighten the clamping screw
with washer
6
with the hex key.
Use the plunge saw blade for:
Wood, plastic, plasterboard, other soft
materials.
2
Securely tighten the clamping screw
with washer
6
with the hex key.
Use the segment saw blade for:
Wood, plastic, non-ferrous metals.
2
SANDING
Attach the vacuum tube to the tool and
fix it with the vacuum cable bracket.
Connect the tool to a suitable dust col-
lection system.
1
Align the holes in the sanding paper
with the ones in the sanding pad and
press the sanding paper into place.
Use the sanding pad for:
Wood, paint.
4
Securely tighten the clamping screw
with washer
6
with the hex key.
3
Place the sanding pad on the tool hold-
er
3
and fix it with the clamping screw
with washer
6
.
2
Caution!
Make sure the tool is
switched off and unplugged.
Caution!
Make sure the tool is
switched off and unplugged.
Caution!
Make sure the tool is
switched off and unplugged.
Caution!
Make sure the tool is
switched off and unplugged.
Summary of Contents for PE-300MFW
Page 17: ...FR 15 sur lesquelles vous allez intervenir avec des liquides contenant des solvants ...
Page 27: ...IT 25 ...
Page 37: ...NL 35 ...
Page 47: ...SV 45 ...
Page 57: ...CZ 55 ...
Page 67: ...SK 65 ...
Page 77: ...RO 75 ...
Page 87: ...EN 85 ...


