background image


www.pasco.com


Using the sensor for the first time 


The following instructions are intended for PASCO Capstone users. If you are using SPARKvue, follow the instructions on 
the opposite side of this page. 

Before using the sensor in the classroom, do the following: (1) charge the battery, (2) install the latest version of Capstone, 
(3)  update  the  sensor  firmware.  Installing  the  latest  version  of  Capstone  and  the  sensor  firmware  is  necessary  to  have 
access to the latest features and bug fixes. Detailed instructions for each procedure are provided below. 

Update the sensor firmware 

Sensor firmware is installed using Capstone. You must install the latest version of Capstone in order to have access to the 
latest  version  of  the  sensor  firmware.  When  you  connect  the  sensor  to  Capstone,  you  will  automatically  be  notified  if  a 
firmware  update  is  available.  Click  Yes  to  update  the  firmware  when  prompted.  If  you  do  not  receive  a  notification,  the 
firmware is up to date. 


Tip

: Connect the sensor using USB for a faster firmware update. 

Charge the battery 

The  sensor  contains  a  rechargeable  battery.  A  fully 
charged battery will last an entire school day. To charge 
the battery: 

1.  Connect  the  USB  cable  to  the  USB  port  located  on 

the sensor. 

2.  Connect the other end of the cable to a USB charger. 

3.  Connect the USB charger to a power outlet. 

As the device is charging, the battery indicator light will be 
yellow. The device is fully charged when the light is green. 

Install the latest version of PASCO Capstone 

PASCO Capstone is available for computers running 
Windows or macOS. To download the latest version, go 
to www.pasco.com/downloads/capstone then click 
Download Update. 

Connect the sensor to PASCO Capstone 

The sensor can be connected to Capstone using a USB 
or Bluetooth connection. 

To connect using USB: 

1.  Connect the USB cable to the USB port of the sensor. 

2.  Connect the other end of the cable to your device. 

3.  Open Capstone. 

To connect using Bluetooth: 

1.  Turn on the sensor by pressing and holding the power 

button for one second. 

2.  Open Capstone. 

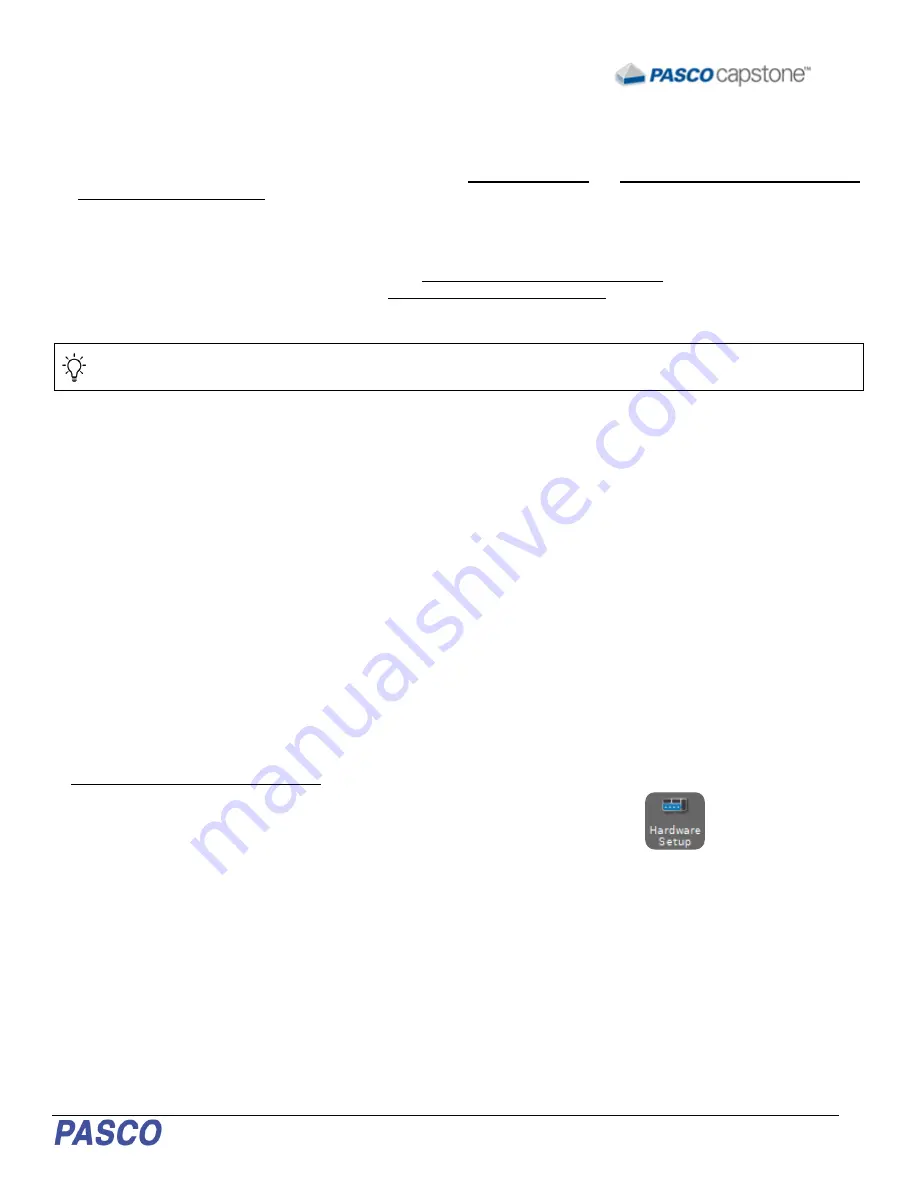
3.  Click  Hardware  Setup  in  the  Tools  panel  on  the  left 

side of the screen. 


4.  Click the wireless sensor that matches the ID labeled 

on your sensor. 


Summary of Contents for //code.Node

Page 1: ...at act as inputs as well as three output signals enabling students to program how the device collects and responds to data The code Node can sense relative light brightness relative sound loudness temperature acceleration tilt angle and magnetic field These input sensors are included to help teach coding concepts and highlight how collected data can be analyzed and programmed to create unique outp...

Page 2: ...r off 8 Battery status LED Red blink Battery needs to be recharged soon Green solid Battery is fully charged Yellow solid Battery is charging 9 Micro USB port For charging the battery when connected to a USB charger For transmitting data when conencted to the USB port of a computer 10 Bluetooth status LED Red blink Ready to be paired with software Green blink Paired with software 11 Sensor ID Use ...

Page 3: ...ero Button 1 and Button 2 Button 1 and Button 2 are included as basic momentary inputs While pressed the Button will be assigned a value of 1 A value of 0 is assigned when the button is not being pressed Acceleration Sensor and Tilt The acceleration sensor within the code Node measures acceleration in the x and y axis directions which are labelled on the sensor icon shown on the device The pitch r...

Page 4: ...wing for a spectrum of colors to be created A single block is included in Code for the RGB LED 1 and can be found in the Hardware Blockly category A brightness of 0 will ensure that that selected color LED is not emitted 1 Speaker While the volume is fixed the frequency of the code Node Speaker can be adjusted using the appropriate Code blocks The speaker can generate sounds within a range of 0 20...

Page 5: ...dhering to your country and local government regulations To find out where you can drop off your waste battery for recycling please contact your local waste disposal service or the product representative The battery used in this product is marked with the International symbols to indicate the need for the separate collection and recycling of batteries FCC Statement This Class A digital device comp...

Page 6: ... fully charged battery will last an entire school day To charge the battery 1 Connect the USB cable to the USB port located on the sensor 2 Connect the other end of the cable to a USB charger 3 Connect the USB charger to a power outlet As the device is charging the battery indicator light will be yellow The device is fully charged when the light is green Install the latest version of SPARKvue Foll...

Page 7: ...B for a faster firmware update Charge the battery The sensor contains a rechargeable battery A fully charged battery will last an entire school day To charge the battery 1 Connect the USB cable to the USB port located on the sensor 2 Connect the other end of the cable to a USB charger 3 Connect the USB charger to a power outlet As the device is charging the battery indicator light will be yellow T...

Reviews: