


Product Manual
012-16652A
800-772-8700
www.pasco.com
//code.Node
PS-3231
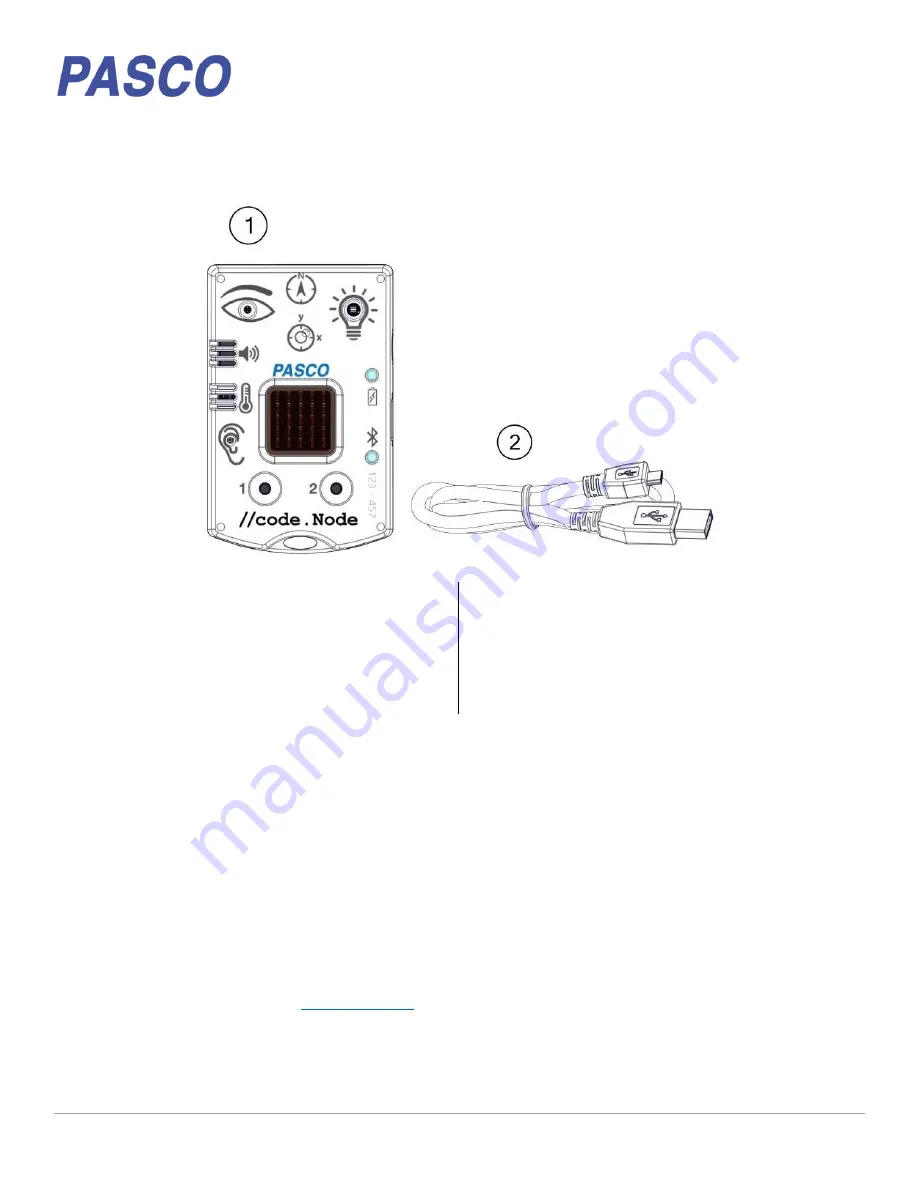
Included Equipment
1
//code.Node
2
Micro USB cable
For connecting the sensor to a USB charger to
charge the battery or a USB port to transmit data.
Required Equipment
PASCO Capstone or SPARKvue software is required for
data collection
Overview
The //code.Node is an input-output device that supports coding activities to help teach how sensors work and how code can
be used to create and control a response (output) to a stimulus (input). The //code.Node is an introductory device for STEM
oriented programming activities performed using PASCO software applications. The device contains five sensors and two
momentary push buttons that act as inputs as well as three output signals, enabling students to program how the device
collects and responds to data.
The //code.Node can sense relative light brightness, relative sound loudness, temperature, acceleration, tilt angle, and
magnetic field. These input sensors are included to help teach coding concepts and highlight how collected data can be
analyzed and programmed to create unique outputs involving its speaker, LED light source, and 5 x 5 LED array. The
//code.Node outputs are not exclusive for use only with its inputs; the outputs can be used in code involving any PASCO
sensors and interfaces.
The //code.Node sensors are meant to be used for coding purposes and should not be considered a replacement for science
sensors in labs that use similar sensor measurements; science sensors built to more rigorous specifications for use in
science experiments are available at