


®
S tr e s s / St r a i n A p p a r a t u s
D a t a c o l l e c t i o n
6
2.
Prepare the calculation for Stress
. In the Calculator window, select the defined
function “Stress(F) = Force/Area”. In the Variables section, enter the cross-sec-
tional Area of the coupon
in square millimeters
.
3.
Prepare the calculation for Strain
. In the Calculator window, select the defined
function “Strain(F) = Displacement/Length”. In the Variables section, enter the
Length of the narrow part of the coupon
in millimeters
.
4.
Close the Calculator window
.
You now have a the characteristic baseline curve for your particular apparatus. You can save the
file and use it as the starting point for future experiments instead of repeating the calibration.
Data collection
1.
Mount a coupon
.
a.
Remove the calibration bar and restore the clips and nuts.
b.
Place one end of the coupon under one of the clips.
c.
Adjust the crank so that the opposite end of the coupon can slip easily under
the other clip (Figure 6).
d.
Tighten both nuts with the tee handle with socket. With no force applied to
the coupon, as little twist as possible should be visible in the coupon.
The
clips should hold the coupon tightly enough that it will not slip when force is
applied. However, over-tightening the nuts will damage the bolts. If in doubt,
err on the side of under-tightening
.
2.
Place the lever arm in the starting position
. Turn the crank counter-clockwise
and pull the lever arm away from the Force Sensor (Figure 4).
3.
Collect Data
.
a.
Press the Tare or Zero button on the Force Sensor.
b.
Click the Start button.
c.
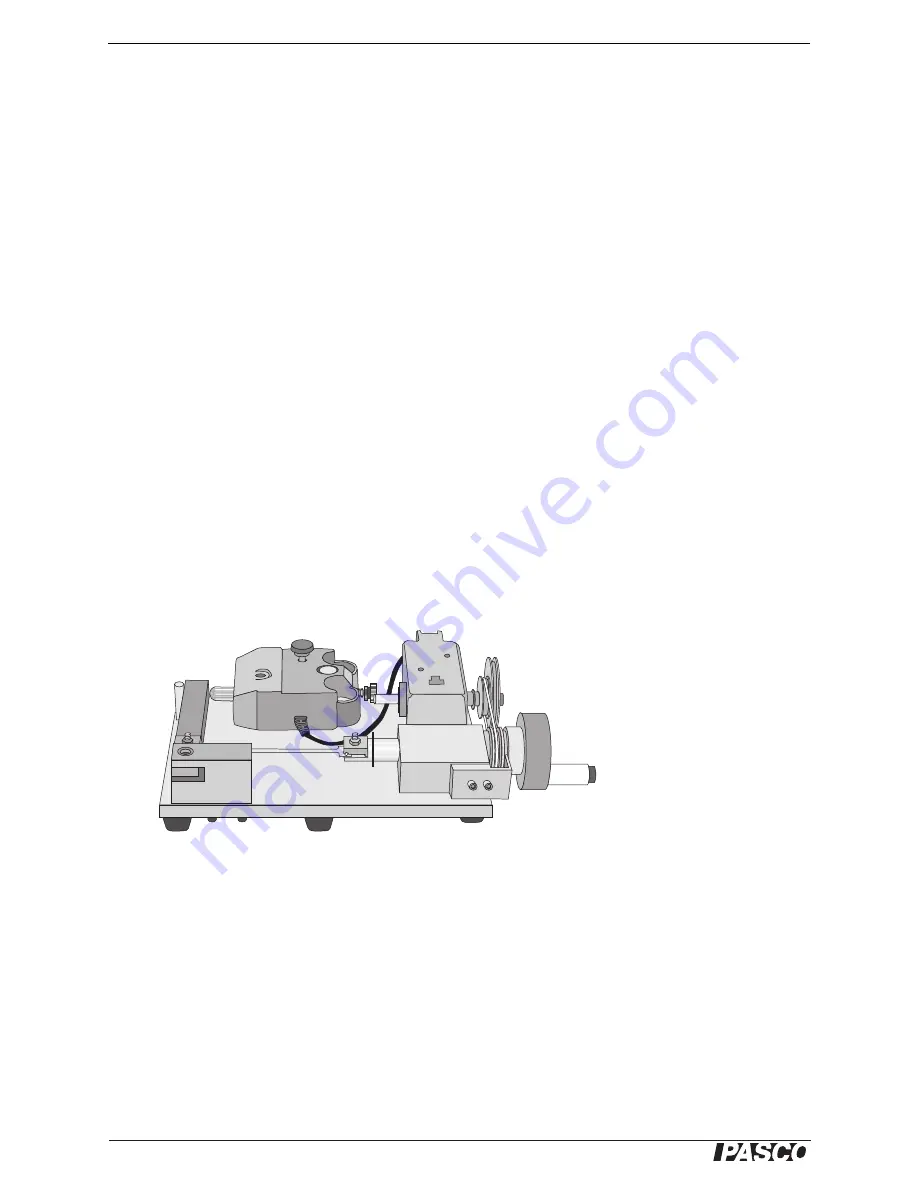
Turn the crank clockwise. Starting just before the lever arm comes into
contact with the Force sensor, turn the crank very slowly.*
Figure 6: Coupon Installed
* When you observe on
the Stress versus Strain
plot that the material has
been stretched beyond
the elastic region, you
can begin to turn the
crank faster.