


15
General Points
8
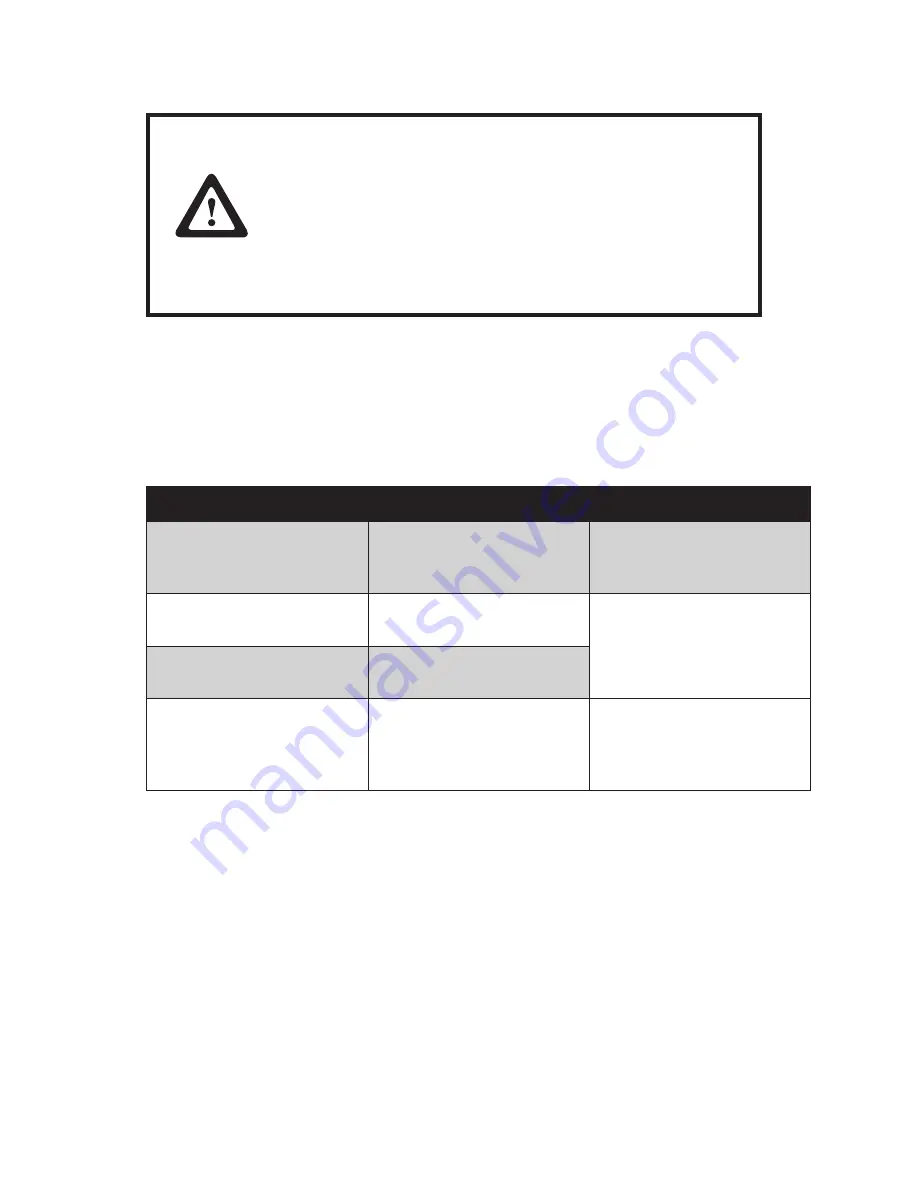
Attention
The Touch / Screen Commander do not contain any electronic
components that can be replaced or repaired by the user.
Consequently you should not try to do your own repair work.
Moreover, you would lose all warranty claims for this product.
Activating the touch sensor surface must not be done with
a sharp object, such as credit card, long finger nails, ring,
etc. Sharp or pointed objects will cause damage to the touch
sensor and are not covered under warranty.
If the Touch/Screen Commander must be returned for service, it must be packed in it’s original packing
material. If this is not done, the sender will be made responsible for possible transport damage.
Troubleshooting
9
Many problems can be the result of an incorrect or loose cable connection, so please make sure that all
connections are secure.
Fault
Possible
Remedy
The display shows only part
of the picture or the picture is
distorted.
Display resolution is set to an
incompatible setting.
Resolution should be set to
1024X768 or less.
LCD shows indistinct vertical
stripes.
Display H.POSITION is not
set correctly.
Use the Auto Adjusting
feature. (see Section 4.1)
LCD shows fine horizontal
stripes.
PHASE adjustment is not
correctly set.
Touch cannot be calibrated
under Windows because the
calibrate button is not active.
USB cable connection may be
incorrect.
Check USB cable connection
and restart computer. While
booting, check for any
indication of driver errors.
Additional help
9.1
If you have problems with the connection or the installation of the PM15 monitor, please contact your
distributor or direct to the manufacturer:
Partner Tech Corp.
Tel: +886-2-29188500
Fax: +886-2-29153405
www.partner.com.tw
When returning the device, the original packing must be used; otherwise the sender will be responsible
for any transport damage.
Summary of Contents for PM-15
Page 1: ...LCD Monitor PM 15 User Manual ...
Page 2: ......
Page 16: ...12 Click 7 Next to continue Click 8 Next to continue ...


