


GETTING STARTED: Charging the Battery
6
EN
GLI
S
H
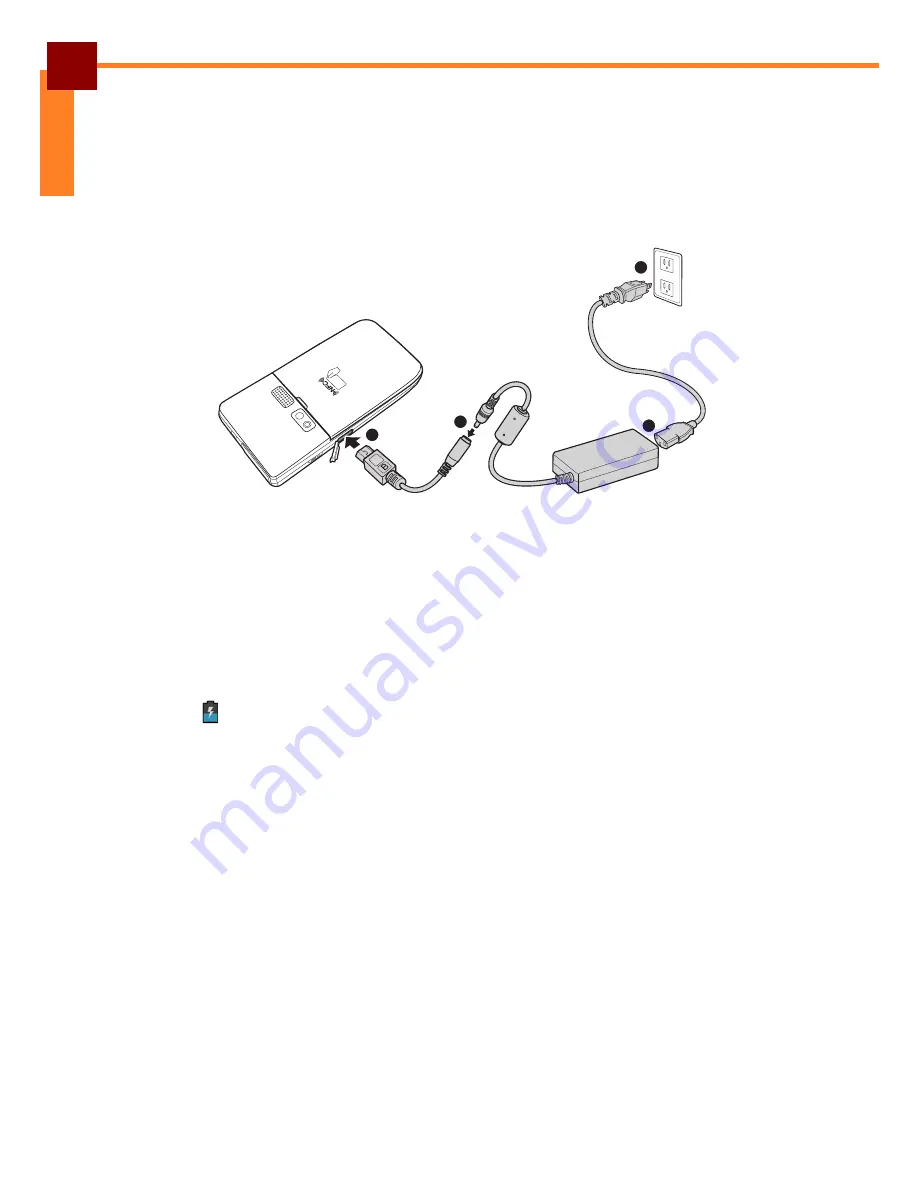
Charging the Battery
1. Open the USB port protective cap.
2. Connect the device using the DC to USB cable and power adaptor.
3. Plug the other end of the power adaptor to the wall outlet to start charging.
NOTE:
Charging can also be done through PC via USB or via the OT-310 charging
cradle. Additionally, any micro USB charger that meets: http://www.usb.org/
developers/devclass_docs/USB_Battery_Charging_1.2.pdf, can also be
used.
When the battery is charging:
•
The status LED lights red.
•
The
icon is displayed on the top-right corner of the screen.
1
2
2
3
Summary of Contents for OT-310
Page 1: ...OT 310 Handheld POS Terminal User s Manual...
Page 68: ......


