


GB
│
MT
│
15
■
PBF 400 A1
5. Service
a)
Have your power tool serviced by a qualified
repair person using only identical replace-
ment parts.
This will ensure that the safety of
the power tool is maintained.
Safety information for belt grinders
■
Hold the appliance by the insulated handles
since the grinding belt can come into contact
its own power cable.
Damage to a live wire
may make exposed metal parts of the power
tool live and could give the operator an electric
shock.
Safety information for grinders
WARNING!
■
Dusts from materials such as leaded paint,
some types of wood and metal can be harm-
ful to your health.
■
Contact with or inhalation of these dusts can
represent a health hazard for the person
operating the appliance and other people in
the vicinity.
■
Wear safety goggles and a protective dust
mask!
Operation
NOTE
►
The small grinding frame has been de-
signed for fine work, for cutting and carving.
The large grinding frame is suitable for
general applications, for hollowing out and for
making joints. The angled grinding frame
is suitable for grooving and grinding in the
centre of the workpiece and in restricted
areas. You can also use it to smooth curved
surfaces.
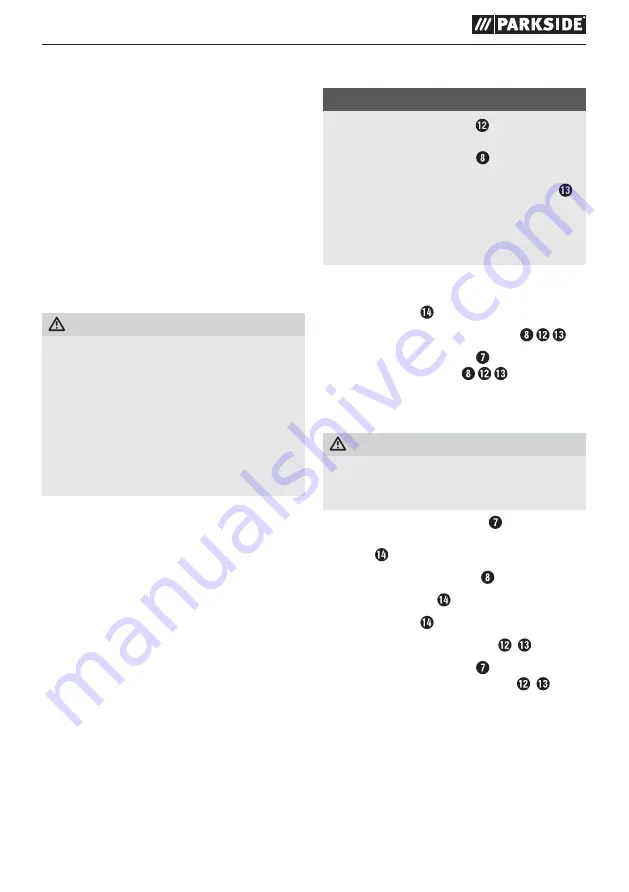
Fitting the grinding frames
♦
Push the spring into the mounting hole.
♦
Attach the required grinding frame , , .
♦
Screw the adjusting screw on the appliance
until the grinding frame , , is in line with
the tool (see fig. A).
Changing the grinding frames
WARNING! RISK OF INJURY
■
Always remove the power plug from the wall
socket before carrying out any work on the
bandfile.
♦
Unscrew the adjusting screw from the appli-
ance. When doing so, take care not to lose the
spring .
♦
Remove the grinding frame .
♦
Remove the spring .
♦
Push the spring back into the mounting hole.
♦
Fit the required grinding frame , .
♦
Screw the adjusting screw tightly back into
the appliance. The grinding frame , must
be in line with the tool (see fig. A).
Summary of Contents for PBF 400 A1
Page 3: ...A B ...
Page 4: ...C D ...


