


LP/LD28 Series Product Manual
26
Parker Hannifin Corporation
EMN Automation - Parker
Irwin, Pennsylvania
The leadscrew nut installed in the LP/LD28 includes a mechanism to compensate for backlash by adjusting
preload against the leadscrew. Preload is set at the factory and readjustment is NOT advised. Variation from
the factory set preload can have adverse affects on bidirectional repeatability or available thrust and compo-
nent wear. However, if the adjustment is lost or preload becomes noticeably looser over time, follow the be-
low procedure to reset preload:
Leadscrew Preload Adjustment
Step 1:
Remove power from unit and allow all components to reach
room temperature.
Step 2:
Remove motor and motor adapter if equipped. See previous
section for procedure.
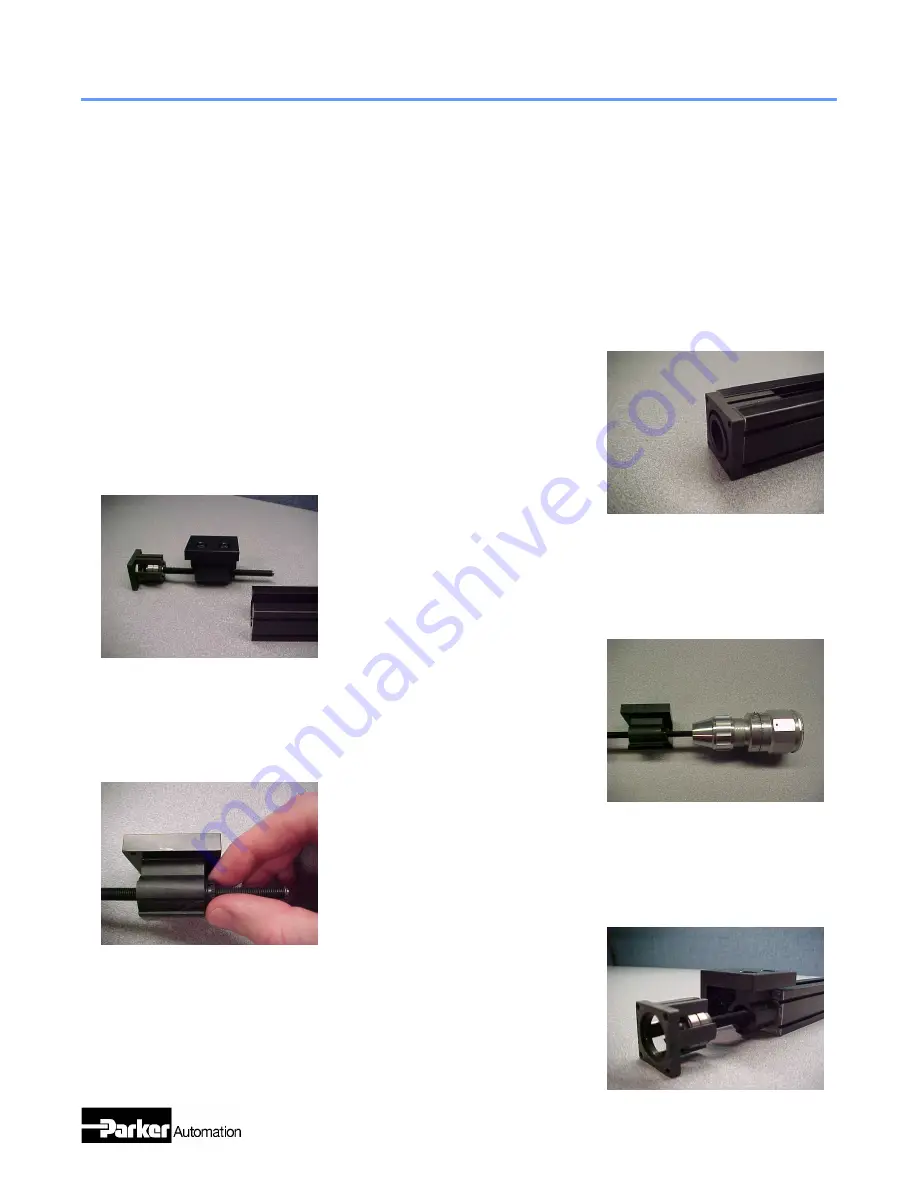
Step 3:
LP28 ONLY: Slide the drive train out of positioner base. The
square rail bearing trucks will need to be removed from the rail. Al-
though the trucks have retainers to prevent the balls from escaping, use
extreme care in doing this.
Tools Required:
#1 Phillips Driver (NEMA 11 motor) or 2.0mm and 2.5mm Hex Wrenches (NEMA 17 mo-
tor), Torque Watch
Step 4:
Attach a torque watch to the end of the leadscrew. Holding the
leadscrew nut stationary, measure the torque required to rotate the
screw.
Step 5:
Change preload by turning the adjuster CW for higher and
CCW for lower preload until the torque required to rotate the screw is
between 2 oz-in and 3 oz-in. Note torque value is NOT appropriate if
motor is installed on unit and required to rotate.
Step 6:
LP28 ONLY: Slide drive train into positioner base taking care
when installing bearing trucks onto rail and inserting leadscrew into
endcap bore.
Step 7:
Reinstall motor. See previous section for procedure.


