background image


SCANNDY USER GUIDE 

Page 16


7.3  OPTION BARCODE 

 
The system software of SCANNDY decodes all major barcode symbologies including Code 39, 
Code 39 with full ASCII, Code128, Codabar, EAN, UPC, Code 93, Int 2of5, Standard 2of5, Matrix 
2of5, ISBN/ISSN and Chinese 2of5. 
 
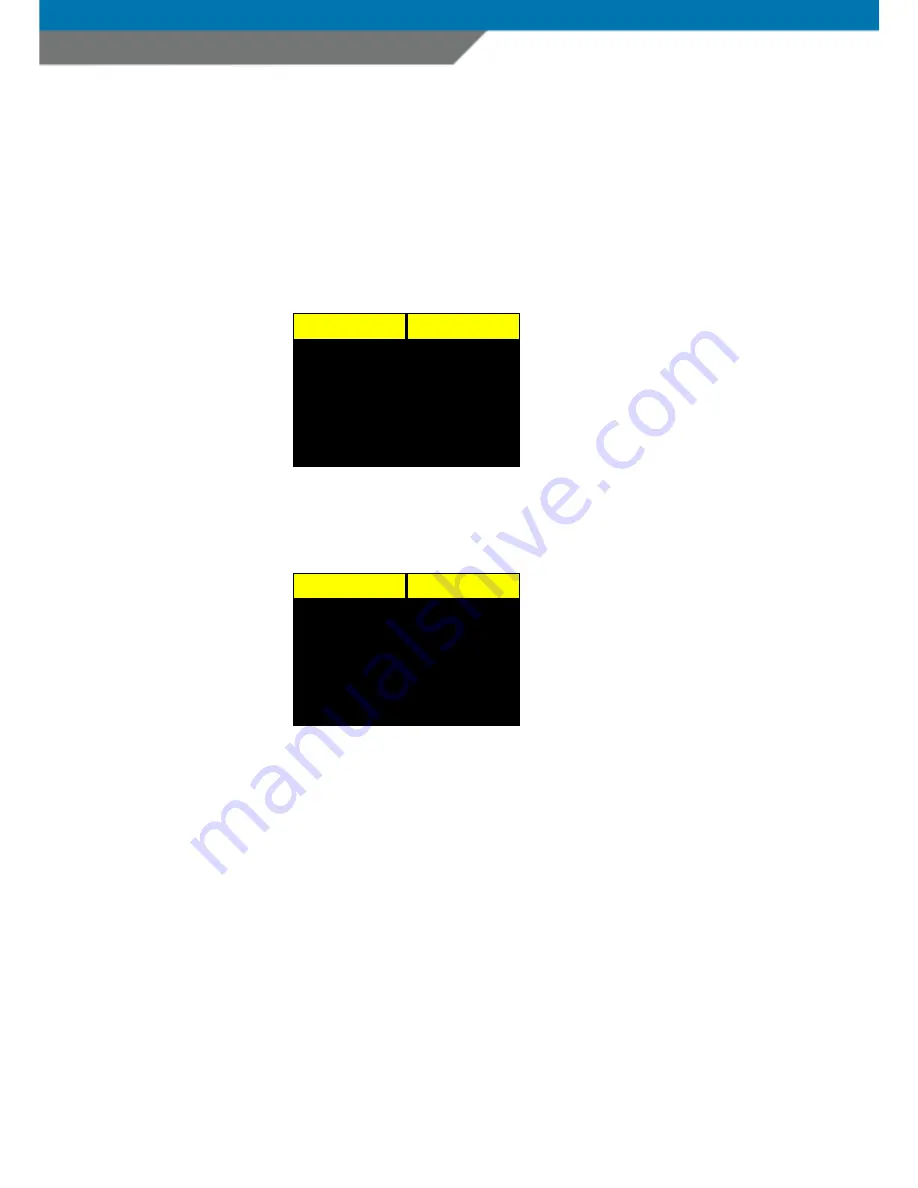
To set up barcode specific option highlight the BARCODE option in the system menu 
and press the LEFT navigation key to enter the barcode option menu. 


To set up symbology specific options, highlight the symbologies option in the barcode menu 
and press the LEFT navigation key to enter the symbologies option menu. 


In the symbologies menu you can see all available barcode symbologies. Each symbology which 
is marked with “*” is enabled. All others are disabled.  
 
To enable or disable a barcode symbology, highlight the one you want to enable/disable and press 
the TRIGGER key. 

SELECT 

Back 

Symbologies 
Terminator 
Preamble 
Postamble 
Output Format


SELECT 

Back 

*Code 39 
*Code 128 
*EAN-13 
 UPC-A 
….


Summary of Contents for SCANNDY

Page 1: ......

Page 2: ...ditorial errors or omissions contained herein nor for incidental or consequential damages resulting from the furnishing performance or use of this material This document contains proprietary information which is protected by copyright All rights are reserved No part of this document may be photocopied reproduced or translated into other languages without the prior written consent of PANMOBIL advan...

Page 3: ...o this device that are not expressly approved by advanced PANMOBIL Systems GmbH Co KG may void the user s authority to operate this equipment NOTE To maintain compliance with FCC rules and regulations cables connected to this device must be shielded cables in which the cable shield wire s have been grounded to the connector shell CE This product has been tested to and conforms with the provisions ...

Page 4: ...ANNDY UNIT 11 7 SYSTEM SETUP OF SCANNDY UNIT 13 7 1 OPTION RUN PROGRAMM 14 7 2 OPTION DATE TIME 14 7 3 OPTION BARCODE 16 7 4 SET UP A TERMINATOR 18 7 5 SET UP PREAMBLE CHARACTERS 19 7 6 SET UP BLUETOOTH OPTIONS 21 7 7 BLUETOOTH ACCESS KEY SETUP 24 7 8 SET THE BLUETOOTH DEVICE NAME 26 7 9 SET UP THE SERIAL SCANNDY INTERFACE 27 7 10 SETUP OLED DISPLAY FUNCTIONS 28 7 11 SET UP POWER OPTION 30 7 12 SE...

Page 5: ...ion 1 This version of SCANNDY contains main features like integrated laser barcode scanner 168x64 OLED display integrated Bluetooth Class I communication module and a 19 key rubber keypad 1 1 MAIN UNIT 2 1 3 4 5 6 7 8 9 10 11 FRONT VIEW REAR VIEW BOTTOM VIEW 12 ...

Page 6: ...nds does clear the complete row On G7KLOBTCL1 Version this key is used to clear the screen 7 OK and power key When the device is switched OFF press this key shortly to power the device ON If the device is already powered ON press and hold this key for 3 seconds to power the device OFF In message mode press this key shortly to apply a message In edit mode press this key shortly to have a Linefeed 8...

Page 7: ...ation between SCANNDY unit and cradle there are two methods available To send or receive data trough the RS232 connector in the cradle just place the SCANNDY unit into the cradle For wireless communication the cradle unit is also available with an internal Bluetooth Class I module This allows the user to transmit or receive data within a wide range of about 100 meter depending on local environment...

Page 8: ...for read barcodes 2 Lock button Turn the lock button to horizontal position to lock the contact bottom Turn the lock button to vertical position to unlock the contact bottom 3 Release button Press this button and pull the contact bottom 4 after unlocked the lock button 2 to access the gun battery 4 Contact bottom The contact bottom can be of two different kinds One version to connect cables like R...

Page 9: ... Ethernet connection Same as the basic cradle the gun cradle is also available with internal Bluetooth Class I module for wireless communication between SCANNDY unit and cradle unit In addition to the mass of function provided by the basic cradle unit the gun cradle unit adds the possibility to use the SCANNDYgun unit as a fixed mounted terminal ideal for use in retail kiosks document processing a...

Page 10: ...232 and charging contacts When placing the SCANNDYgun unit into the cradle the gold contact connector for RS232 communication and charging the main battery inside the SCANNDYgun grip will be connected 5 Cable channels Place the communication and power supply cable into one of these three channels to have them protected against damage and to give the cradle unit a stable stand 6 Liquid discharge ho...

Page 11: ...ly charged and provides it s best performance To charge the battery place the SCANNDYgun type unit into the gun cradles slot As soon as the battery starts charging the power LED indicates red light When the battery is fully charged the red LED indicator switches OFF automatically NOTE When charging the battery for the first time please keep the SCANNDY unit into the cradle for min 8 hours even if ...

Page 12: ...nnection to the last connected device While the connection procedure is running You can see the following screen If Bluetooth connects successfully the Bluetooth LED indicator shows blue light which indicates that a Bluetooth connection is established The Bluetooth LED shows blue light as long as the devices are connected The SCANNDY unit is now ready to scan barcode and shows the following screen...

Page 13: ...erial number the SCANNDY unit starts the Bluetooth connection procedure again and you will see the following screen After few seconds the Bluetooth connection should be established where after the SCANNDY unit is ready to read barcode and transmit the data via Bluetooth to the cradle unit Each scanned barcode will be displayed on the screen The screen will scroll automatically Bluetooth connection...

Page 14: ...vigation keys and press the LEFT navigation key SELECT to enter the options setup Each setup menu can be left by pressing the RIGHT navigation key BACK 7 1 OPTION RUN PROGRAM Selecting this option will start the installed user application If there are more then one user application installed a menu screen will appear where the user can select the application he wants to start Example SELECT Run Pr...

Page 15: ...nu and press the LEFT navigation key to change the date and time value To set the date format please highlight the Date Format option in the Date Time menu and press the LEFT navigation key to set the date format To set the time format please highlight the Time Format option in the Date Time menu and press the LEFT navigation key to set the time format SELECT Back Set Date Time Date Format Time Fo...

Page 16: ...SCANNDY USER GUIDE Page 15 As soon as the LEFT key is pressed the changed values are stored into the non volatile memory of the device SELECT Back 24 Hour am pm format ...

Page 17: ...n key to enter the barcode option menu To set up symbology specific options highlight the symbologies option in the barcode menu and press the LEFT navigation key to enter the symbologies option menu In the symbologies menu you can see all available barcode symbologies Each symbology which is marked with is enabled All others are disabled To enable or disable a barcode symbology highlight the one ...

Page 18: ...urrent setting of the symbology option highlight the option and press the LEFT navigation key to change the value The current setting is marked with You can leave each menu by pressing the RIGHT navigation key BACK Changed values will be stored automatically into the non volatile memory of the device SELECT Full Code39 OFF Enable Chk OFF Send Chk bit OFF Send star ON Set code length SELECT ON OFF ...

Page 19: ...rcode menu allows you to set the terminator character which will be send after each barcode To set up a terminator please highlight the terminator you need and press the LEFT navigation key to select SELECT Back Symbologies Terminator Preamble Postamble Output Format SELECT Back None CR LF CR LF ...

Page 20: ... key to save Selecting the option Postamble from the barcode menu allows you to set postamble characters which will be send as a suffix of each barcode To set up postamble characters please key in the characters you need by using the key pad Press the OK key to save NOTE Input of preamble and postamble characters is only available on SCANNDY unit with 19 key rubber keypad SELECT Back Symbologies T...

Page 21: ... or first send the terminator after the barcode and than the postamble characters Example Post Term Term Post To select the format you need please highlight the format and press the LEFT navigation key SELECT to set up the format SELECT Back Symbologies Terminator Preamble Postamble Post Term Format SELECT Back Post Term Term Post Preamble Barcode data Postamble Terminator Preamble Barcode data Te...

Page 22: ...ooth option in the system setup menu and press the LEFT navigation key SELECT to enter the Bluetooth setup menu To set up a Bluetooth connection please highlight the Bluetooth OFF option and press the LEFT navigation key to enter the connection menu SELECT Back Run Program Date Time Barcode Bluetooth Serial Display Power Security Reset device SELECT Back Bluetooth OFF Master Accesskey Slave Access...

Page 23: ...t the connection procedure If the last connected device is within the Bluetooth range the connection will be established after few seconds As soon as the devices have successfully connected the blue LED on SCANNDY unit will indicate blue light as long as the devices are connected If the last connected device is not within the Bluetooth range or already connected to an other Bluetooth device the co...

Page 24: ...search the Bluetooth neighborhood for available devices and show a list with device name on the screen where you can select the device you want to connect to Highlight the device you want to connect to and press the LEFT navigation key to start the connection procedure where the SCANNDY unit checks the Bluetooth SPP profile is available on the other device and if the Bluetooth password does match ...

Page 25: ... the connection To set up the Bluetooth master access key please highlight the Master Access Key option from Bluetooth setup menu and press the LEFT navigation key to select NOTE The factory default Bluetooth access key is 1234 To change the default access key please input a new access key and press the OK key to save the new access key If you do not want to make use of the Bluetooth security opti...

Page 26: ...igation key to enter the security menu Please highlight the settings you want to set and press the LEFT navigation key to select NOTE Disabling the security settings enables other Bluetooth devices to connect to your device unconditionally SELECT Back Bluetooth OFF Master Accesskey Slave Accesskey Device Name Set SecurityStat SELECT Back Enable Pin Disable Pin ...

Page 27: ...is the name which will be published if the unit is found in the Bluetooth neighborhood To set up the device name please highlight the Set Device Name option from Bluetooth menu and press the LEFT navigation key to enter the device name Enter the new device name by using the SCANNDY keypad and press the OK key to save the new device name NOTE Changing the device name is only possible on SCANNDY uni...

Page 28: ...its To change one of the parameters please highlight the one you want to change and press the LEFT navigation key to enter the setup Highlight the parameter you want to change and press the LEFT navigation key to select it The currently used parameter is marked with Please use the same procedure to change parameters for parity data bits and stop bits SELECT Run Program Date Time Barcode Bluetooth ...

Page 29: ...enter the display menu In the display menu you can set the contrast of the OLED display To set the contrast please highlight the Set contrast option and press the LEFT navigation key to enter the contrast setting SELECT Run Program Date Time Barcode Bluetooth Serial Display Power Security Reset device SELECT Back Set contrast Set normal Dir Set reverse Dir SELECT Back 45 Sample Text ...

Page 30: ...arious usage of the SCANNDY device the screen directions can be changed Highlight the Set normal Dir option from the display menu to set the screen direction to standard direction when using the SCANNDY as a hand unit Highlight the Set reverse Dir option from the display menu to set the screen direction to reverse direction when using the SCANNDY in presentation mode SELECT Back Set contrast Set n...

Page 31: ... power off the unit please highlight the Power option from system menu and press the LEFT navigation key to enter the power menu The marks the current setting To change the settings please highlight the time value you want to use and press the LEFT navigation key to select SELECT Run Program Date Time Barcode Bluetooth Serial Display Power Security Reset device SELECT Back Always Power On 1 Minute...

Page 32: ... LEFT navigation key to enter the password To change the current password you first have to input the current password To abort this action please press either the RIGHT navigation key or press the C key As factory default the password is empty please press the OK key as password If the password input is correct you will be prompted to enter the new password SELECT Run Program Date Time Barcode Bl...

Page 33: ...to confirm You can cancel this operation by pressing the C key at any time If everything went right on the password confirmation you will get the message that the password setup was successfully Otherwise you will get the message that there is an error in the confirmation In this case you need to repeat the password setting from the beginning CAUTION Once you set up a system menu password you need...

Page 34: ...edure will be started you will be noticed on the effect the RESET function has ATTENTION Please be clear that all settings and all data saved in the device will be lost after you accept the reset function If you are sure you want to reset the device to factory default please accept the message by pressing the OK key After few seconds the device is set back to default To abort the reset function pl...

Reviews: