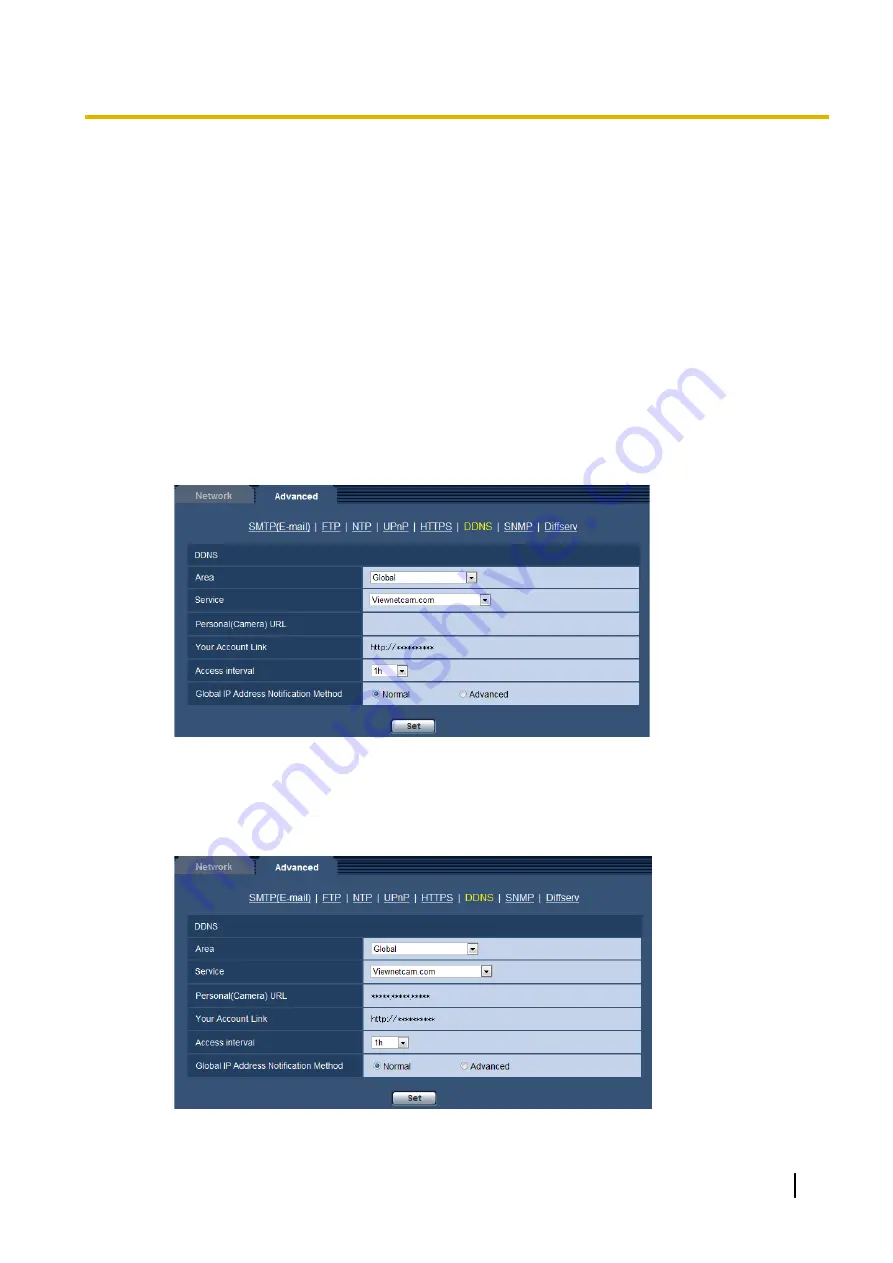
If you cannot access the camera using the registered URL 30 minutes after registering with
“Viewnetcam.com”, select “Advanced”.
In this case, UPnP (
®
page 143) must be enabled for the camera and for the router.
•
Default:
Normal
16.5.3 Procedure to register information for the
“Viewnetcam.com” service
1.
Select [Viewnetcam.com] for [Service] and click the [Set] button.
→
A URL is displayed in [Your Account Link].
If a URL is not displayed in [Your Account Link], confirm the camera's network settings and Internet
connection, then click [Set] again.
2.
Register the information for “Viewnetcam.com” by following the instructions of the wizard.
→
The registration window for “Viewnetcam.com” will be displayed in a newly opened window.
When the registration window is not displayed, check that the PC is being connected to the Internet,
and click the reload button of the browser.
3.
Register the information for “Viewnetcam.com” by following the instructions of the wizard.
→
When the message “The new camera is successfully registered to Viewnetcam.com” is displayed, close
the registration window.
The URL set at the time of registration can be used for camera access. However, this URL is unavailable
when accessing the camera from the PC connected to the same network (LAN).
Operating Instructions
165
16 Configuring the network settings [Network]


