background image

6

When the product is accessible from the 
Internet

To prevent unauthorized access, note the following.

•  Leave user authentication turned on.
•  Periodically change passwords that are used 

to access the product. 
Refer to the Operating Instructions for 
information about how to change passwords.

To keep on using with stable performance

Do not use this product in hot and humid condi-
tions for a long time. Failure to observe this causes 
component degradation resulting in life shortening 
of this product. Do not expose this product to 
direct heat sources such as a heater.

Usage such as switching the power ON/OFF 
frequently could lead to failure of the camera.

Handle this product with care.

Do not drop this product, nor apply shock or 
vibration to the product. Failure to observe this 
may cause trouble. 

Do not subject dome cover to strong impact.

Doing so may cause damage or immersion.

Do not directly touch the dome cover. 

A dirty dome cover causes deterioration of picture 
quality.

When an error is detected, this product will 
restart automatically. 

This product will be inoperable for around 2 min

-

utes after the restart just as when the power is 
turned on.

About the automatic status detection 
function

When this product malfunctions due to exoge-
nous noise, etc. for 30 seconds or more, the 
product will automatically reset and will return to 
normal state. When the product is reset, initializa-
tion will be carried out as when the power of the 
product is turned on. When the product repeated-
ly resets, exogenous noise level around the prod-
uct may be high and that may cause malfunction. 
Contact your dealer for instructions.

Periodically images on the screen appear to 
be distorted

When the camera is installed in a location where 
it is subject to small vibrations (for example, when 
it is installed near devices that vibrate), images 
may appear distorted and stretched lengthways. 
This phenomenon is a characteristic of image 
pickup devices that use CMOS sensors and is 
caused by the relationship between the periodic 
movements of the camera and the timing that the 
image sensor reads images. This is not a problem 
with the camera. To reduce the possibility of this 
phenomenon occurring, install the camera in a 
secure location.

About the dehumidifying device

•  This product has dehumidifying device 

to keep the inside at low moisture level, 
preventing condensation and quickly 
dissipating dew if produced.

•  Dew may be produced depending on the 

conditions of temperature, humidity, winds, 
and rain, and it may take time to dehumidify.

•  The dehumidifying device is mounted inside 

the enclosure. In order to maintain normal 
operation of the dehumidifier function, do 
not caulk (fill the clearance with sealants or 
other materials) the clearance between the 
enclosure and the ceiling or wall.
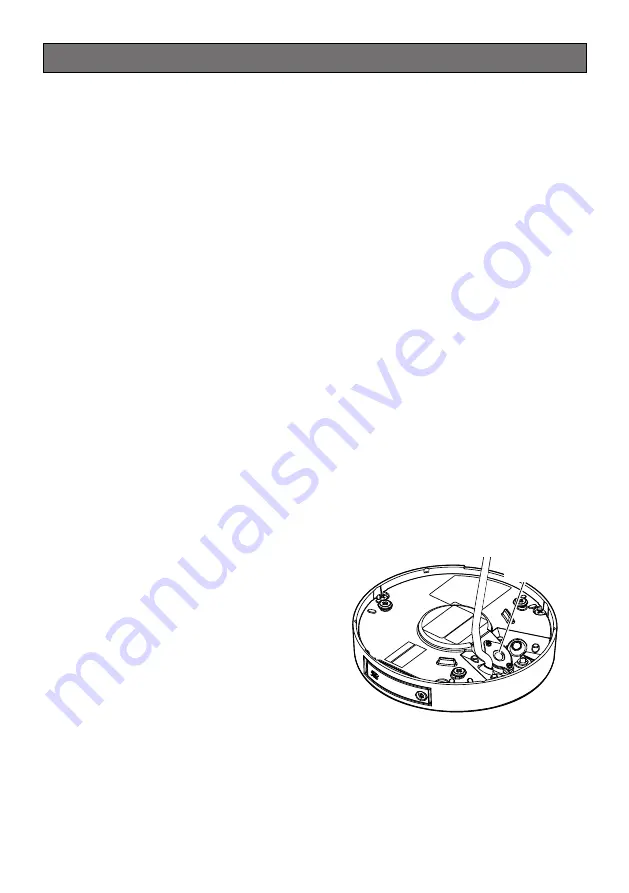
Precautions for use

Dehumidifying  

device

Summary of Contents for WV-S4576L

Page 1: ...actual product within the scope that will not interfere with normal use due to improvement of the product About the user manuals Product documentation is composed of the following documents Installat...

Page 2: ...s Limitation of liability 3 Disclaimer of warranty 3 About notations 4 System requirements for a PC 4 Network security 5 Precautions for use 6 Parts and functions 9 Troubleshooting 12 Detail specifica...

Page 3: ...O THE PRODUCT 2 ANY INCONVENIENCE LOSS OR DAMAGE CAUSED BY INAPPROPRIATE USE OR NEGLIGENT OPERATION OF THE USER 3 ALL MALFUNCTIONS OR TROUBLES FROM UNAUTHORIZED DISASSEMBLE REPAIR OR MODIFICATION OF T...

Page 4: ...ion of the supported operating systems and web browsers refer to our support website Control No C0104 C0122 When using a PC that does not meet the above requirements displaying of images may become sl...

Page 5: ...entities using a regularly updated anti virus program anti spyware program etc To prevent unauthorized access use user authentication set user names and passwords and limit which users can log in App...

Page 6: ...ically reset and will return to normal state When the product is reset initializa tion will be carried out as when the power of the product is turned on When the product repeated ly resets exogenous n...

Page 7: ...mentation Cleaning of the dome cover Use lens cleaning paper used to clean camera or spectacles lenses to remove any dirt on the dome cover If dust or the like is adhered at this time the dome cover m...

Page 8: ...unction NAT IP masquerade Refer to the Operating Instructions for further information about the port forwarding function Time date setting It is necessary to set the time date before putting this prod...

Page 9: ...l be used for power supply When the Ethernet cable is disconnected once reconnect the cable after around 2 seconds When the cable is quickly reconnected the power may not be supplied from the PoE devi...

Page 10: ...setting Refer to the Operating Instructions for further information about the ALARM IN2 and 3 settings Off Alarm input Alarm output or AUX output Ratings Alarm input1 Black white input Auto time adjus...

Page 11: ...be heard from the speaker Make sure that the stereo mini plug is connected to this cable When a monaural mini plug is connected audio may not be heard When connecting a monaural speaker with amplifier...

Page 12: ...pecifications regarding AC adaptor The LINK indicator does not light in orange even when the Ethernet cable is con nected to the camera Is the Ethernet cable connected appropriately Connect the Ethern...

Page 13: ...d near an electrical power line The camera is used near a device which produces strong magnetic field or radio waves such as near a TV radio antenna a motor of an air conditioning sys tem a transforme...

Page 14: ...ckly within 1 second or use software to select NTSC or PAL signal EXT I O terminals ALARM IN1 Alarm input 1 Black white input Auto time adjustment input x1 ALARM IN2 Alarm input 2 ALARM OUT x1 ALARM I...

Page 15: ...nge is 50 C 122 F 3 The audio output can be switched to the monitor output Refer to the Operating Instructions on our manual website for descriptions of how to switch the output 4 Only when installati...

Page 16: ...Maximum shutter Off 1 30 s AGC 11 when the IR LED is lit 0 02 lx 0 0019 footcandle 50IRE F2 4 Maximum shutter Off 1 30 s AGC 11 0 0013 lx 0 0001 footcandle 50IRE F2 4 Maximum shutter max 16 30 s AGC...

Page 17: ...s Max 6 25 s Max 10 25 s Max 16 25 s Color BW Off On IR Light Off On IR Light On Auto1 IR Light Off Auto2 IR Light On Auto3 SCC IR LED Light High Middle Low Off Maximum irradiation distance 14 m Appro...

Page 18: ...of view S4576L S4576LM Horizontal 183 Vertical 183 S4556L S4556LM Horizontal 186 Vertical 186 DORI Distance to the object in the center of the image Detect 25 ppm 8 ppf Observe 62 5 ppm 19 ppf Recogn...

Page 19: ...640 360 320 180 Fisheye Double Panorama mode max 15 fps 12 5 fps Fisheye 2992 2992 2192 2192 1280 1280 640 640 320 320 Double Panorama 1280 720 640 360 320 180 Fisheye Quad PTZ mode max 15 fps 12 5 f...

Page 20: ...2 fps 6 25 fps 8 3 fps 12 5 fps 20 fps 25 fps The frame rate is limited to bit rate When a value with an asterisk is selected the actual frame rate may be lower that the value selected When the dynami...

Page 21: ...6 kbps 6144 kbps 8192 kbps 10240 kbps 15360 kbps 20480 kbps 25600 kbps 30720 kbps 35840 kbps 40960 kbps 51200 kbps Protocol IPv6 TCP IP UDP IP HTTP HTTPS SSL TLS SMTP DNS NTP SNMP v1 v2 v3 DHCPv6 RTP...

Page 22: ...4 C0122 6 Refer to our support website Control No C0107 for latest information about the compatible SD memory cards 7 For possible number of images and duration an indication that can be saved on the...

Page 23: ...4 https i pro com Panasonic Canada Inc 5770 Ambler Drive Mississauga Ontario L4W 2T3 Canada 1 877 495 0580 https www panasonic com ca For Europe and other countries Panasonic Corporation http www pana...

Reviews: