


36
Step1
Create a VMD area by dragging the mouse on the
screen.
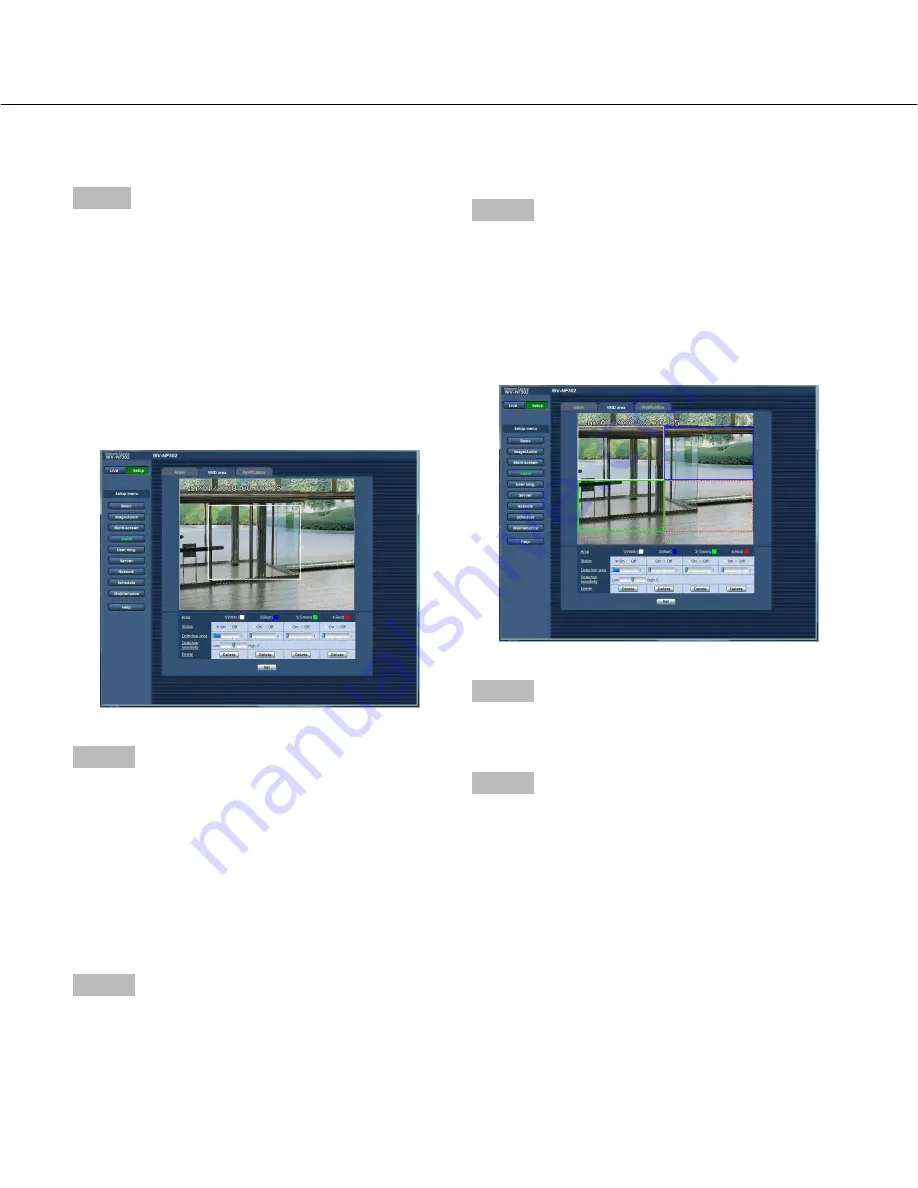
(a) When selecting area to create the first VMD area on
images, the selected area will be set as VMD area 1
(white) and the white border will be displayed.
(b) The subsequently created VMD areas will be set in
numerical order (2-4) and the color of the outline of
the areas indicates the respective VMD area number
(2: blue, 3: green, 4: red).
(c) When the VMD area is created, "Status" of the creat-
ed VMD area will be set to "On" automatically.
Step 2
Adjust the detection sensitivity using the slider.
• Available sensitivity level is 1 (low) - 15 (high).
• The adjusted detection sensitivity will be applied to
all of the VMD areas.
• Status of motion detection will be displayed in the
detection area according to the currently being dis-
played area and the detection sensitivity.
Change/adjust the detection area and the detection
sensitivity according to your need.
Step 3
Click the [Set] button.
The edited settings will be applied.
Step 4
To invalidate the VMD area, click the [Set] button after
selecting "Off" for "Status" of the VMD area to be invali-
dated.
• The outline of the invalidated VMD area will turn to a
broken line.
• No alarm action will be performed even when motion
is detected in the area.
Step 5
To delete the VMD area, click the [Delete] button.
The outline of the respective VMD area will disappear.
Step 6
Click the [Set] button.
The edited settings will be applied.
Set the VMD areas


