


4
■
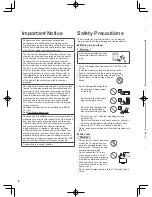
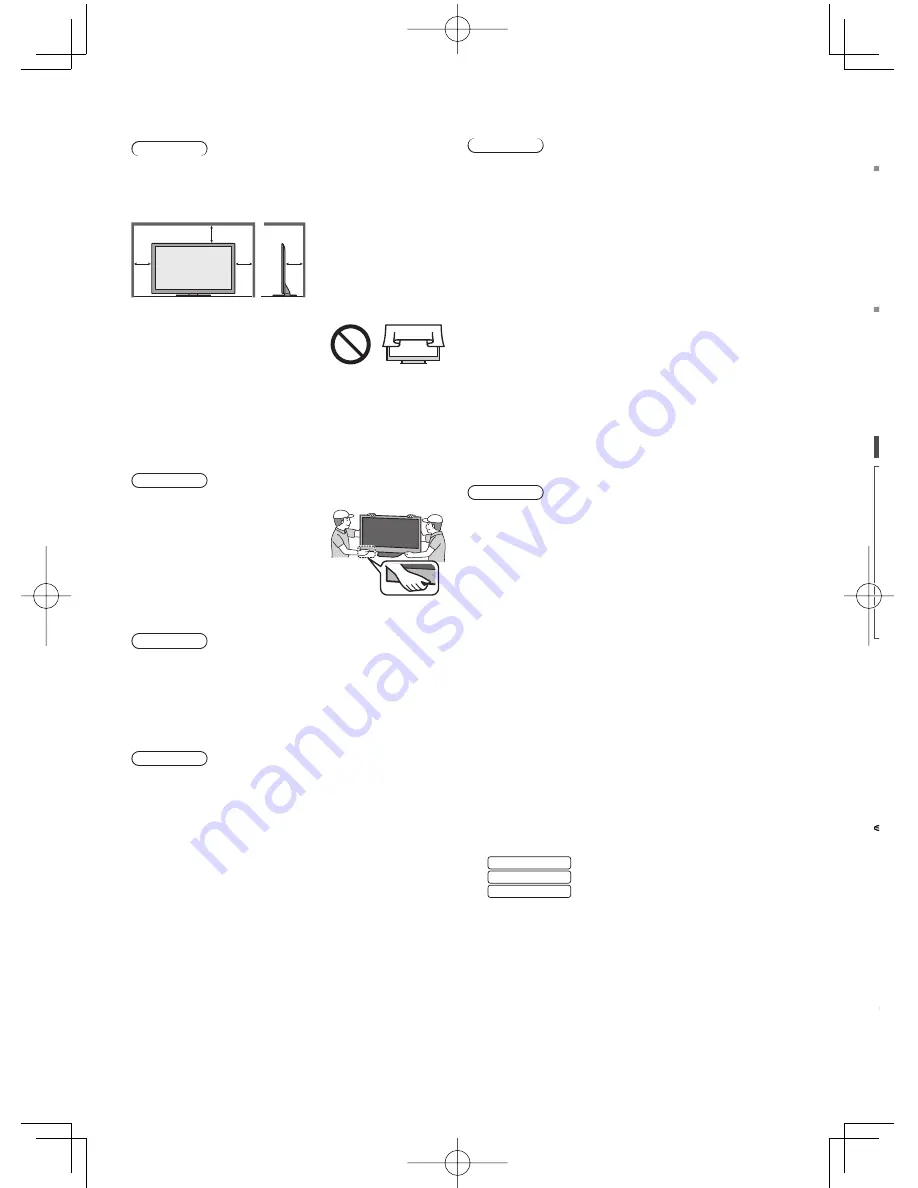
Ventilation
Caution
Allow sufficient space around the TV in order to help
prevent excessive heat, which could lead to early failure
of some electronic components.
Minimum distance:
(cm)
10
10
10
10
●
Ventilation should not be
impeded by covering the
ventilation openings with items
such as newspapers, tablecloths
and curtains.
●
Whether you are using a pedestal or not, always ensure
the vents at the bottom of the TV are not blocked and
there is sufficient space to enable adequate ventilation.
■
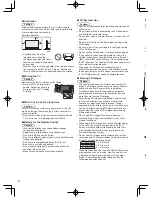
Moving the TV
Caution
Before moving the TV, disconnect all cables.
●
Move the TV with at least two
people. Support as shown to
avoid injury by the TV tipping
or falling.
■
When not in use for a long time
Caution
This TV will still consume some power even in the Off
mode, as long as the mains plug is still connected to a
live socket outlet.
●
Remove the mains plug from the wall socket when the
TV is not in use for a prolonged period of time.
■
Battery for the Remote Control
Caution
●
Incorrect installation may cause battery leakage,
corrosion and explosion.
●
Replace only with the same or equivalent type.
●
Do not mix old and new batteries.
●
Do not mix different battery types (such as alkaline and
manganese batteries).
●
Do not use rechargeable batteries (Ni-Cd, etc.).
●
Do not burn or break up batteries.
●
Do not expose batteries to excessive heat such as
sunshine, fire or the like.
●
Make sure you dispose of batteries correctly.
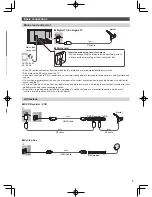
A
R
3
●
●
■
■
●
■
3D Eyewear Use
Caution
●
Use the 3D Eyewear only for the intended purpose and
nothing else.
●
Do not move around while wearing the 3D Eyewear to
avoid falling or accidental injury.
●
Do not drop, bend, exert pressure on, or step on the 3D
Eyewear.
●
Be careful of the tips of the frame when putting on the
3D Eyewear.
●
Be careful not to trap your fingers in the hinge section
of the 3D Eyewear.
●
Do not use the 3D Eyewear if it is physically damaged.
●
If you suffer from any eyesight problems (short / far-
sighted, astigmatism, eyesight differences in left and
right), ensure that you correct your vision before using
the 3D Eyewear. The supplied 3D Eyewear can be worn
over vision correction glasses.
●
Stop using the 3D Eyewear immediately if you
experience any redness, pain or skin irritation around
the nose or temples. In rare cases, the materials used
in the 3D Eyewear may cause an allergic reaction.
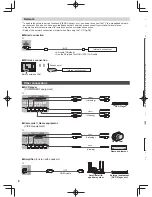
■
Viewing 3D Images
Caution
●
Pay special attention when children are viewing 3D
images. 3D images should not be viewed by children
younger than about 6 years old, as a guideline.
All children must be fully supervised by parents or
guardians who must ensure their safety and health
while they are viewing 3D images.
●
Stop viewing 3D images immediately if you feel tired,
feel unwell, experience any other uncomfortable
sensation or clearly see double images. Take an
appropriate break before continuing to view. When you
set the 3D effect by using [3D Adjustment], take into
account that the vision of 3D images varies among
different individuals.
●
Do not view 3D images if you have a history of
oversensitivity to light, heart problems or any other
medical conditions.
●
When viewing 3D images, your sense of distance may
be tricked or go wrong. Be careful not to hit the TV
screen or other people unintentionally. Ensure there
are no breakable objects around you to avoid any
accidental damage or injury.
●
Do not view 3D images from a distance shorter than
recommended. The recommended viewing distance is
at least 3 times of the image height.
42-inch model
: 1.6 m or more
50-inch model
: 1.9 m or more
55-inch model
: 2.1 m or more
When black bands at the top and bottom of the screen
are displayed, such as movies, view the screen from
a distance at least 3 times the height of the actual
image. (That makes the distance shorter than the
recommended values above.)


