


2
Important Notice
Panasonic does not guarantee operation and
performance of peripheral devices made by other
manufacturers; and we disclaim any liability or damage
arising from operation and/or performance from usage
of such other maker’s peripheral devices.
The recording and playback of content on this or any
other device may require permission from the owner
of the copyright or other such rights in that content.
Panasonic has no authority to and does not grant
you that permission and explicitly disclaims any right,
ability or intention to obtain such permission on your
behalf. It is your responsibility to ensure that your use
of this or any other device complies with applicable
copyright legislation in your country. Please refer to
that legislation for more information on the relevant
laws and regulations involved or contact the owner
of the rights in the content you wish to record or
playback.
This product is licensed under the AVC patent portfolio
license for the personal and non-commercial use of a
consumer to (i) encode video in compliance with the
AVC Standard (“AVC Video”) and/or (ii) decode AVC
Video that was encoded by a consumer engaged in
a personal and non-commercial activity and/or was
obtained from a video provider licensed to provide
AVC Video. No license is granted or shall be implied
for any other use.
Additional information may be obtained from MPEG
LA, LLC.
See http://www.mpegla.com.
Panasonic and its affiliates make no representations or
warranties of any kind with respect to the USB devices
and the performance of communication between the
USB devices and the USB port of Panasonic products,
and expressly disclaims any and all warranties,
whether express or implied or otherwise, including
without limitation any implied warranty of fitness for a
particular purpose, any loss of data, and any implied
warranties arising from course of dealing or course of
performance of data communication between the USB
devices and the USB port of Panasonic products.
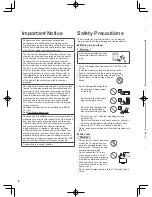
Transport only in upright position
●
●
●
●
●
●
■
●
●
Safety Precautions
To help avoid risk of electrical shock, fire, damage or
injury, please follow the warnings and cautions below:
■
Mains plug and lead
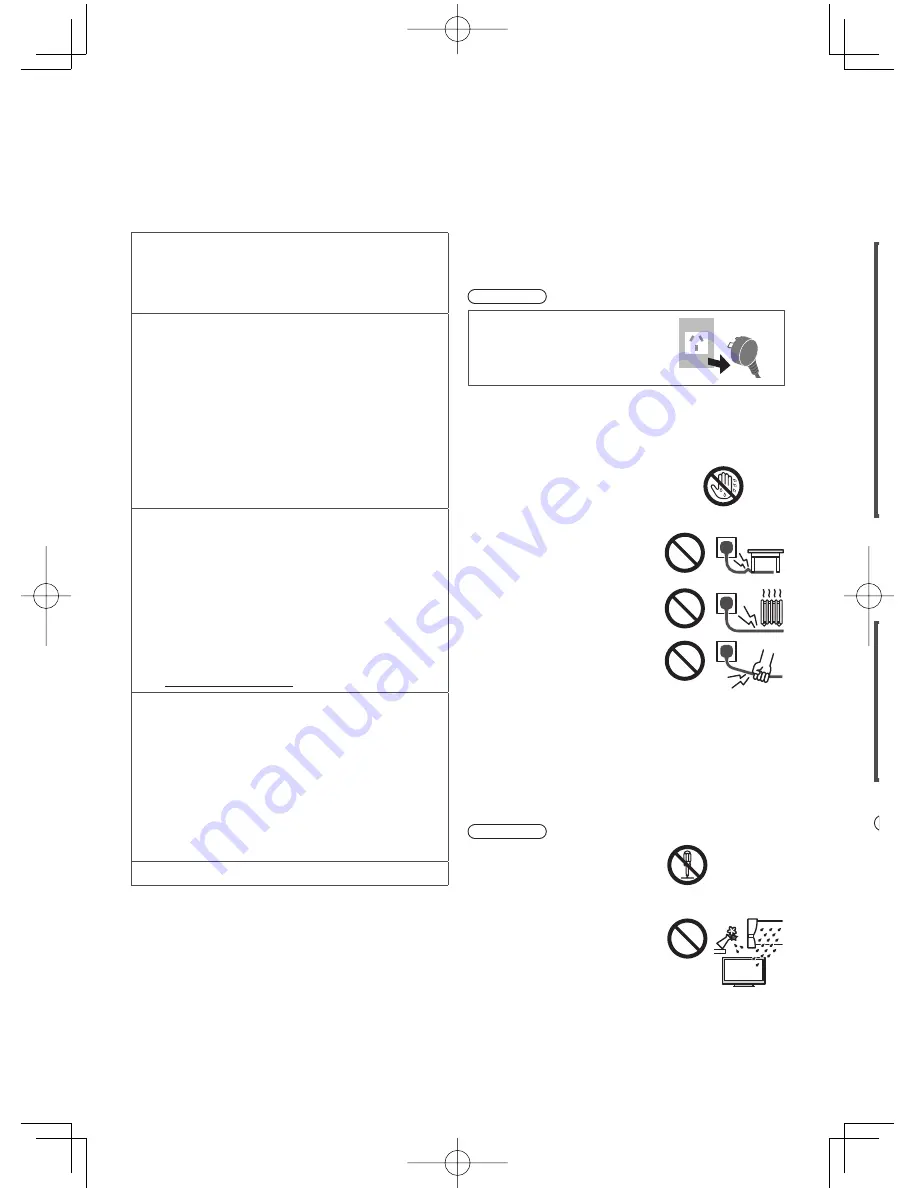
Warning
If you detect anything unusual,
immediately remove the mains
plug.
●
This TV is designed to operate on AC 220-240 V, 50 /
60 Hz.
●
Insert the mains plug fully into the socket outlet.
●
Ensure that the mains plug is easily accessible.
●
Disconnect the mains plug when cleaning the TV.
●
Do not touch the mains plug with wet
hands.
●
Do not damage the mains lead.
•
Do not place a heavy object
on the lead.
•
Do not place the lead near a
high temperature object.
•
Do not pull on the lead. Hold
onto the mains plug body
when disconnecting the plug.
•
Do not move the TV with the lead plugged into a
socket outlet.
•
Do not twist the lead, bend it excessively or stretch it.
•
Do not use a damaged mains plug or socket outlet.
•
Ensure the TV does not crush the mains lead.
●
Do not use any mains lead other than that provided with
this TV.
■
Take care
Warning
●
Do not remove covers and never
modify the TV yourself as live
parts are accessible when they
are removed. There are no user
serviceable parts inside.
●
Do not expose the TV to rain
or excessive moisture. This TV
must not be exposed to dripping
or splashing water and objects
filled with liquid, such as vases,
must not be placed on top of or
above the TV.
●
Do not insert foreign objects into the TV through the air
vents.


