


Advanced
Menu
Item
Adjustments / Con
fi
gurations (options)
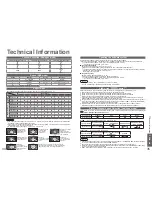
Picture
Advanced
PC
Settings
W/B High R
White balance of bright red area
and
repeatedly adjusted
W/B High B
White balance of bright blue area
W/B Low R
White balance of bright red area
W/B Low B
White balance of dark blue area
Gamma
(2.0 / 2.2 / 2.5 / S Curve)
Reset PC
Settings
Press the OK button to reset to the default settings
Setup
PC
Setup
Input
Resolution
Switches to a wide view
•
VGA (640 × 480 pixels), WVGA (852 × 480 pixels),
XGA (1,024 × 768 pixels), WXGA (1,366 × 768 pixels)
•
Options change depending on signals
Clock
Set to the minimum level if noise occurs
H-pos
Adjusts horizontal position
V-pos
Adjusts vertical position
Clock Phase
Eliminates
fl
icker and distortion
•
Adjust after Clock adjustment
•
Set to the minimum level if noise occurs
Sync
PC sync signal type
(H & V / On G)
•
H & V : Horizontal and Vertical sync from your PC (Most common sync format)
On G : Sync on Green sync from your PC
Reset PC
Settings
Press the OK button to reset to the default settings
Menu
Item
Adjustments
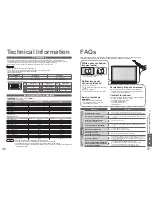
Setup
DVI Position
Settings
H-pos
Adjusts horizontal position
V-pos
Adjusts vertical position
Reset
DVI Position
Settings
Press the OK button to reset to the default settings
ASPECT
RETURN
EXIT
MENU
OPTION DIRECT TV REC
VCR
1
3
2
4
6
5
7
9
8
0
INPUT
OK
Input Selection
AV1
AV2
AV3
AV4
PC
HDMI1
HDMI2
TV
28
29
•
HDMI Functions
•
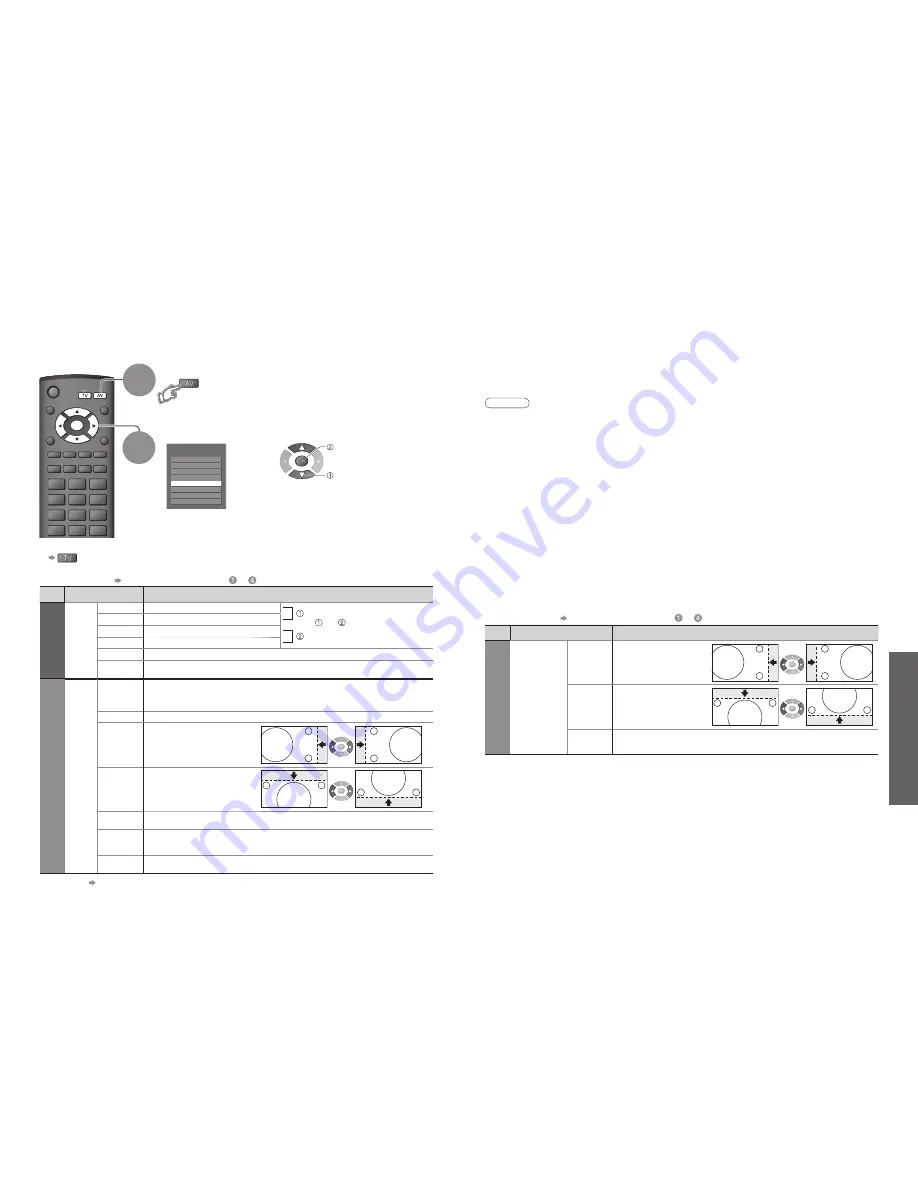
Displaying PC Screen on
TV
■
To return to TV
Displaying PC Screen on TV
Select the external input
Select “PC”
2
The screen of the PC connected to the TV can be displayed on the TV.
You can also listen to PC sound with the audio cable connected. To connect PC
(p. 32)
•
Corresponding signals (p. 36)
•
If “H-freq.” or “V-freq.” is shown in red,
the signals may not be supported.
■
PC menu setting
(changed as desired)
•
To make settings “How to Use Menu Functions”
to
(p. 18)
•
Other items p. 20 and p. 21
1
select
access
(
∗
1): The HDMI logo is displayed on HDMI-compliant equipment.
(
∗
2): Enquire at your local digital equipment retailer shop.
HDMI (high-de
fi
nition multimedia interface) allows you to enjoy high-de
fi
nition digital images and high-
quality sound by connecting the TV and the equipment.
HDMI-compatible equipment (
∗
1) with an HDMI or DVI output terminal, such as a set top box or a DVD
player, can be connected to the HDMI terminal using an HDMI compliant (fully wired) cable.
About connections, see “External Equipment” (p. 32).
Note
•
HDMI is the world’s
fi
rst complete digital consumer AV interface complying with a non-compression standard.
•
Audio settings can be made on the “HDMI1 Input” menu screen. (p. 20)
•
Applicable audio signal sampling frequencies (2ch L.PCM): 48 kHz, 44.1 kHz, 32 kHz
•
HDMI2 terminal is for digital audio signal only.
•
Use with a PC is not assumed.
•
If the connected equipment has an aspect adjustment function, set the aspect ratio to “16:9”.
•
These HDMI connectors are “type A”.
•
These HDMI connectors are compatible with HDCP (High-Bandwidth Digital Content Protection) copyright
protection.
•
An equipment having no digital output terminal may be connected to the input terminal of either “Component”,
“S-VIDEO”, or “Video” to receive analogue signals.
•
The HDMI input terminal can be used with only the following image signals:
480i, 480p, 576i, 576p, 720p, 1080i and 1080p. Match the output setting of the digital equipment.
•
For details of the applicable HDMI signals, see p. 36.
HDMI Functions
■
DVI Position Settings
If the picture position is not
fi
t to the screen during the DVI connection, adjust the position on “DVI Position
Settings” in Setup Menu. The settings are memorized for each HDMI terminals and input signals.
•
To make settings “How to Use Menu Functions”
to
(p. 18)
■
DVI connection
If the external equipment has only a DVI output, connect to the HDMI1 terminal via a DVI to HDMI adapter cable (
∗
2).
When the DVI to HDMI adapter cable is used, connect the audio cable to the audio input terminal
(HDMI1: use AUDIO IN terminals).


