background image

Advanced

Main menu

Picture menu

Sound menu
Setup menu

Viewing mode

Contrast

Brightness

Colour

Sharpness

Tint

Colour balance

Colour management

MPEG NR

Normal

On

Off

P-NR

Auto

Picture menu

Dynamic

3D-COMB

On

TV

N

EXIT

MENU

OK

Viewing mode

Contrast

Brightness

Colour

Sharpness

Tint

Colour balance

Colour management

MPEG NR

Normal

On

Off

P-NR

Auto

3D-COMB

On

Picture menu

Dynamic

Colour balance

Normal

Sharpness

Access

Tuning menu

MENU

OK

14

15

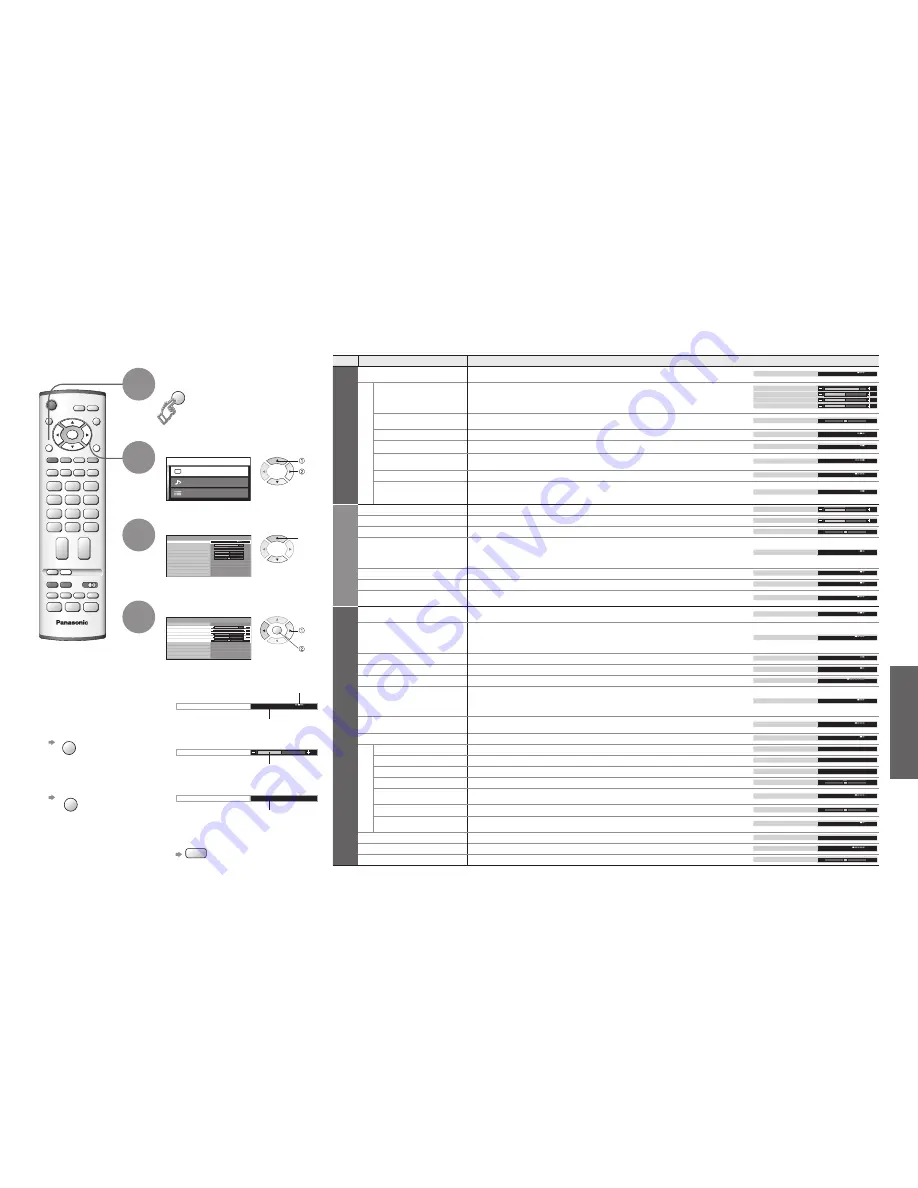
How to Use Menu Functions

Display menu

3

1

2

4

Various menus allow you to make settings for the picture, sound, 

and other functions so that you can enjoy watching TV in your own way.

• 

Displays the functions that 

can be set (varies according 

to the input signal)

■ 

To return to TV


EXIT

■ 

To return to the 

previous screen


MENU

Select the menu

Select the item

(example: Picture menu)

 select

select

Adjust or select

 change

(example: Picture menu)

(example: Picture menu)

Changed

Number and positions 

of alternatives

Moved

Displays the next 

screen

■ 

Choose from among alternatives

■ 

Adjust using the slide bar

■ 

Go to the next screen

■ 

To reset the setting


N

■ 

Menu list

 next

 store 

(Required 

by some 

functions)

How to Use Menu Functions


(picture, sound quality

, etc.)

Menu

Item

Adjustments / Configurations (alternatives)

Picture menu

Viewing mode

Basic picture mode 

(Dynamic / Normal / Cinema)

• 

Set for each input signal

Viewing mode

Dynamic

Adjust by each viewing 

mode

Contrast, 

Brightness, Colour, 

Sharpness

Adjusts colour, brightness, etc. for each picture mode to suit your taste 

Contrast

Brightness

Colour

Sharpness

Tint

Adjusts tint of image 

• 

For NTSC signal reception only

Tint

Colour balance

Chooses the colour balance of the entire image 

(Cool / Normal / Warm)

Colour balance

Normal

Colour management

Automatically adjusts colours to vivid ones 

(Off / On)

Colour management

On

P-NR

Automatically reduces unwanted picture noise 

(Off / Normal / Dynamic / Auto)

• 

Not valid on HDMI and analogue component signal

P-NR

Auto

MPEG NR

Automatically reduces noise for watching DTV, DVD and VCD 

(Off / Min / Mid / Max)

MPEG NR

Off

3D-COMB

Automatically makes still pictures and slow pictures look more vivid 

(Off / On)

• 

For PAL or NTSC signal reception only 

• 

Not valid on RGB, S-Video, components and HDMI

3D-COMB

On

Sound menu

Bass

Adjusts the output level of deep bass

Bass

Treble

Adjusts the output level of high-pitch, shrill sound

Treble

Balance

Adjusts volume level of right and left speakers

Balance

MPX

Select stereo / monaural 

(Mono / Stereo)

• 

Normally: Stereo

• 

Stereo signal cannot be received: Mono

• 

M1 / M2: Available while mono signal is transmitted

MPX

Stereo

Mode

Improves sound quality for music and dramas 

(Music / Speech)

Mode

Music

Ambience

Gives a greater spatial effect by using dynamic enhancer 

(Off / On)

Ambience

Off

HDMI input

Chooses according to the signal when HDMI is connected  

(Auto / Digital / Analogue)

 (p. 27)

HDMI input

Auto

Setup menu

Q-Link

Chooses the connector to which a Q-Link compatible equipment is connected  

(Off / AV2 / AV3)

 (p. 24)

Q-Link

AV2

AV2/AV3 out

Chooses the signal to be transmitted from the TV to Q-Link  

(TV / AV1 / AV2 / AV3 / Monitor)

• 

Monitor: Image displayed on screen 

• 

Component signals cannot be outputted

AV2 out

TV

Control with HDMI

Control with HDMI function 

(Off / On)

 (p. 21)

Control with HDMI

On

Teletext

Teletext display mode 

(TOP (FLOF) / List)

 (p. 12)

Teletext

TOP

Off timer

Sets the time the unit automatically turns Off. 

(Off / 15 / 30 / 45 / 60 / 75 / 90)

 (minutes)

Off timer

Off

Text language

Selects teletext language 

(West / East1 / East2)

• 

West: English, French, German, Greek, Italian, Spanish, Swedish, Turkish

• 

East1: Czech, English, Estonian, Lettish, Rumanian, Russian, Ukrainian

• 

East2: Czech, Hungarian, Lettish, Polish, Rumanian

Text language

West

Side panel

Increases the brightness of the side panel 

(Off / Low / Mid / High)

• 

The recommended setting is High to prevent panel "after-image"

Side panel

Off

Power save

Reduces brightness of picture to economise on power consumption 

(Off / On)

Power save

Off

Tuning menu

Programme edit

Edits channels (p. 16)

Programme edit

Access

Auto setup

Sets channels automatically (p. 18)

Access

Auto setup

Manual tuning

Sets channels manually (p. 18)

Manual tuning

Access

Fine tuning

Fine tuning of channels (during rain, etc.)

Fine tuning

Colour system

Selects optional colour system depending on video signals  

(Auto / PAL / SECAM / M.NTSC)

Colour system

Auto

Volume correc.

Adjusts volume of individual stations

Volume correc.

Decoder (AV2 / AV3)

Set "On" when the decoder is connected to AV2 or AV3 terminal via a Q-Link equipment 

(Off / On)

Decoder (AV2)

Off

OSD language

Changes language for on-screen displays

OSD language

Access

Colour system

Selects optional colour system based on video signals in AV mode

Colour system

Auto

Volume correction

Adjusts volume for AV and HDMI mode

Volume correction

• 

In AV mode, the Sound menu and Setup menu give a smaller number of options.

Summary of Contents for Viera TH-37PA60E

Page 1: ...hich could otherwise arise from inappropriate waste handling Please contact your local authority for further details of your nearest designated collection point Penalties may be applicable for incorrect disposal of this waste in accordance with national legislation For business users in the European Union If you wish to discard electrical and electronic equipment please contact your dealer or supp...

Page 2: ...ions 4 Warning Caution Notes 5 Maintenance 5 Be Sure to Read Advanced Features How to Use Menu Functions 14 picture sound quality etc Editing and Setting Channels 16 External Equipment 20 Q Link Control with HDMI Connections Basic Features Watching TV 10 Watching Videos and DVDs 11 Viewing Teletext 12 Enjoy your TV Technical Information 26 FAQs 29 Licence 31 Specifications 31 FAQs etc Accessories O...

Page 3: ...t move the TV with the lead plugged in the socket outlet Do not place a heavy object on the lead or place the lead near a high temperature object Do not twist the lead bend it excessively or stretch it Do not pull on the lead Hold onto the mains plug body when disconnecting lead Do not use a damaged mains plug or socket outlet Electronic equipment In particular do not place video equipment near th...

Page 4: ...n Off switch in On position Sound mute On Off Changes aspect ratio p 10 Normalizes p 14 Resets settings Selects programmes in sequence Direct channel access During normal TV viewing or when in the Tuning Programme edit or Manual tuning menus press and then enter channel number using the numeric buttons Press twice to change to the Cableband mode Changes programme channel p 10 Viewing a favourite t...

Page 5: ...p 20 Watching TV To record TV programmes Auto Setup is now complete and your TV is ready for viewing You can now use the remote control to turn On the unit or turn the unit to standby mode Power lamp On 2 Connect after all the other connections External equipments and cables shown in this manual are not supplied with this TV Please ensure that the unit is disconnected from the mains before attachi...

Page 6: ...onnector connected to the equipment VCR DVD VCR DVD switch Select VCR DVD Standby Set to Standby mode Turn on Play Playback VCR DVD Stop Stop the operations Rewind Skip Search VCR Rewind review during playback DVD Skip to the previous track or title Press and hold to search backward Fast forward Skip Search VCR Fast forward cue during playback DVD Skip to the next track or title Press and hold to ...

Page 7: ...e Frequently viewed pages p 13 To change mode Teletext in Setup menu p 14 To adjust contrast MENU As the blue bar is displayed FULL TOP BOTTOM Reveal hidden data MENU red Re hide red Reveal hidden words e g quiz page answers Using teletext conveniently Note Contrast will be lowered in the still picture to prevent after image MENU green TOP BOTTOM Normal FULL Expand the BOTTOM half INDEX TOP FLOF m...

Page 8: ...output level of high pitch shrill sound Treble Balance Adjusts volume level of right and left speakers Balance MPX Select stereo monaural Mono Stereo Normally Stereo Stereo signal cannot be received Mono M1 M2 Available while mono signal is transmitted MPX Stereo Mode Improves sound quality for music and dramas Music Speech Mode Music Ambience Gives a greater spatial effect by using dynamic enhanc...

Page 9: ...le characters Select the Name field Select the character To next character Repeat Select the programme number to edit Programme number Name Edit Programme edit Prog Chan Name Lock Sys 1 2 3 4 5 CH44 CH51 CH41 CH47 CH37 ABC XYZ FTP 123 456 Off Off Off Off Off SC1 SC1 SC1 SC1 SC1 To lock Select the Lock field Select On Off to unlock You cannot select the channel with number buttons or the C button whe...

Page 10: ... Norge Suomi Belgium Schweiz ELLADA Polska Česká republika Magyarország E Eu Country OK OK Start Auto setup set Automatically set the channels received in the area Select your country Settings are made automatically select start Press repeatedly until Tuning mode appears or Access Manual tuning Programme Channel select Sound system or Change programme or start searching channels Store Repeat For M...

Page 11: ...ay the menu Enjoy additional HDMI Inter Operability with Panasonic products which have HDAVI Control function HDMI connections to some Panasonic equipments Panasonic DVD Recorder DIGA Panasonic Player theatre Panasonic Amplifier etc allow you to enjoy the easy playback or home theatre About connections see Connections p 23 Read the manuals of the equipment too Non HDMI compliant cables cannot be ut...

Page 12: ... PB PR AV AV AV 22 23 External Equipment Connections Connect VCR DVD recorder Recording Playback Connect DVD player Playback Connect Set top box RGB input Connect VCR DVD recorder and Set top box example Connect DVD recorder and VCR example Easy playback Rear of the TV Rear of the TV Rear of the TV Rear of the TV Rear of the TV Rear of the TV This TV Panasonic Player theatre Panasonic DVD recorder...

Page 13: ...ord playback videocassettes DVDs VCR DVD recorder To watch DVDs DVD player To watch camcorder images Video camera To watch satellite broadcasts Set top box To play games Game equipment Q Link Direct TV Recording Control with HDMI Recommended Connection Control with HDMI p 21 Types of connectable equipment to each connector To listen with speakers DVD recorder or AV amplifier Set top box DVD Recorde...

Page 14: ...m3 Zoom2 HDMI connection HDMI is the world s first complete digital consumer AV interface complying with a non compression standard If the external equipment has only a DVI output connect to the HDMI terminal via a DVI to HDMI adapter cable 2 When the DVI to HDMI adapter cable is used connect the audio cable to the audio input terminal Audio settings can be made on the HDMI input menu screen p 14 A...

Page 15: ... Turn Off the TV unit and equipment then turn them On again Check an input signal from the equipment p 28 Use an equipment compliant with EIA CEA 861 861B The remote control does not work Are the batteries installed correctly p 6 Has the TV unit been switched On SCART and HDMI terminal information Socket Earth CVBS out video CVBS earth Red in Red earth Green in Green earth Blue in Blue earth Audio...

Page 16: ...including synchronization PB PR 0 35 V p p HDMI TYPE A Connector AUDIO L R RCA PIN Type 2 0 5 V rms Output AUDIO L R RCA PIN Type 2 0 5 V rms high impedance Dimensions W H D 968 mm 641 mm 97 mm TV Set only 968 mm 704 mm 320 mm With Pedestal 1 068 mm 701 mm 97 mm TV Set only 1 068 mm 764 mm 320 mm With Pedestal Weight 25 0 k Net TV Set only 27 0 k Net With Pedestal 29 0 k Net TV Set only 31 0 k Net...

Reviews: