14
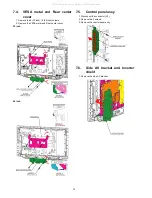
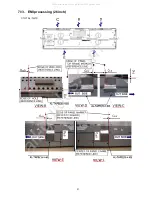
7.4.
VESA metal and Rear center
cover
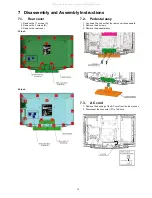
1. Remove the 6 (32 inch) / 4 (26 inch) screws.
2. Remove the VESA metal and Rear center cover.
32 inch
26 inch
7.5.
Control panel assy
1. Disconnect the connector (A7).
2. Remove the 2 screws.
3. Remove the control panel assy.
7.6.
Side AV bracket and Inverter
shield
1. Remove the side AV bracket.
All manuals and user guides at all-guides.com
Summary of Contents for Viera TC-26LX85
Page 17: ...17 7 12 EMI processing 32 inch All manuals and user guides at all guides com ...
Page 18: ...18 All manuals and user guides at all guides com ...
Page 19: ...19 All manuals and user guides at all guides com ...
Page 20: ...20 All manuals and user guides at all guides com ...
Page 22: ...22 All manuals and user guides at all guides com ...
Page 23: ...23 All manuals and user guides at all guides com ...
Page 26: ...26 All manuals and user guides at all guides com a l l g u i d e s c o m ...
Page 30: ...30 All manuals and user guides at all guides com ...
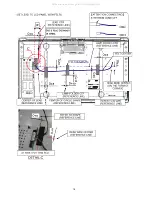
Page 32: ...32 10 2 Wiring 32 inch All manuals and user guides at all guides com ...
Page 33: ...33 10 3 Wiring 26 inch All manuals and user guides at all guides com ...
Page 34: ...34 All manuals and user guides at all guides com ...
Page 50: ...50 All manuals and user guides at all guides com ...
Page 52: ...52 13 1 2 Mechanical Replacement Parts List All manuals and user guides at all guides com ...


