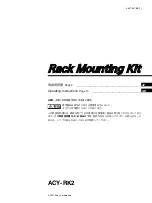
18
English
1
2
3
4
4
1
3
2
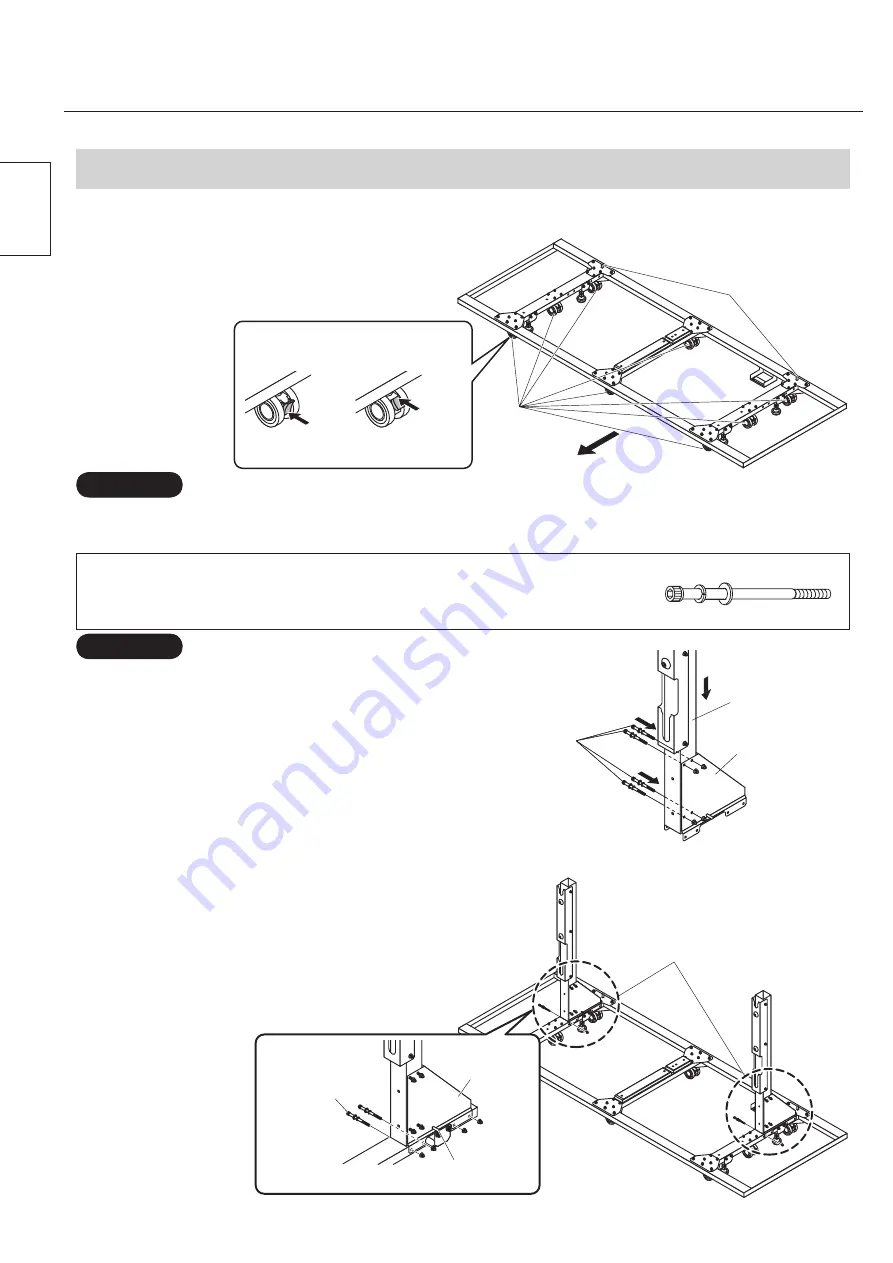
Casters
Guide pins for rear cover
Caster locked
Push the bottom
of the lever.
Push the top
of the lever.
Caster unlocked
Front
1. Assembling the metal frame
●
Check which side of the metal frame
ㅀ
is the front and
which side is the rear. The rear side is the one with the
guide pins for the rear cover (to be positioned on the
rear side of the plasma display).
When the pedestal is shipped from the factory, the
casters (x8) are locked in position so that the metal
frame will not move.
1. Assemble the supports
ㅂ
(1 at the left and
1 at the right) and support brackets
ㅁ
(1 at
the left and 1 at the right) using the support
mounting hexagon bolts
ヅ
(4 sets at the left
and 4 sets at the right) in the numerical order
shown in the illustration.
•
Since the perpendicularity adjustment is performed in
step 3
, do not tighten the support mounting hexagon
bolts
ヅ
too securely.
2. Mount the support brackets
ㅁ
(one each for
the left and right) which were readied in step
1 on the metal frame
ㅀ
using the support
bracket mounting hexagon bolts
ツ
(4 sets
each for the left and right).
•
With the rear cover guide pins on the inside, mount
the support bracket mounting hexagon bolts in the
numerical order shown in the illustration.
Locking and unlocking the casters
Getting the hexagon bolts ready
(8 sets each of support mounting hexagon bolts
ヅ
and support
bracket mounting hexagon bolts
ツ
)
Get the hexagon bolts ready by passing them through the spring washers and flat washers in this order.
Support brackets
ㅁ
(Left)
Supports
ㅂ
Loosely secure
the support
mounting
hexagon bolts
(M8x80)
ヅ
.
Caution
Use the casters solely for adjusting the position of the stand: do not use them to move the stand around after
installation.
S u p p o r t b r a c k e t
mounting hexagon
bolts (M8×90)
ツ
Support
brackets
ㅁ
(Left)
Rear cover
guide pins
Support brackets
ㅁ
Caution
Use a tightening torque of 20 Nm to 24 Nm for the hexagon
bolts.
Assembly


